AIR SECTION 1: WHAT IS AIR? STANDARDS:
advertisement
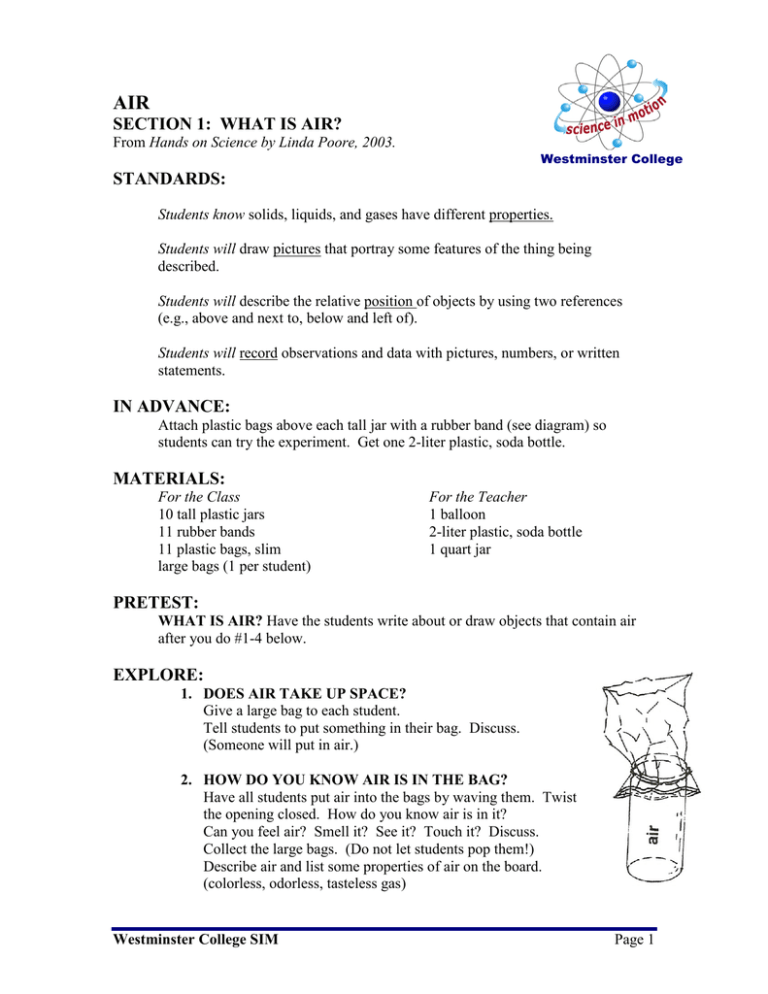
AIR SECTION 1: WHAT IS AIR? From Hands on Science by Linda Poore, 2003. Westminster College STANDARDS: Students know solids, liquids, and gases have different properties. Students will draw pictures that portray some features of the thing being described. Students will describe the relative position of objects by using two references (e.g., above and next to, below and left of). Students will record observations and data with pictures, numbers, or written statements. IN ADVANCE: Attach plastic bags above each tall jar with a rubber band (see diagram) so students can try the experiment. Get one 2-liter plastic, soda bottle. MATERIALS: For the Class 10 tall plastic jars 11 rubber bands 11 plastic bags, slim large bags (1 per student) For the Teacher 1 balloon 2-liter plastic, soda bottle 1 quart jar PRETEST: WHAT IS AIR? Have the students write about or draw objects that contain air after you do #1-4 below. EXPLORE: 1. DOES AIR TAKE UP SPACE? Give a large bag to each student. Tell students to put something in their bag. Discuss. (Someone will put in air.) 2. HOW DO YOU KNOW AIR IS IN THE BAG? Have all students put air into the bags by waving them. Twist the opening closed. How do you know air is in it? Can you feel air? Smell it? See it? Touch it? Discuss. Collect the large bags. (Do not let students pop them!) Describe air and list some properties of air on the board. (colorless, odorless, tasteless gas) Westminster College SIM Page 1 WHAT IS AIR? 3. AIR TAKES UP SPACE Show students a jar and ask them what is in it. (air) Put a plastic bag above the jar and secure it tightly with a rubber band. Predict: Can you push the bag in? Have one student try. (no, jar is full of air) Pass out the slim jars with bags attached to each pair of students. Experiment. Push on the bag gently. What happens? (Air in the jar takes up space. The jar is full of air so there is no room for the bag.) 4. AIR CAN PUSH Have the students lift the rubber band and push the bag into the jar, securing the bag opening on the jar lip with the rubber band. Where is the air in the jar now? (Above the bag) Predict: Can you pull the bag out? (No, air above the bag is pushing down. Air pushes in all direction.) MATERIALS: 1 balloon 1 plastic soda or water bottle CAN YOU INFLATE A BALLOON INSIDE A BOTTLE? 1. Use the worksheet I think-I found out. (end of this section) 2. Inflate the balloon to show it ‘works.’ 3. Put the balloon inside a 2-liter bottle, attached to the bottle lip. Have the students color one balloon to show what they think the bottle and balloon will look like when you blow hard on the bottle. (They can color the balloon inflated or deflated in the picture.) 4. Try to inflate the balloon in the bottle. Have students draw what they observe. (does not inflate) 5. Write a sentence together telling why the balloon did not inflate. (The bottle is full of air, so there is no room for the balloon to inflate.) 6. You can poke a hole in the bottle and ask the students what will happen now. The balloon will inflate as the air in the bottle can get out, leaving room for the blown up balloon. HOMEWORK: Look around your home. What objects have air in them. What things hiss when opened? (can of tennis balls, canned soda) Why does soda (carbonated drink) bubble after it is opened? ASSESSMENT: Have students draw pictures of objects that have gas in them. What’s on a car that has gas in it? (Answers: balloons, tires, soda, me) Westminster College SIM Page 2 WHAT IS AIR? MATERIALS: 12’ string 3 balloons straw tape EXPLORE: JET PROPELLED BALLOONS: 1. Tie the string to a doorknob or chair and pull it tight. Have one student hold the string. Put the string through the straw. Give two 2” pieces of tape to 2 students. Blow up one balloon and hold the end closed. Have the students tape the balloon to the straw in 2 places. 2. What will happen if I let go of the balloon? (moves across the string) Have students predict how far it can go. Let go of the balloon and observe. What pushed the balloon? (air) How far did it go? Measure the distance in feet with a 12” ruler. RELATIVE POSITION 3. Have students describe the position of the balloon before and after each experiment using 2 references. Ask, “Where is the balloon?” (above me and to the left, next to Joe and on my right) 4. Tie the string to something above your head (e.g. the overhead lights) and send the balloon straight up and at an angle. Which experiment makes the balloon move the most feet? (horizontal, not vertical) 5. MAKE IT GO HIGHER! Have students think of ways to make it go higher. Try their ideas! (larger balloon or more air) 6. CAN WE MAKE IT GO SLOWER? Blow up the balloon. Put a paper clip on the opening to close it partway. Predict what will happen. Let go. Observe. Does it go faster or slower? Does it go further with the paper clip? Westminster College SIM Page 3
