PA STATE STANDARDS
advertisement

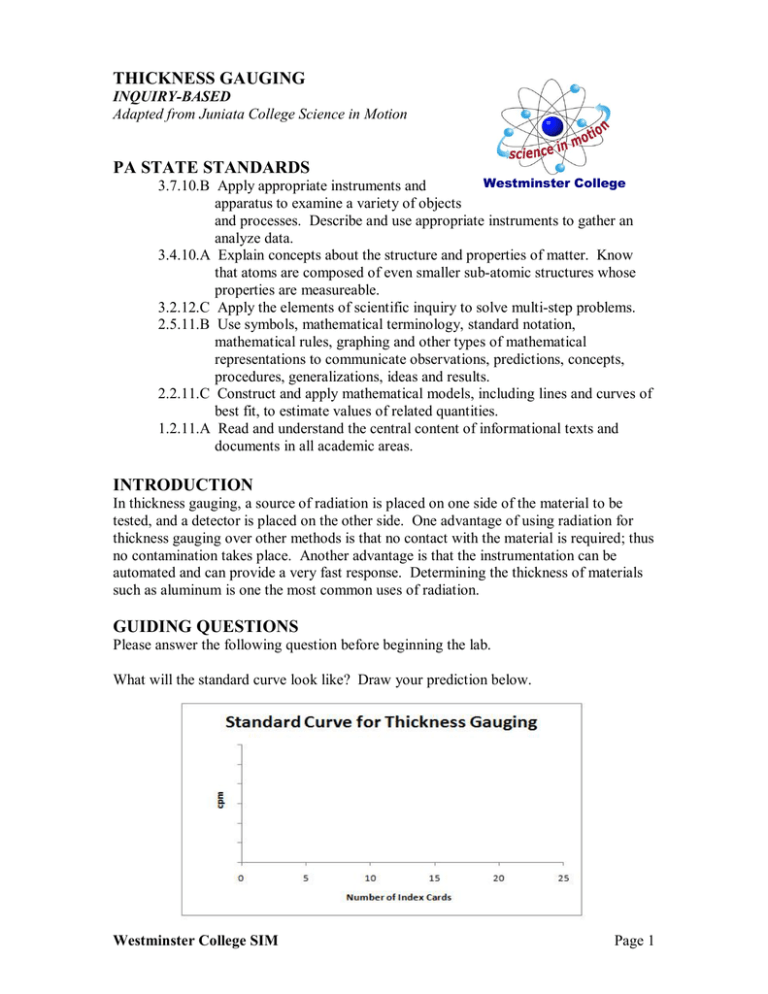
THICKNESS GAUGING INQUIRY­BASED Adapted from Juniata College Science in Motion PA STATE STANDARDS Westminster College 3.7.10.B Apply appropriate instruments and apparatus to examine a variety of objects and processes. Describe and use appropriate instruments to gather an analyze data. 3.4.10.A Explain concepts about the structure and properties of matter. Know that atoms are composed of even smaller sub­atomic structures whose properties are measureable. 3.2.12.C Apply the elements of scientific inquiry to solve multi­step problems. 2.5.11.B Use symbols, mathematical terminology, standard notation, mathematical rules, graphing and other types of mathematical representations to communicate observations, predictions, concepts, procedures, generalizations, ideas and results. 2.2.11.C Construct and apply mathematical models, including lines and curves of best fit, to estimate values of related quantities. 1.2.11.A Read and understand the central content of informational texts and documents in all academic areas. INTRODUCTION In thickness gauging, a source of radiation is placed on one side of the material to be tested, and a detector is placed on the other side. One advantage of using radiation for thickness gauging over other methods is that no contact with the material is required; thus no contamination takes place. Another advantage is that the instrumentation can be automated and can provide a very fast response. Determining the thickness of materials such as aluminum is one the most common uses of radiation. GUIDING QUESTIONS Please answer the following question before beginning the lab. What will the standard curve look like? Draw your prediction below. Westminster College SIM Page 1 Thickness Gauging EQUIPMENT/MATERIALS Beta Source Forceps Index Cards Scaler Shelf Unknown index card samples SAFETY · It is good technique to handle all radioactive sources with forceps. · Always wear goggles in the lab. PROCEDURE 1. Plug in the scaler, and allow it to warm up for a few minutes. Set the voltage to the operating voltage determined earlier or to the voltage provided with the instrument. To set the voltage, press the HV button and adjust with the UP and DOWN buttons. 2. Press the TIME button and adjust the time to 60 seconds by using the UP and DOWN buttons. Press the COUNT button to begin counting, then press TIME to get out of TIME mode. Note: if the red light above TIME is lit, the reading will be the number of seconds that the scaler has been counting, not the radioactive count. 3. Record the 60 second background reading and take another. Due to the randomness of radioactive decay, the background readings will likely not be the same. Average the two readings. A background reading should be taken at the end of the experiment to assure that radioactive levels in the lab have returned to normal. EXPERIMENT Place a beta source paper­side down on the second shelf from the top. Use varying numbers of individual index cards to create a standard curve of number of cards vs. radioactive counts. Use the curve to determine the number of index cards in the unknown. Remember to use corrected counts per minute to account for the background levels of radiation. QUESTIONS 1. Obtain the correct answer from the instructor. Did you get the correct answer? If not, explain why, and determine your percent error. 2. A large source of error exists for this experiment. Why? How could the effects of the error be reduced? 3. What count would you expect if you did the experiment with a pack of 20 index cards? Westminster College SIM Page 2

