Grässlin (UK) Ltd Programming guide
advertisement

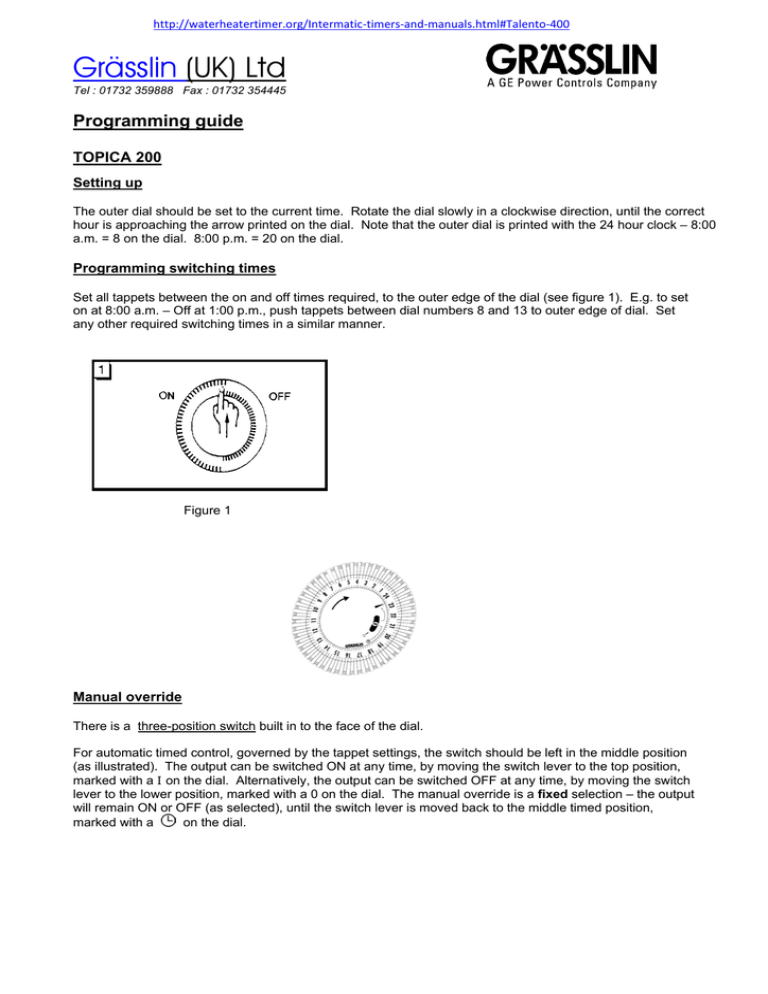
http://waterheatertimer.org/Intermatic-timers-and-manuals.html#Talento-400 Grässlin (UK) Ltd Tel : 01732 359888 Fax : 01732 354445 Programming guide TOPICA 200 Setting up The outer dial should be set to the current time. Rotate the dial slowly in a clockwise direction, until the correct hour is approaching the arrow printed on the dial. Note that the outer dial is printed with the 24 hour clock – 8:00 a.m. = 8 on the dial. 8:00 p.m. = 20 on the dial. Programming switching times Set all tappets between the on and off times required, to the outer edge of the dial (see figure 1). E.g. to set on at 8:00 a.m. – Off at 1:00 p.m., push tappets between dial numbers 8 and 13 to outer edge of dial. Set any other required switching times in a similar manner. Figure 1 Manual override There is a three-position switch built in to the face of the dial. For automatic timed control, governed by the tappet settings, the switch should be left in the middle position (as illustrated). The output can be switched ON at any time, by moving the switch lever to the top position, marked with a I on the dial. Alternatively, the output can be switched OFF at any time, by moving the switch lever to the lower position, marked with a 0 on the dial. The manual override is a fixed selection – the output will remain ON or OFF (as selected), until the switch lever is moved back to the middle timed position, on the dial. marked with a Grässlin (UK) Ltd Tel : 01732 359888 Fax : 01732 354445 PROGRAMMING SHEET TOPICA 450 (STA450S) 7Day Dial Set time and day Rotate the outer dial slowly in a clockwise direction, until the right corresponding day segment on the dial is approaching the arrowhead printed on the inside edge of the dial. Do not attempt to rotate the dial or the clock hands in an anti-clockwise direction. Now rotate the minute hand with your finger, in a clockwise direction, so that you set the correct time within the day segment. Note that the clock hands are set within a 12-hour printed ring, and the outer dial is printed with the 24 hour clock. The illustrations show the clock set at 6:00 a.m. (fig. 1) and 6:00 p.m. Ensure that you are setting current time accurately with regard to the outer 24 hour dial. Setting switching times Tappets should be pushed to the outer edge of the dial for a programmed ON instruction, and left set to the inner edge of the dial for a programmed OFF instruction. All tappets between the desired ON and OFF times must be pushed to the outer edge of the dial. Each tappet switches the output for a two-hour period. Figure 2 shows 8:00a.m. ON – 18:00 (6:00p.m.) OFF Monday – Friday; 8:00a.m. ON – 22:00 (10:00p.m.) OFF Saturday, and no switching programmed on Sunday. Manual override There is a three-position switch built in to the face of the dial. For automatic timed control, governed by the tappet settings, the switch should be left in the middle position (as illustrated). The output can be switched ON at any time, by moving the switch lever to the top position, marked with a I on the dial. Alternatively, the output can be switched OFF at any time, by moving the switch lever to the lower position, marked with a 0 on the dial. The manual override is a fixed selection – the output will remain ON or OFF (as selected), until the switch lever is moved back to the on the dial middle timed position, marked with a Grässlin (UK) Ltd TOPICA 500 (STA500S) - Description & Programming instructions The timeswitch has a total of 20 storage spaces for switching operations. Each space can be programmed as either an ON or OFF instruction, and can be applied to any one day or four day combinations. Taking the maximum programme capacity, applying each space to an operation applicable on every day, the unit will carry out a total of 140 switching operations. Rated at 13 Amps AT 240 Volt ac resistive. Before programming Press the reset button, using a pencil or similar instrument. This clears the memory of unwanted information in readiness for programming. The reset button should be used in the event of local interference causing the timeswitch to appear to malfunction. Local interference, dependent on location, may be present from time to time. Set current time and day 1. 2. 3. 4. 5. 6. Press and hold the ‘ ‘ clock symbol button during operations 2 to 5 below. Press the ‘day’ button to select the current weekday (1 = Monday) Press the ‘h’ button to select the correct hour. If setting in Summertime, press the +/-1h button once. Press the ‘m’ button to select the correct minute. Now release the ‘ ’ button - the colon between hours and minutes will flash to indicate that the clock is running. Entering switching times 1. Press the ‘Prog.’ button to select the first free memory location. 2. Press the ‘day’ button to select the day or days required for the switching to occur. You have a choice of day groups: 1 - 7 (Mon - Sun), 1 - 6 (Mon - Sat), 1 - 5 (Mon - Fri), 6 - 7 (Sat & Sun), or any individual day. Each programme space automatically starts with the day selection 1 - 7. You can change this with the day button. 3. Press the ‘h’ button to select the hour the switching is to occur. 4. Press the ‘m’ button to select the minute the switching is to occur. 5. Press the ‘ ‘ button once to select an ON instruction, or twice to select an OFF instruction. 6. Press the ‘Prog.’ button to store your programmed information, and select the next free programme space. Or store your programme with the ‘ ’ button if you have finished programming. 7. Programme further switching instructions as above. 8. Pressing the ‘Prog.’ button one additional time after you have finished programming displays the remaining number of programme spaces e.g. ‘Fr 18’. If all programme spaces are full, ‘Fr 00’ will appear. Important Note: After programming is completed, and you return the timeswitch to the current time display with the ‘ ’ button, the timeswitch will not activate any switching instruction required for the current time. You may need to manually select the desired switching state with the ‘ ‘ button. Thereafter, as the unit encounters further switching instructions in the memory in real time, it will correctly activate all subsequent switching instructions. Manual override With the ‘ ‘ button you can manually operate the switch to switch ON or OFF outside the programmed times, or you can put the switch into a permanent ON or OFF condition. The first press of the ‘ ‘ button advances the output to ON or OFF, without disrupting the programme sequence. The second press fixes the output in the continuously ON condition. The third press fixes the output in the continuously OFF condition. In either fixed condition, the timeswitch will only revert to the timed condition if you press the ‘ ‘ button once more. Read or change programmed information Press the ‘Prog.’ button repeatedly to view each of your programmed instructions in the order in which they were programmed. You can stop to alter any of the instructions using the buttons as described in “Entering switching times’ above. Grasslin (UK) Ltd Tower House Vale Rise Tonbridge Kent Tel 01732 359888 Fax 01732 354445


