SP222 Experiment: Faraday's Law and Inductance
advertisement
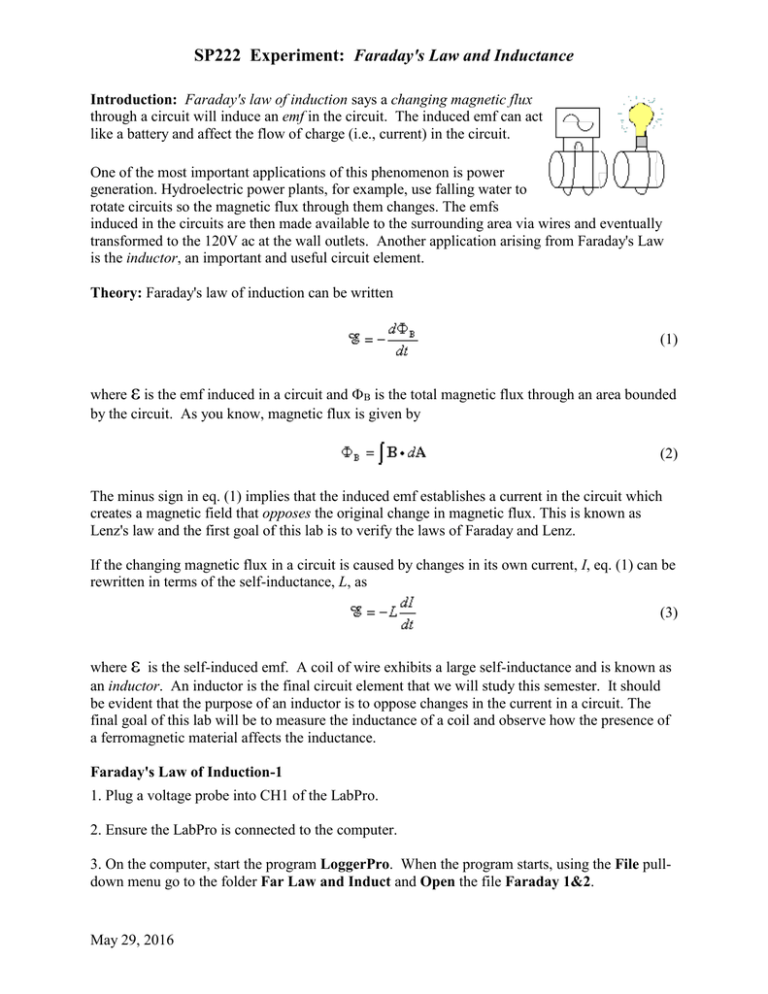
SP222 Experiment: Faraday's Law and Inductance Introduction: Faraday's law of induction says a changing magnetic flux through a circuit will induce an emf in the circuit. The induced emf can act like a battery and affect the flow of charge (i.e., current) in the circuit. One of the most important applications of this phenomenon is power generation. Hydroelectric power plants, for example, use falling water to rotate circuits so the magnetic flux through them changes. The emfs induced in the circuits are then made available to the surrounding area via wires and eventually transformed to the 120V ac at the wall outlets. Another application arising from Faraday's Law is the inductor, an important and useful circuit element. Theory: Faraday's law of induction can be written (1) where ε is the emf induced in a circuit and B is the total magnetic flux through an area bounded by the circuit. As you know, magnetic flux is given by (2) The minus sign in eq. (1) implies that the induced emf establishes a current in the circuit which creates a magnetic field that opposes the original change in magnetic flux. This is known as Lenz's law and the first goal of this lab is to verify the laws of Faraday and Lenz. If the changing magnetic flux in a circuit is caused by changes in its own current, I, eq. (1) can be rewritten in terms of the self-inductance, L, as (3) where ε is the self-induced emf. A coil of wire exhibits a large self-inductance and is known as an inductor. An inductor is the final circuit element that we will study this semester. It should be evident that the purpose of an inductor is to oppose changes in the current in a circuit. The final goal of this lab will be to measure the inductance of a coil and observe how the presence of a ferromagnetic material affects the inductance. Faraday's Law of Induction-1 1. Plug a voltage probe into CH1 of the LabPro. 2. Ensure the LabPro is connected to the computer. 3. On the computer, start the program LoggerPro. When the program starts, using the File pulldown menu go to the folder Far Law and Induct and Open the file Faraday 1&2. May 29, 2016 4. Zero the voltage probes by connecting the leads together and selecting Zero in the Experiment pull-down menu. 5. Select Data in the Experiment pull-down menu and ensure the sample rate is set to 300 samples/sec. 6. Position a 3200-turn coil so the square opening in the coil is oriented vertically. Connect the two leads of the voltage probe to the coil. For consistency, connect the red lead to the "lower" connector on the coil and the black lead to the "upper" connector, as shown in the following diagram. 7. Place the clear plastic tube through the coil and orient the tube at an approximate 45º degree angle with respect to the horizontal. Now position the coil so it is midway on the tube. Nominate someone in your group to hold their hand at the bottom of the tube and catch the magnet as it leaves the tube. Prepare to drop the magnet through the tube and coil. CAUTION: Please try to keep the magnets from falling on a hard surface or coming into contact with another magnet. Both processes can destroy a good magnet. 8. Click on Collect and then release the magnet so it "falls" through the coil. Manually scale the graph so the full shape of the curve is visible. Explain the shape of the emf vs. time data. As part of your explanation, you should sketch the magnetic flux vs. time on the graph. Your sketch should be qualitatively consistent with the emf vs. time data. 9. Determine the total area under the emf vs. time curve. First, highlight the portion of the data to be analyzed by holding down the button on the mouse and dragging the cursor across the data. Second, select the Integral option under the Analyze pull-down menu. The total area should be zero. May 29, 2016, Faraday's Law page 2 Why should the total area under the curve be zero? This result is profound. A verifiable, non-zero area under such a curve has never been found. If it were found, it would imply the existence of a magnetic monopole and this would violate a fundamental law of physics. Faraday's Law of Induction-2 It is difficult to quantitatively evaluate eq. (1) using magnets. A more reliable and reproducible way of checking eq. (1) is to use the magnetic field created by a current. First, we will carry out another experiment that should enable us to again verify that the induced emf is proportional to the rate of change (derivative with respect to time) of the magnetic flux and opposes the change that produced it. 1. Connect a second voltage probe to CH2 of the LabPro. 2. Open the file Faraday3. 3. Zero both voltage probes. 4. Select Data in the Experiment pull-down menu and ensure the sample rate is set to 300 samples/sec. 5. Set up the equipment exactly as shown in the next diagram. The voltage probe attached to CH1 on the LabPro should be connected to the coil connected to the coil on the right and the voltage probe attached to CH2 should be connected to the coil on the left (or power supply). (Note the relationship between this experiment and the sketch at the upper right hand corner of the first page of this write up. In principle, the emf induced in our coil on the right could be used to light a light bulb.) The purpose of the digital function generator is to apply a triangular (vs. time) voltage to the coil on the left. Consequently, there will be a triangular current in the coil on the left. The current in the coil on the left will produce a triangular (vs. time) magnetic field and, hence, a changing magnetic flux in the coil on the right. An emf should be induced in the coil on the right. We will measure and compare the voltage applied to the coil on the left (sometimes known as the primary) and the emf induced in the coil on the right (sometimes known as the secondary). May 29, 2016, Faraday's Law page 3 6. Place a rod of ferromagnetic material (approximately 2 cm x 2 cm x 8 cm) through the cores of the coils. This increases the strength of the magnetic field inside both coils. The purpose is to increase the emf induced in the coil on the right to make it easier to measure. 7. On the digital function generator, carry out the following steps. a. Turn the AMPLITUDE to zero (fully counterclockwise) and turn on the power (switch is on the back). b. Push the RANGE ADJUST knob. button twice and set the frequency to 1.000 Hz via the c. Press the WAVEFORM button once so that the small, green light beside the symbol for the triangular wave lights. 8. Click Collect on the computer and adjust the AMPLITUDE on the Digital Function Generator-Amplifier until Voltage 2 is a triangular waveform with a maximum of about 5 V. (Because of the way we have wired the circuit, Voltage 2 is the voltage in the coil on the left, the primary.) 9. Click Collect again to refresh your data. Carefully compare the shapes of the two curves and discuss whether you have results that confirm Faraday's law and Lenz's law qualitatively. 10. Double the frequency (i.e., set the frequency to 2.000 Hz) and collect another data set. How does the magnitude of the emf induced at 2 Hz compare with the emf induced at 1 Hz? Explain. 11. Press the WAVEFORM button so the small, green light beside the symbol for the sine wave, , lights. Click on Collect to obtain another data set. Explain why the shapes of the two curves are the same. How are the two curves different? 12. Remove the iron core. Click Collect to take data. Is the induced emf observable without the iron core? May 29, 2016, Faraday's Law page 4 Faraday's Law of Induction-3 Finally, we will do a quantitative check of eq. (1). What we will do is use a large coil to produce a known, changing magnetic field. We will then place a coil of known (approximate) area in the changing magnetic field. Consequently, we will be able to calculate the rate of change of flux and hence predict the induced emf. Finally, we will measure the induced emf and compare it to our predicted value. Theory The magnetic field is provided by a 200-turn coil of radius R and carrying a current I. The magnitude of the magnetic field at the middle of a single loop of radius R is given by (4) so for our 200-turn coil the magnetic field at the center is (5) Consequently, if the current in the coil is changing the magnetic field is also changing so that (6) We will place a 3200-turn coil at the center of the big coil. Since the emf induced in a coil with N turns is (7) and since (8) it follows that the emf induced in the 3200-turn coil should be (9) Experiment 1. Assemble the equipment as shown in the next picture. We will be measuring the current, I, in the big coil rather than the voltage. Again, the current in the big, 200-turn coil results in a magnetic field that passes through the small, 3200-turn coil. May 29, 2016, Faraday's Law page 5 2. Open the file Faraday4. 3. Select Data in the Experiment pull-down menu and ensure the sample rate is set to 300 samples/sec. 4. With the voltage probes connected together and nothing connected to the current probe, Zero the probes. Reconnect the probes to your equipment. 5. ADJUST the function generator to 5.000 Hz and use a triangular WAVEFORM. If necessary, adjust the AMPLITUDE so the function generator supplies a maximum current of about 0.5 A 6. Click Collect on the computer program to record the current in the 200-turn field coil and the emf induced in the 3200-turn inductor. 7. From the graph (or the computer), determine the average value of the the rate of change of the current and the average magnitude of the induced emf over one half-cycle. Record the values in the space provided. |dI/dt| = |emfexperimental| = ± A/s ± V 8. To use eq. (9) we need a value for the area, A, of the 3200-turn coil. The structure of the coil is as follows. An end view of the coil is shown in the next diagram. May 29, 2016, Faraday's Law page 6 Measure the outside dimension of the coil, douter, and record the value in the space provided. Calculate the outside area of the coil assuming a square cross-section and record the value as Aouter in the space provided. 9. There are 20 layers of wire where each wire is 0.25 mm in diameter. From this information, determine the inside dimension of the coil, dinner, and record the value in the space provided. Calculate the inside area of the innermost wires and record the value as Ainner in the space provided. douter = ± m Aouter = ± m2 dinner = ± m Ainner = ± m2 10. Calculate the average area, and record the value in the space provided. We will approximate the area of the coil using this average value. A = Aave = m2 ± 11. Next, determine the radius, R, of the 200-turn field coil. It may be written on the coil. Record the value in the space provided. R= ± m 12. Use eq. (9) to calculate the theoretical value of the induced emf. Record the value in the space provided. May 29, 2016, Faraday's Law page 7 |emftheoretical| = ± V Compare the experimental and theoretical values of the induced emf. Self-Inductance As you know, our 3200-turn coil is an example of an inductor. To increase our familiarity with inductance, L, and the relationship between the magnitude of L and the physical size of a coil, let us measure the inductance. Use the Pro-Tek multimeter to measure the inductance. (Turn on the meter, turn the dial to the capacitance/inductance symbols, then push the FUNC button.). Record the value in the space provided. Lmeasured = ± H Because of the shape of the coil, a prediction of the inductance of the 3200-turn coil is beyond the scope of this course. However, we have learned something by this exercise in that the inductance is small for a relatively large coil. To see how inductance is increased using an iron core, slowly insert the square ferromagnetic rod from part 3 of this lab into the core of the 3200turn coil while measuring the inductance. Describe what happens to the inductance as the ferromagnetic material is inserted into the coil. End of Lab Checkout Before leaving the laboratory, please dismantle any circuits or connections that you have made and tidy the workstation. May 29, 2016, Faraday's Law page 8
