Create a Simple Form Form & Data Sheet, Select Form
advertisement
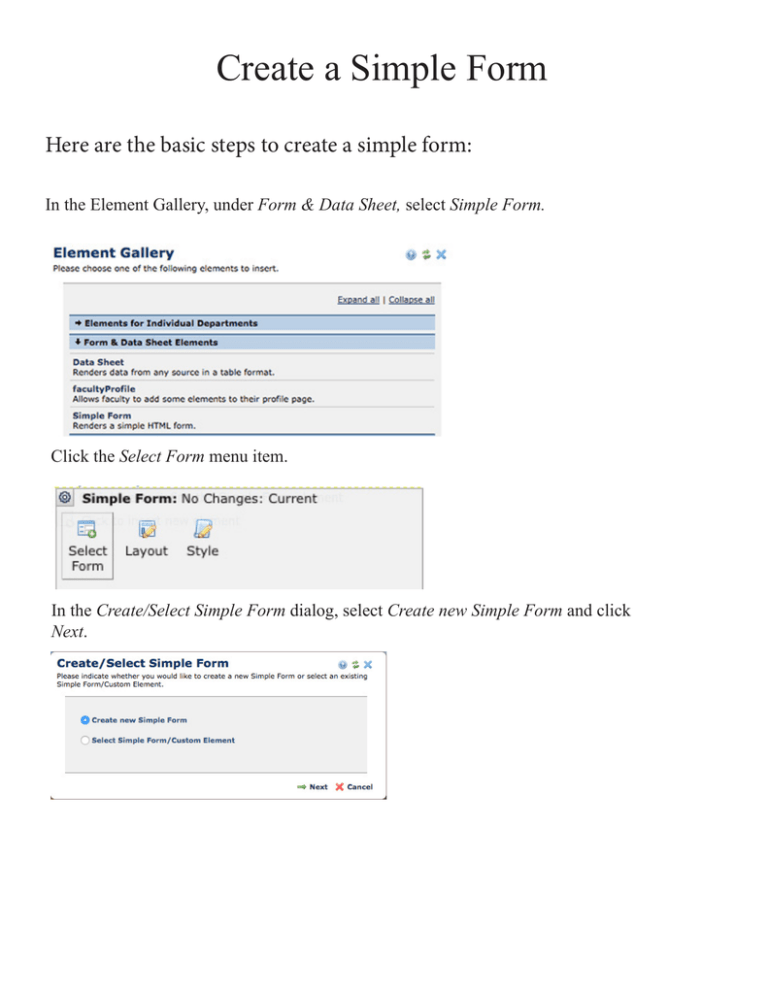
Create a Simple Form Here are the basic steps to create a simple form: In the Element Gallery, under Form & Data Sheet, select Simple Form. Click the Select Form menu item. In the Create/Select Simple Form dialog, select Create new Simple Form and click Next. Fill out the dialog box. Note when naming your form, the names may only contain unaccented letters and numbers. Leave the Form Actions fields on the default Display message upon submission and click the Specify Message...button. Type the message the user will see after submitting the form and click Save. Note: At this point you can Save the form if you don’t need to receive an email when the form is submitted, If you want an email notification follow the steps below. In the Email Notification field, check “Send email notification upon submission”. This will expand the dialog box. Add your email in the “Recipients” field for testing. This can be changed later by clicking Form Action. Note: Even though the field instructions say Enter a comma-delimited list of email address..., use a semicolon. Add an address to the Sender’s Email Address field, it can not be left blank. Then click Save. Note: Since you won’t be replying to it, it doesn’t have to be a real address. It can be something that lets you know which form or page it is sent. For example, on a form named AskHR, AskHR_form@uwstout.edu might be used as the Sender’s Email address. Use the email address of the user submitting the form, if known as, this will only apply if the person is logged in to CommonSpot. Click Edit Fields in the Simple Form menu. The Edit Simple Form Fields dialog box will appear. Click the Add New Field link and add desired fields. The Text field is probably the most commonly used. Don’t forget to check the Other Properties tab for each new field type you try. Note: The Field Name shouldn’t contain spaces or characters. If you have an Email field, you can check the Senders Email on the Other Properties tab so you can reply to the form submitter from the form submission email. The overrides the Sender’s Email Address field setting set in step 9 above. After adding the fields, click Close to see your form. Complete the form for testing purposes, and review the message displayed upon submission and the email you received containing the form values submitted. Once the form has been published, click Form Security in the Simple Forms dialog box. Select Add Group(s) to provide form editing rights to others in your ComonSpot subsite group. Groups names start with the subsite path, so add that to the search fields and Filter, e.g., /hr or /services/parking. Check the box next to the appropriate group and click Next. Select Administer, Save, then Close. Updated Spring February 2015
