LIEBERT® SN™ INTEGRATED SENSORS
Quick-Start Guide
Description
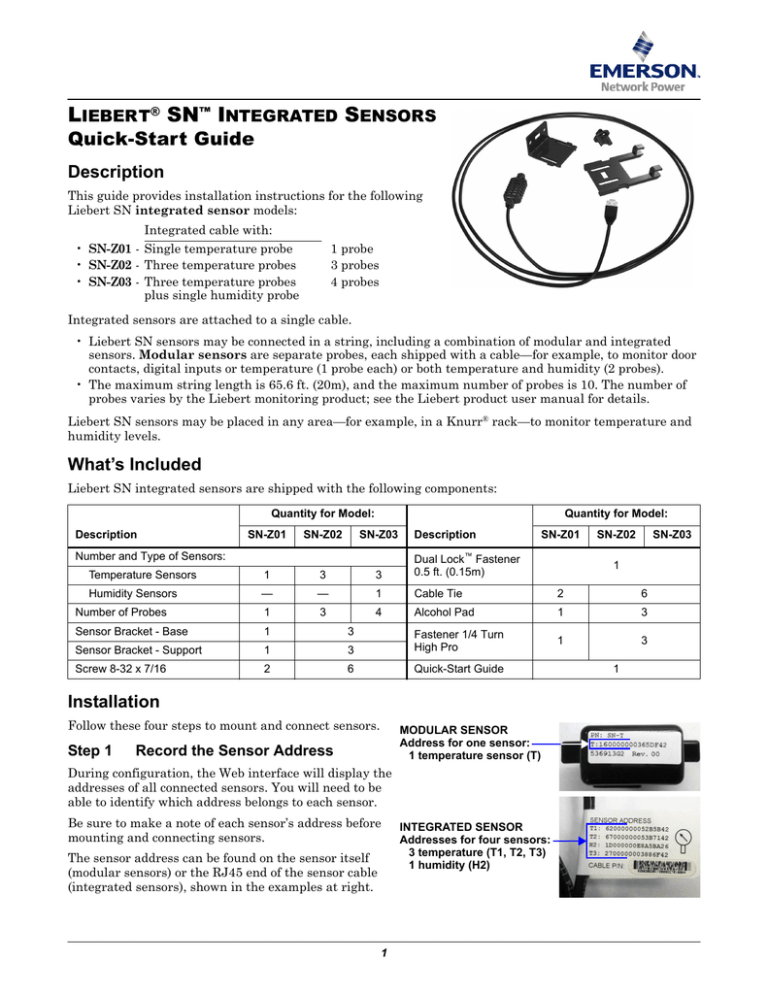
This guide provides installation instructions for the following
Liebert SN integrated sensor models:
Integrated cable with:
• SN-Z01 - Single temperature probe
• SN-Z02 - Three temperature probes
• SN-Z03 - Three temperature probes
plus single humidity probe
1 probe
3 probes
4 probes
Integrated sensors are attached to a single cable.
• Liebert SN sensors may be connected in a string, including a combination of modular and integrated
sensors. Modular sensors are separate probes, each shipped with a cable—for example, to monitor door
contacts, digital inputs or temperature (1 probe each) or both temperature and humidity (2 probes).
• The maximum string length is 65.6 ft. (20m), and the maximum number of probes is 10. The number of
probes varies by the Liebert monitoring product; see the Liebert product user manual for details.
Liebert SN sensors may be placed in any area—for example, in a Knurr® rack—to monitor temperature and
humidity levels.
What’s Included
Liebert SN integrated sensors are shipped with the following components:
Quantity for Model:
Description
SN-Z01
SN-Z02
Quantity for Model:
SN-Z03
Number and Type of Sensors:
Description
Temperature Sensors
1
3
3
Dual Lock™ Fastener
0.5 ft. (0.15m)
Humidity Sensors
SN-Z01
SN-Z02
SN-Z03
1
—
—
1
Cable Tie
2
6
Number of Probes
1
3
4
Alcohol Pad
1
3
Sensor Bracket - Base
1
3
Sensor Bracket - Support
1
3
Fastener 1/4 Turn
High Pro
1
3
Screw 8-32 x 7/16
2
6
Quick-Start Guide
Installation
Follow these four steps to mount and connect sensors.
Step 1
MODULAR SENSOR
Address for one sensor:
1 temperature sensor (T)
Record the Sensor Address
During configuration, the Web interface will display the
addresses of all connected sensors. You will need to be
able to identify which address belongs to each sensor.
Be sure to make a note of each sensor’s address before
mounting and connecting sensors.
The sensor address can be found on the sensor itself
(modular sensors) or the RJ45 end of the sensor cable
(integrated sensors), shown in the examples at right.
1
INTEGRATED SENSOR
Addresses for four sensors:
3 temperature (T1, T2, T3)
1 humidity (H2)
1
Step 2
Mount the Sensor
The sensor may be mounted in a Knurr rack or another type of rack. For temperature and humidity sensors,
be sure to choose a place with unobstructed airflow—for example, on the rack door. Check to make sure that
the sensor does not cover any vents that might impede airflow.
A factory-supplied bracket and several types of fasteners offer various options for rack mounting:
Use in:
Materials Needed
• All mounting options: A - D
• Bracket base & sensor support
• Option A - Mount on a Knurr Rack Frame 19-Inch Rail
•
•
•
•
•
• Option B - Mount the Sensor on the Rack Door
• Option C - Mount the Sensor on a Flat Surface
• Option D - Mount the Sensor on the Rack Rails
Quarter-turn tool-less fastener
Screws (Knurr Rack only)
Cable ties (all types of racks)
Dual Lock fasteners
Standard panhead rack screw
Assemble the Sensor and Bracket
FactorySupplied
✔
✔
✔
✔
✔
Not supplied
Sensor support
If using the factory-supplied bracket, follow these steps to assemble
the two parts of the bracket and attach the sensor to the bracket:
• The factory-supplied bracket has two parts—the support base and
the sensor support, as shown at right. Insert the support base into
one end of the sensor support.
• Snap the sensor into the other end of the sensor support.
Sensor
Choose a Rack Mounting Option
Support
base
Determine where to place the sensor in the rack and use one of the following methods:
• Option A Mount on a Knurr Rack Frame 19-Inch Rail
To mount the sensor on the frame or optional 19-inch rail of a Knurr rack, use the factory-supplied
quarter-turn, tool-less fastener to secure the sensor and bracket to the frame or rail (see Figure A).
• Place the sensor in the factory-supplied
Figure A Sensor mounted on Knurr rack frame
bracket (see Assemble the Sensor and
Tool-less
Bracket).
fastener
• Insert the quarter-turn tool-less fastener
through the slots in the sensor support or the
base of the assembled bracket to mount the
sensor on the rack frame or optional 19-inch
Sensor
rails.
• As the name signifies, the quarter-turn fasKnurr frame
tener requires only a 1/4 turn clockwise to fasmember
ten the sensor securely in place.
• Option B Mount the Sensor on the Rack Door
To mount the sensor on a rack door, use the factory-supplied screws (Knurr rack only) or cable ties (all
types of racks) to secure the sensor and bracket to the door (see Figure B).
• Place the sensor in the factory-supplied bracket (see Assemble the Sensor and Bracket).
• For Knurr racks:
Figure B Sensor mounted
on rack door
• Use the factory-supplied screws or cable ties to mount the sensor and
Sensor
bracket on the rack door.
If the door has a slot similar to the one on the Knurr rack frame
member (see Option A), you can attach the sensor support bracket
by inserting the quarter-turn tool-less fastener through the center
slot in the bracket.
• For other types of racks:
• Use the factory-supplied cable ties to mount the sensor and bracket
on the rack door. (The bracket is not necessary if the sensor is
mounted on the door’s perforated holes using cable ties.)
2
• Option C Mount the Sensor on a Flat Surface
To mount the sensor on a flat surface in any rack:
• Place the sensor in the factory-supplied bracket (see Assemble the Sensor and Bracket).
• Use the provided alcohol pads to clean the rack surface and bracket prior to affixing the factory-supplied Dual Lock fasteners.
• Use the Dual Lock fasteners to affix the sensor and bracket to any flat surface in the rack or on the
door.
• Option D Mount the Sensor on the Rack Rails
To mount the sensor on the rails of any rack:
• Place the sensor in the factory-supplied bracket (see Assemble the Sensor and Bracket).
• Use the factory-supplied bracket and a standard panhead rack screw (not supplied) to mount the
bracket on the rack rails.
Step 3
Connect the Sensor
Each sensor is shipped with a cable to connect to the Liebert SN sensor port on your Liebert product. You may
use this cable or another standard straight-through cable to connect to the Liebert monitoring device or to
another modular or integrated sensor.
To connect a sensor or string of sensors to a Liebert product:
• After securely mounting the sensor (Step 2), look for the sensor icon on the Liebert product to identify the
Liebert SN sensor port.
Icon
Description
Liebert SN
sensor port
Purpose
Use this port ONLY to plug in optional
sensor accessories.
• Insert the RJ45 connector end of the sensor cable into the Liebert SN sensor port on the Liebert product.
Some examples are shown below.
• If using multiple sensors, connect them in a string using the factory-supplied cables or other straightthrough cables. See the user manual for your Liebert product to determine the maximum number of
sensors that may be connected on a string.
Liebert RDU-S
Liebert RPC
Connect RJ45
end of cable
to Liebert product
RJ45 connector end
of sensor cable
Liebert SN
sensor ports
Step 4
Configure the Sensor
Use the Web interface to acknowledge the connection and configure sensor parameters. You will need the
sensor address recorded in Step 1 during configuration. Examples of parameters to be configured include:
• Assign a label to each sensor.
• Configure temperature or humidity thresholds or other parameters to trigger warnings and alarms.
Refer to the user manual of your Liebert product for detailed configuration instructions.
3
Specifications
Dimensions - W x D x H, in. (mm)
2 x 3/4 x 1-5/8 (51 x 19 x 41)
Weight, lb. (kg)
Net Weight
0.25 (0.11)
Shipping Weight
0.44 (0.2)
Temperature (all models), °F (°C)
Ambient Operating Environment
41 to 131 (5 to 55)
Temperature Sensor Range
41 to 131 (5 to 55)
Accuracy
±1.1 (±0.5)
Humidity (SN-Z03 models)
Humidity
10 to 95% RH (non-condensing)
Accuracy
±3.5% RH
Altitude, ft. (m)
Up to 6,500 (2000)
User Manuals
This guide is designed to provide the information needed to install a Liebert SN modular sensor in a Liebert
product. For complete details on installing and configuring the sensor with your Liebert product, consult the
user manual for your Liebert product, available online at www.liebert.com.
Emerson Network Power highly recommends that new users consult the user manual.
Compatible Liebert Products
Liebert SN integrated sensors are compatible with many Liebert products. Some examples are:
• The Liebert MPX™ is an Adaptive Rack PDU (power distribution unit) built with modular and scalable
components that can be installed and reconfigured on-site to meet varying input and output power
connectivity needs. The Liebert RPC™ (Rack PDU Card) is an optional accessory for the Liebert MPX, but is
required for connecting the Liebert SN.
• The Liebert MPH™ is a single unit with fixed capacity, input and output. The Liebert RPC is factoryinstalled in the Liebert MPH.
• The Liebert RDU-S is an Ethernet-ready, Web-enabled device designed to provide a consolidated view of
your monitored environment. The Liebert RDU-S is capable of monitoring temperature, humidity, door
status, digital inputs, digital outputs, cameras and more.
Liebert Corporation
1050 Dearborn Drive
P.O. Box 29186
Columbus, OH 43229
Telephone: 1-800-877-9222
Facsimile: 1-614-841-6022
www.liebert.com
© 2010 Liebert Corporation
All rights reserved throughout the world. Specifications subject
to change without notice.
® Liebert is a registered trademark of Liebert Corporation. All
names referred to are trademarks or registered trademarks of
their respective owners.
SL-20840_REV1_07-10
4


