ORCA Users Guide Introduction
advertisement
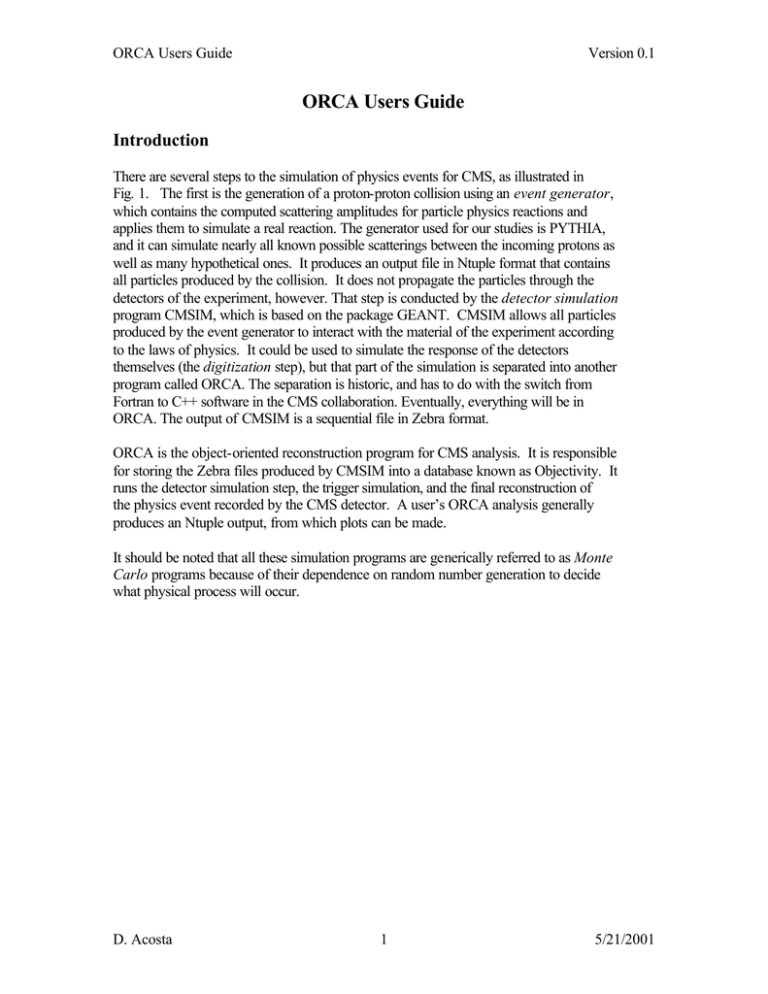
ORCA Users Guide Version 0.1 ORCA Users Guide Introduction There are several steps to the simulation of physics events for CMS, as illustrated in Fig. 1. The first is the generation of a proton-proton collision using an event generator, which contains the computed scattering amplitudes for particle physics reactions and applies them to simulate a real reaction. The generator used for our studies is PYTHIA, and it can simulate nearly all known possible scatterings between the incoming protons as well as many hypothetical ones. It produces an output file in Ntuple format that contains all particles produced by the collision. It does not propagate the particles through the detectors of the experiment, however. That step is conducted by the detector simulation program CMSIM, which is based on the package GEANT. CMSIM allows all particles produced by the event generator to interact with the material of the experiment according to the laws of physics. It could be used to simulate the response of the detectors themselves (the digitization step), but that part of the simulation is separated into another program called ORCA. The separation is historic, and has to do with the switch from Fortran to C++ software in the CMS collaboration. Eventually, everything will be in ORCA. The output of CMSIM is a sequential file in Zebra format. ORCA is the object-oriented reconstruction program for CMS analysis. It is responsible for storing the Zebra files produced by CMSIM into a database known as Objectivity. It runs the detector simulation step, the trigger simulation, and the final reconstruction of the physics event recorded by the CMS detector. A user’s ORCA analysis generally produces an Ntuple output, from which plots can be made. It should be noted that all these simulation programs are generically referred to as Monte Carlo programs because of their dependence on random number generation to decide what physical process will occur. D. Acosta 1 5/21/2001 Signal MB Version 0.1 Geant3 HEPEVT ntuples CMSIM MC Prod. Pythia 6 ORCA Users Guide Zebra files with HITS ORCA Digitization (merge signal and MB) Objectivity Database ORCA ooHit Formatter Objectivity Database HLT Grp Databases HLT Algorithms New Reconstructed Objects Objectivity Objectivity ytivitcejbO Database ytivitcejbO Database esabataD esabataD Figure 1: The CMS event generation scheme. Detector Simulation with CMSIM There should be one primary directory related to cmsim and that is where all of these commands should be executed. The first thing is to guarantee that the computer is using the appropriate version of cmsim. This is done by typing: cmsim cmsXXX where XXX is the version number (presently 121). The script called “submit_test” is run in order to create each new zebra file. This script contains all the pertinent information about the events that will be generated. Every time that new zebra files are created, it is useful to check this file in order to make sure that events are being created with the correct information. The script can take up to three arguments. The first argument sets a variable called MYPT, which somehow defines the Pt range of the muons created. The second argument sets a variable called NEVENTS, which is just the number of events created. Finally, the third argument sets a variable called JOB, which defines the job number associated with D. Acosta 2 5/21/2001 Mirrored Db’s Catalog import (CERN, US, Italy,…) ORCA Objectivity Database ORCA Prod. Catalog import ORCA Users Guide Version 0.1 the zebra file. If you do not specifically define these variables when running the script, they are automatically set to a default value which can be found in the first several lines of code of the submit_test script. The important information to be set in the submit_test script is the kinematics of the muon. This information is found about 1/3 of the way through the code and should look something like: C One ptcle mu+ C KINE 3 5. KINE 3 5. etamin etamax 0.8 2.4 1.2 1.6 fimin fimax ptmin ptmax 0.0 360.0 $MYPT. 100. 0.0 360.0 $MYPT. $MYPT. The line that is not commented out will be used. The meaning of each value should be self-explanatory. The “.” after the $MYPT variable is mandatory. When submit_test has been appropriately edited, the zebra files are created using the following command. nohup submit_test [Pt events job] >&! logptX & The “nohup” command allows the user to log off the server without cancelling the job. The three parameters in brackets can be specified, or left blank to choose the default. The “>&!” redirects the output to the file called “logptX” where X is usually the value of MYPT whether or not a file by that name already exists. The final & causes the job to run in the backround without tying up the command line. Note: If you want to set the value for NEVENTS, then you must set the value for MYPT. You cannot just leave a space. Each job creates a .log, .rz, and .fz file (random and sequential access Zebra files) with a name like: cms121_1mu_pt[MYPT]_[NEVENTS]_.* where the .fz file is the one that contains the simulation results (the other is an Ntuple with some histograms). Creating a New ORCA Working Area To begin working with ORCA, you need to create a working area using the “scram” compile and build tool of CMS: scram project ORCA ORCA_4_5_1 This creates a new subdirectory in the current directory called ORCA_4_5_1, which is the current release version of ORCA. Because of some problems with creating databases using this version, you may have to create another area for the older version ORCA_4_4_0. D. Acosta 3 5/21/2001 ORCA Users Guide Version 0.1 Once you have this working area, you need to put some code there. This is accomplished by “checking out” the packages from the CVS software repository at CERN. To access this repository, you must first set an environment variable (if it has not been set already): setenv CVSROOT :pserver:anonymous@cerncvs.cern.ch:??? Then you must login with the following password: cvs login 98passwd The code should go into the “src” subdirectory of your working area, so you must type: cd ORCA_4_5_1/src Then you can check out packages related to creating databases: cvs co –r ORCA_4_5_1 Utilities/Configuration cvs co –r ORCA_4_5_1 Examples The tag “-r ORCA_4_5_1” gets the version of the code appropriate for the version of ORCA you set up. If you leave it out, you get the latest version (known as the “head”), which is not guaranteed to work. To check out the latest muon trigger packages, do: cvs co Trigger/L1CSCTrigger cvs co Trigger/L1CSCTrackFinder If you already checked out a package, but want to update it to the latest version, type the following from within a package: cvs update Notice that in each of these packages, you have an interface/ subdirectory that contains the class header files, and a src/ subdirectory with the C++ implementation. The test/ area contains an example main program that you can link into an executable. Compiling New ORCA code Once you have checked out the ORCA code you need, you must compile it into libraries. Again, you use the SCRAM compile and build tool. You execute the following command at the highest level you want to build. If you execute it within a package, only that package gets built. If you execute it at the top of the src/ subdirectory of your ORCA working area, all packages will be built: scram build clean D. Acosta 4 5/21/2001 ORCA Users Guide Version 0.1 scram build The first line is only sometimes needed. It starts everything from scratch. Normally you just type the second line, and SCRAM will compile only that code that has changed since the last build. By the way, “scram build” can be shortened to “scram b”. Creating and Filling Databases So far, this only works reliably for version ORCA_4_4_0. To work with this version, you must first type gcc_old Then to return to working with ORCA_4_5_1 (which can read files produced by the older version) type: gcc_new (or maybe gcc_pro on certain machines) Creating The first step is to create a directory in your ORCA working area where all the databases will be stored. This step only needs to be done once, as you can store many file sets in one database. You can just call this directory “databases.” Once you have this, go to the directory: ORCA_4_4_0/src/Utilities/Configuration/src/ From here, you should be able to create the new database by typing something like: makefd.local /dip01/tmp2/micah/databases/dbname where “dbname” is the name that you want to give to the new database. Filling The filling of a database with CMSIM data is done in the directory: ORCA_4_4_0/src/Examples/ExProduction/ Before you can fill a database, you must issue a “scram b” command to compile the code in this directory. There is one file that needs to be edited: writeHits.csh, and it may need to be copied from someone since it is not included in the CVS repository. It contains several lines of code. The first does not need to be edited. The second defines the owner of the database and should contain your name as the last word. The third line defines the name that you will use later to reference the CMSIM information that you are about to store. D. Acosta 5 5/21/2001 ORCA Users Guide Version 0.1 The next several lines do not in general need to be changed, but the section that gets written into the file .orcarc in general does. This is the section where particular runtime configurations are set for your job. You should edit here the part that specifies the CMSIM file to be formatted into the database, and the number of events. It should all look something like this: eval `scram runtime -csh` setenv OO_FD_BOOT /dip01/tmp2/micah/databases/single_mu_440/ORCATEST.boot setenv CARF_OUTPUT_OWNER Micah setenv CARF_OUTPUT_DATASET_NAME pt10low setenv DETINPUT /dip01/tmp2/cms/reconstruction/datafiles/cms121_1/cms_geom_out.rz # change it to your cmsim file FZInputFiles=/dip01/tmp2/micah/cms121/cms121_1mu_pt10_4000_.fz # set the number of events to process SimApplication:MaxEvents=-1 Note: Setting MaxEvents=-1 processes all the events from the cmsim file. Once these two files have been properly edited, the commands that fill the database are as follows: source writeHits.csh nohup ../../../bin/Linux__2.2/writeHits >&! file.log & Once again, file.log will contain the information about the progress of filling the database. It should be named in such a way as to be recognizable in the future. Note: If you make a mistake while filling the database, it is important that you know that redoing the process described above will append to the database as opposed to overwriting! This means that if the script writeHits.csh that you run is interrupted, you need to select a new name in writeHits.csh before retrying. Creating Trigger Ntuples from Databases with ORCA The creation of Ntuple files from databases is done in the following directory: ORCA_4_5_1/src/Trigger/L1CSCTrackFinder/test/ Before you can read a database, you must issue the “scram b” command to compile and link the code in this directory into an executable. D. Acosta 6 5/21/2001 ORCA Users Guide Version 0.1 One of the scripts used to configure the reading of the database is called orcatest.csh. Files such as this can be many lines long, but there are only a few that will need to be edited regularly. They are as follows: setenv OO_FD_BOOT /dip01/tmp2/micah/databases/single_mu_440/ORCATEST.boot This line must be the location of the database dircetory that you are getting the information from. The name ORCATEST.boot should always be the same, or at least what you gave it in the writeHits step. setenv CARF_INPUT_OWNER Micah setenv CARF_OUTPUT_OWNER Micah2 These two lines define the owner. The input file owner must be the same as that used to fill the database, and the output owner should be different. The latter comes into play because the output of your analysis can also be stored in the database (thus saving future CPU time). Technically speaking, writeHits only stored the particle hit locations in the CMS detector, whereas writeDigis or your analysis can store the detector digitization results. setenv CARF_INPUT_DATASET_NAME pt10low setenv CARF_INPUT_EVCOLL_NAME pt10low These two lines must contain the name of the dataset that you used in the writeHits.csh file when filling the database. RecApplication:MaxEvents = 4000 This last line defines the number of events that you are processing. Usually, it will be the same as the number that you used for NEVENTS when creating the CMSIM file. D. Acosta 7 5/21/2001
