Configure Windows Development Platform 22 October 2012 How to
advertisement
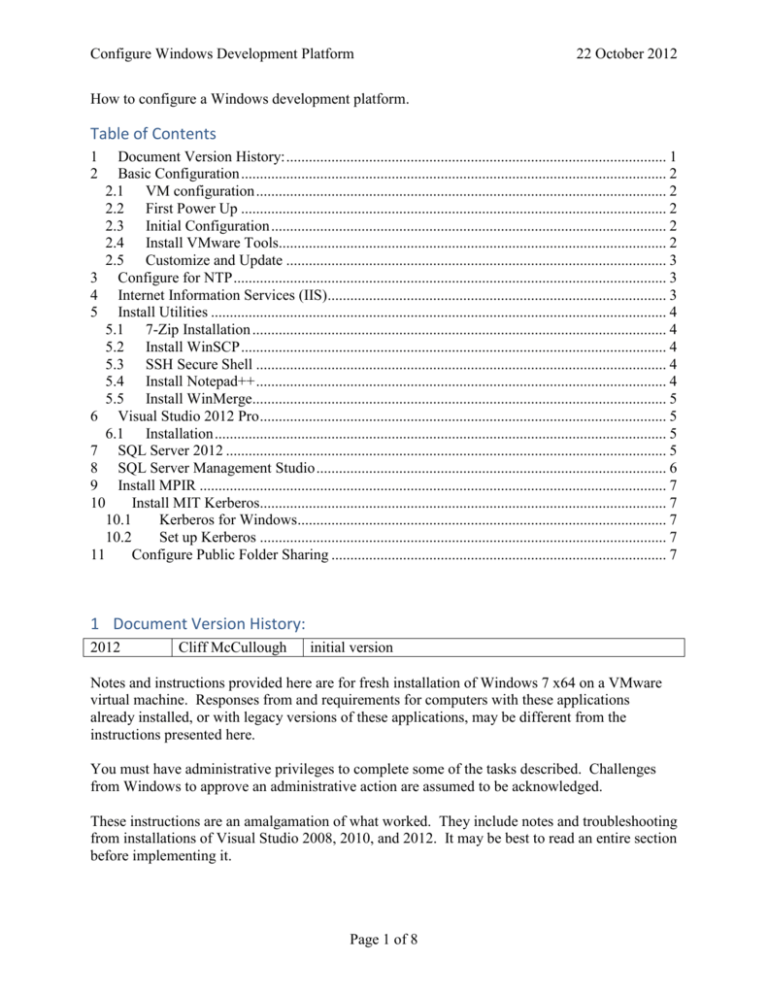
Configure Windows Development Platform 22 October 2012 How to configure a Windows development platform. Table of Contents 1 2 Document Version History: ..................................................................................................... 1 Basic Configuration ................................................................................................................. 2 2.1 VM configuration ............................................................................................................. 2 2.2 First Power Up ................................................................................................................. 2 2.3 Initial Configuration ......................................................................................................... 2 2.4 Install VMware Tools....................................................................................................... 2 2.5 Customize and Update ..................................................................................................... 3 3 Configure for NTP ................................................................................................................... 3 4 Internet Information Services (IIS).......................................................................................... 3 5 Install Utilities ......................................................................................................................... 4 5.1 7-Zip Installation .............................................................................................................. 4 5.2 Install WinSCP ................................................................................................................. 4 5.3 SSH Secure Shell ............................................................................................................. 4 5.4 Install Notepad++ ............................................................................................................. 4 5.5 Install WinMerge.............................................................................................................. 5 6 Visual Studio 2012 Pro ............................................................................................................ 5 6.1 Installation ........................................................................................................................ 5 7 SQL Server 2012 ..................................................................................................................... 5 8 SQL Server Management Studio ............................................................................................. 6 9 Install MPIR ............................................................................................................................ 7 10 Install MIT Kerberos............................................................................................................ 7 10.1 Kerberos for Windows.................................................................................................. 7 10.2 Set up Kerberos ............................................................................................................ 7 11 Configure Public Folder Sharing ......................................................................................... 7 1 Document Version History: 2012 Cliff McCullough initial version Notes and instructions provided here are for fresh installation of Windows 7 x64 on a VMware virtual machine. Responses from and requirements for computers with these applications already installed, or with legacy versions of these applications, may be different from the instructions presented here. You must have administrative privileges to complete some of the tasks described. Challenges from Windows to approve an administrative action are assumed to be acknowledged. These instructions are an amalgamation of what worked. They include notes and troubleshooting from installations of Visual Studio 2008, 2010, and 2012. It may be best to read an entire section before implementing it. Page 1 of 8 Configure Windows Development Platform 22 October 2012 Final disclaimer: I did not get everything to work, then retest the instructions from scratch. These instructions are believed to be correct and complete. Other than that, good luck. 2 Basic Configuration I configured one development server - Peabody. 2.1 VM configuration Guest OS: Windows Server 2008 (32-bit) 1 processor 2 GB RAM 2 NICS o NIC 1: Network: VLAN 494, Adapter: E1000 o NIC 2: Network: VLAN 494, Adapter: E1000 32 GB hard disk, thin provision (I ran into space restrictions with this. But since I could not delete a VM and start over on the UCCS system, I left it. You may want to make it larger. I suggest 64 GB.) Datastore: en_windows_7_professional_n_with_sp1_x64_dvd_u_677207.iso 2.2 First Power Up English Click Install Now admin: <usual password> 2.3 Initial Configuration 1. Time zone: Mountain 2. Configure Network: a. NIC 1: i. Obtain an IP address automatically ii. Obtain DNS server address automatically b. NIC 2: i. IP address: 192.168.128.135 ii. Subnet: 255.255.255.240 iii. DNS: 192.168.128.133 3. Computer Description: Peabody Development Platform 4. Computer name: peabody 5. Workgroup: evote 6. reboot 2.4 Install VMware Tools 1. VMware Tools a. in vCenter Management window, right click on Peabody, select Configuration | Install/Upgrade VMware Tools b. select Automation Tools Upgrade, Ok 2. reboot Page 2 of 8 Configure Windows Development Platform 22 October 2012 2.5 Customize and Update 3. Display: 1366 x 768 4. Activation: a. right click on Computer b. Select Properties c. Change product key d. Product key: <enter your product key> e. Next f. Close 5. Apply any service packs. Update and restart as needed, repeatedly until up-to-date. 6. Enable Remote Desktop a. right click on Computer, select Properties b. on the left, select Remote settings c. select Allow connections only from computers running Remote Desktop with Network Level Authentication. d. reboot if necessary 7. Open Remote Desktop from the local computer a. expand Options b. Local Resources | Local Devices and resources | More c. enable a folder so you can transfer files. d. browse other options and configure as you like. 8. Adjust power settings a. Start | Control Panel | Power Options b. Balanced should be checked. To the right of Balanced, click Change plan settings. i. Turn off the display: 30 minutes ii. Put the computer to sleep: Never iii. Save changes 3 Configure for NTP Configure Peabody. Dumas should be configured for NTP and running. 1. 2. 3. 4. 5. 6. 4 click on the clock lower right select change date and time settings select Internet Time tab | Change settings button in the server window, enter 192.168.128.133. ensure that dumas has been configured for NTP and is running click Update now Internet Information Services (IIS) Excerpted from (Boehm and Murach 2011, Appendix A). 1. 2. 3. 4. Control Panel | Programs and Features left panel, click Turn Windows features on or off select Internet Information Services expand the IIS menu and select: Page 3 of 8 Configure Windows Development Platform 22 October 2012 a. b. c. d. (optional)Web Management Tools | IIS 6 Management Compatibility Web Management Tools | IIS Management Console World Wide Web Services | Application Development Features | ASP.NET World Wide Web Services | Security | Windows Authentication (I think this is needed) 5. click OK If you previously installed Visual Studio 1. Open a Command Prompt window as administrator a. Start | All Programs | Accessories b. right click on Command Prompt c. select Run as administrator 2. win> cd C:\Windows\Microsoft.NET\Framework\v4.0.30319 3. win> aspnet_regiis -i 4. win> exit (to close the command window) 5 Install Utilities 5.1 7-Zip Installation You will need a Zip program to un-zip the programs downloaded. I use Source Forge 7-Zip from http://www.7-zip.org. Others should work also. 5.2 Install WinSCP The WinSCP program facilitates the transfer of files from Basil to Peabody. Only Basil was loaded with SCP server. The other Ubuntu platforms, and Peabody, must copy their files to and from Basil. Note that every time I started WinSCP, it took a while to connect. 1. download the latest version of WinSCP from http://winscp.net/eng/download.php 2. I installed the 5.10 version a. Typical installation b. Commander interface c. decline Google Chrome 5.3 SSH Secure Shell Prof Chow has available, upon request, a copy of SSH Secure Shell client. This makes moving files and general CLI access more convenient. 5.4 Install Notepad++ This is an optional utility. I find it useful. 1. 2. 3. 4. Download the latest version from http://notepad-plus-plus.org/ Accept all the defaults. I installed the Compare plugin I turned off Remember current session for next launch. Page 4 of 8 Configure Windows Development Platform 22 October 2012 5.5 Install WinMerge This is an optional utility. I find it useful. 1. Download the latest version from http://winmerge.org/ 2. Accept the defaults a. I created a desktop icon b. I did not create a quick launch icon 6 Visual Studio 2012 Pro I downloaded Visual Studio Professional 2012 from the MS Academic Alliance. This placed an .iso file in the Downloads folder. I then used 7-zip to extract the archive. If you can mount the .iso file on the VMware system and access the installation as a CD-drive, that works also. 6.1 Installation 1. Double click on vs_professional.exe 2. Select to accept the license. If you choose to not accept the license, Visual Studio will not load. Next. 3. I selected all. Click Install. Order carryout. 4. Click Launch. 5. I selected Visual C++ Development as my default environment settings. Start. 6. Uncheck Show page at startup. Close the startup page. 7. Close Visual Studio. 8. I pinned Visual Studio to the Start menu. a. Start | All Programs | Microsoft Visual Studio 2012 b. Right click on Visual Studio 2012 c. Select Pin to Start Menu. 9. Check for updates and install as needed. 10. Delete Visual Studio Professional iso files to free up hard disk space. 7 SQL Server 2012 My ESXi version of Visual Studio 2008 Professional absolutely refused to install SQL Server 2008 Express. I tried for two days, delete, add, uninstall, re-install. I even tried to install SQL Server 2008 R2 Developer and that would not work. Finally, I downloaded and successfully installed SQL Server 2012 Express with these instructions. Upgrade instructions for an initial installation of SQL Server 2008 should be similar. If you loaded Visual Studio 2012 Professional, this setup should not be needed. If the installation process below will not let you upgrade, a good installation may already be in place. From the SQL Server Installation Center, select New SQL Server stand-alone installation. Follow the prompts. If you come to the Setup, Installation Type window and an instance of SQLExpress already exists, you should be good. Best to download and install Express with Tools: http://www.microsoft.com/enus/download/details.aspx?id=29062 Download: ENU\x64\SQLEXPRWT_x64_ENU.exe Page 5 of 8 Configure Windows Development Platform 22 October 2012 1. Navigate to the installation program. I put it in Downloads. 2. double click the program. Select Run. 3. click upgrade from SQL Server .... a. Click to accept the license. If you choose to not accept the license, SQL Server will not load. Next b. I chose to install all features. Next c. Instance Configuration. I chose the following defaults i. Named instance: SQLExpress ii. Instance ID: SQLEXPRESS iii. Instance root directory: C:\Program Files\Microsoft SQL Server\ iv. Next d. Server Configuration. On Server 2012, I chose the defaults i. database engine: NT AUTHORITY\NETWORK SERVICE ii. reporting services: NT AUTHORITY\NETWORK SERVICE iii. filter daemon launcher: NT AUTHORITY\LOCAL SERVICE iv. server browser: NT AUTHORITY\LOCAL SERVICE v. Next e. Database Engine Configuration i. select Windows authentication mode ii. add yourself as an SQL Server administrator iii. Next f. Reporting Services configuration i. Install and configure. ii. Next g. Error Reporting: Next h. come back in about 30 minutes. 4. Repair Visual Studio. Mine was broken. For Visual Studio 2008, I had to run the repair facility from Control Panel | Programs and Features | Microsoft Visual Studio Professional 2008. 8 SQL Server Management Studio SQL Server Management Studio apparently is installed with Visual Studio 2012 Professional. To test: 1. Start | All Programs | Microsoft SQL Server 2012. 2. Select SQL Server Management Studio 3. Server name: Peabody\SQLExpress (this was my default) 4. Connect. If it starts up, you should be good. Otherwise install using the instructions below. SQL Server Management Studio is not automatically installed with Visual Studio 2008 or SQL Server. Install if not installed already. 2008: http://www.microsoft.com/en-us/download/details.aspx?id=7593 2012, both studio x86 and x64: http://www.microsoft.com/enus/download/details.aspx?id=29062 1. download and install SQL Server Manager Studio 2. add a feature to an existing installation Page 6 of 8 Configure Windows Development Platform 22 October 2012 3. add features to SQLEPRESS 4. Select All (tools and local db), Next 5. (send feedback if you like. I did not.) Next 9 Install MPIR Follow the instructions in MPIR_load_v2.docx. 10 Install MIT Kerberos 10.1 Kerberos for Windows Down load the latest version from http://web.mit.edu/kerberos/dist/ I downloaded MIT Kerberos for Windows 3.2.2: kfw-3-2-2.msi. 1. Navigate to the file. 2. Double click on kfw-3-2-2.msi. 3. Click Run, Next. 4. Accept the license. If you do not accept the license, the application will not load. 5. Click Next 6. Install the Complete configuration. This installs the include files. 7. Click Install. 8. Finish. 9. You may delete the kfw-3-2-2.msi file. 10.2 Set up Kerberos 1. Copy krb5.ini from sources to Peabody c:\windows 2. reboot 3. test a. Open command prompt as administrator b. c:> kinit peabody.evote i. enter password evote ii. no errors occur!!!! c. c:> klist i. Unfortunately, no tickets appear but one was issued. d. You may check the KDC log i. athos$ tail /var/log/krb5.log ii. Near the last line should be peabody.evote@eVote for krbtgt/eVote@eVote. This is the ticket granting ticket requested by kinit. 11 Configure Public Folder Sharing The Peabody Public folder is used to transfer files to and from D’Artagnan. 1. Select Start | Control Panel | Network and Sharing Center 2. On the left pane, select Change Advanced sharing settings a. Check Turn on network discovery. b. Check Turn on file and printer sharing. c. Check Turn on Public folder sharing. d. Check Use 128-bit encryption Page 7 of 8 Configure Windows Development Platform e. Check Turn on password protected sharing. f. Save changes. 3. Open Computer a. Browse to C:\Users\Public b. Right click on Public Documents, select Properties c. Select the Sharing tab d. Click Advanced Sharing e. Select Share this folder. Ok. Close. f. Browse to c:\ g. Right click on Users, select Properties h. Select the Sharing tab i. Click Advanced Sharing j. Uncheck Share this folder. Ok. Close. Page 8 of 8 22 October 2012
