Geography Lesson Plan - Stephanie Fodor's E
advertisement
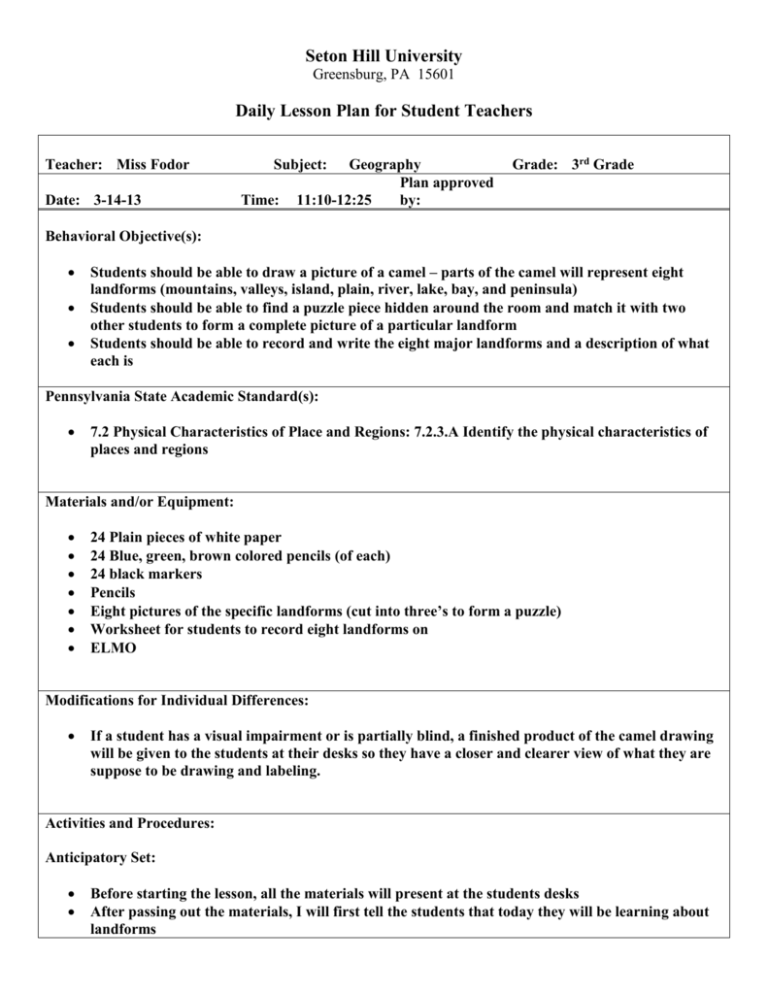
Seton Hill University Greensburg, PA 15601 Daily Lesson Plan for Student Teachers Teacher: Miss Fodor Date: 3-14-13 Subject: Time: Geography Plan approved 11:10-12:25 by: Grade: 3rd Grade Behavioral Objective(s): Students should be able to draw a picture of a camel – parts of the camel will represent eight landforms (mountains, valleys, island, plain, river, lake, bay, and peninsula) Students should be able to find a puzzle piece hidden around the room and match it with two other students to form a complete picture of a particular landform Students should be able to record and write the eight major landforms and a description of what each is Pennsylvania State Academic Standard(s): 7.2 Physical Characteristics of Place and Regions: 7.2.3.A Identify the physical characteristics of places and regions Materials and/or Equipment: 24 Plain pieces of white paper 24 Blue, green, brown colored pencils (of each) 24 black markers Pencils Eight pictures of the specific landforms (cut into three’s to form a puzzle) Worksheet for students to record eight landforms on ELMO Modifications for Individual Differences: If a student has a visual impairment or is partially blind, a finished product of the camel drawing will be given to the students at their desks so they have a closer and clearer view of what they are suppose to be drawing and labeling. Activities and Procedures: Anticipatory Set: Before starting the lesson, all the materials will present at the students desks After passing out the materials, I will first tell the students that today they will be learning about landforms I will tell them that a landform is a natural feature of earth’s surface After telling the students what a landform is, I will tell them that we are going to learn about eight different landforms (mountains, valleys, plains, peninsula, bay, island, river, and lake) The eight landforms will be in puzzle pieces around the room and the students will have to find one puzzle piece There will be 24 different puzzle pieces hidden around the room and 3 puzzle pieces will form one picture I will tell the students that for each picture they find, there will be a color coded number on the back of their puzzle that will help them find their matching partners (ex. three puzzle pieces that match will have yellow 2’s on the back of the puzzle piece) I will call each student one by one to find one puzzle piece then they will be able to get up and find their partners After the students find their peers that have the same color coded numbers, they will all sit down and form the puzzle together Lesson Sequence: As the students are putting their puzzles together at their seats, I will be walking around to ensure the students aren’t having any trouble After I check the eight groups puzzles and ensure they are correct, I will ask one student from each group to come up and put their completed puzzle under the ELMO As each student comes up to the ELMO, I will talk about each landform and give a brief description of what it is As I am going over each landform, the students will have to fill out their landform worksheet and write a small description beside each eight landforms we discuss (the worksheets will already be at the students desks) After we go through all eight groups landform puzzles, I will tell the students that it is difficult to remember all eight landforms so I have a fun way to remember them just by drawing a camel I will tell the students they MUST not jump ahead and they MUST follow my directions to drawing this camel I will be drawing underneath the ELMO, so all the students will be able to see what I am drawing in an easier way (MODIFICATION: the student with the visual impairment will have the finished picture at his or her desk) First, I will draw a straight line across the bottom of the paper with a black marker about a half an inch from the edge Then I will draw green grass at the bottom of the line and a little coming over the top of the line Then, I will draw the camel’s body with a black marker and have the students do it as well (the camel will have a head, three humps, a long pointy tail, and four legs) Next, the students will color in their camel with the brown colored pencil They will draw an eye and mouth with the blue colored pencil They will draw a sun in the left hand corner and color it in green Then, they will color in the background of the picture with blue colored pencil When finished they will label their camel picture and the sun with be the island, the humps will be the mountains, in between the humps are the valleys, in between the last hump and tail will be a bay, the camel’s tail will be the peninsula, the black line across the grass will be the plain, the camel’s eye is a lake, and the camel’s mouth signifies a river (Additional space for planning) Closure: After the students label and finish their camel picture, we will go over each landform one more time and I will call eight students to tell me one landform they learned and a brief description of what it is Students will turn in both the camel picture and landform worksheet when finished with the closure Evaluation: I will evaluate the students by the completion of their camel picture and their landform worksheet Assignments: No assignments will be given but this information will be on an upcoming test Student Teacher Reflection: Cooperating Teacher Reflection:
