Sure-Flex® Plus Coupling Flange Types J, S, SC, B, C
advertisement
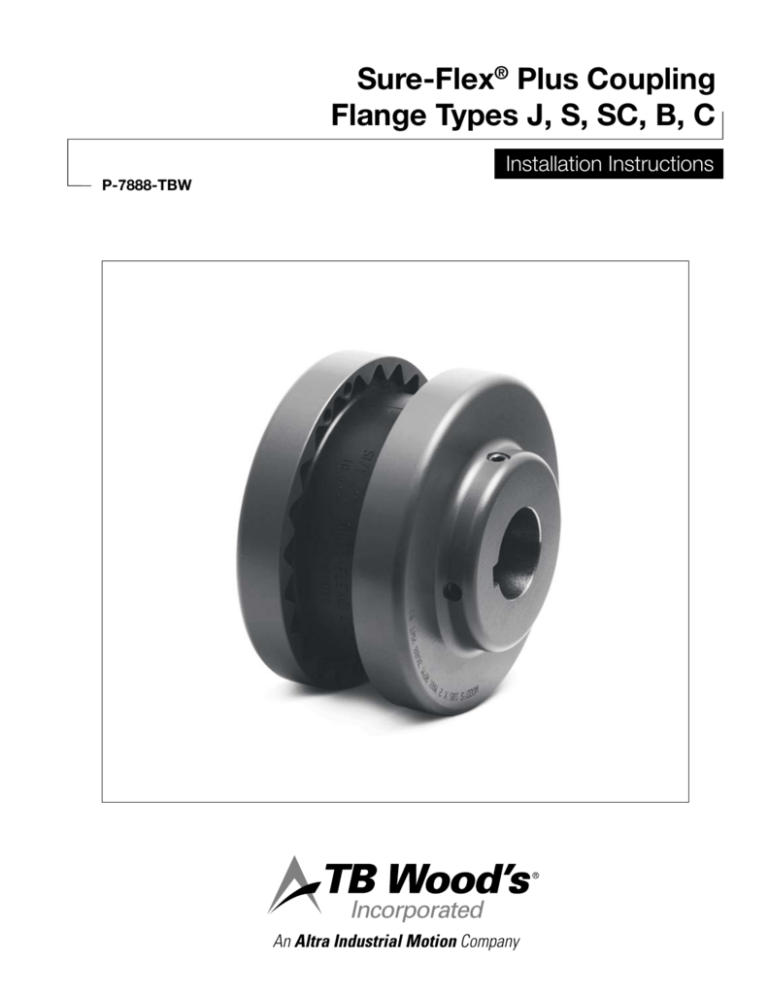
Sure-Flex® Plus Coupling Flange Types J, S, SC, B, C Installation Instructions P-7888-TBW An Altra Industrial Motion Company Lock out / tag out the power source before proceeding to avoid unexpected starts. Failure to observe these precautions could result in bodily injury. Coupling sleeves may be thrown from the assembly with substantial force if subjected to a severe shock load. 3. Slide one flange onto each shaft using keys where required. (When using Type B flanges, follow the instructions furnished with the SureGrip bushings.) G1 (ref) Check operating speed against maximum RPM value in Table 1. Rubber (EPDM / Neoprene) and Hytrel sleeves have different ratings. Do not use rubber and Hytrel sleeves interchangeably or the sleeve will fail prematurely. For a basic installation overview, scan the QR code below: Scan to Watch Installation Video or visit: www.TBWoods.com/SureFlexPlus Further component information available: Specification sheets, 3D models ecatalog.TBWoods.com Coupling Selection Program www.TBWoods.com/Select Installation / Alignment Installation / Alignment Tools •Hex key set •[SC Spacer coupling: Socket set] •Torque wrench •Straight-edge •Caliper •Feeler gauge set 1. Inspect all coupling components and remove any protective coatings or lubricants from bores, mating surfaces and fasteners. Remove any existing burrs, etc. from the shafts. (If using a two-piece E or N sleeve, do not install the wire ring at this time.) 2. SC Spacer couplings: using a torque wrench, bolt hubs to flanges to values in Table 2. This flange/hub combination will be referred to as “flange” in these instructions. 2 TB Wood’s • 888-829-6637 4. Position the flanges on the shafts to approximately achieve the G1 dimension shown in Table 1, with an equal length of shaft extending into each flange. Note: minimum shaft engagement is 0.85 * shaft diameter. Tighten set screw(s) of one flange to values in Table 2 using a torque wrench. 5. Slide back the unfastened flange and install the sleeve. The sleeve should be seated against both flanges but not compressed. When using a two-piece sleeve, do not install the wire ring yet but let it hang loosely in the groove adjacent to the teeth. Tighten set screw(s) of the second flange to values in Table 2 using a torque wrench. 6. Parallel Alignment: Without rotating the coupling, run a straight-edge around the outside of the coupling flanges – see Figure 1. Find the maximum offset with feeler gauges; this measurement must not exceed the figure shown under “Parallel” in Table 1. If necessary, realign the shafts. 7. Angular Alignment: Without rotating the coupling, run a caliper around the outside of the flange faces just inboard of the OD – see Figure 1. Set the caliper to the widest point. Find the narrowest point with the caliper and feeler gauges; this measurement must not exceed the figure given under “Angular” in Table 1. If a correction is necessary, recheck parallel alignment. P-7888-TBW 8. Tighten motor and driven equipment fasteners to manufacturer specifications; recheck parallel and angular alignment. 9. When parallel and angular alignment values are within service ratings, verify that all set screws and other fasteners are tightened to values in Table 2. Recheck parallel and angular alignment after tightening. 10.If the coupling uses a two-piece sleeve with the wire ring, move the ring into its groove in the center of the sleeve. If necessary, use soapy water and lever the ring with a wrench or blunt screwdriver. 11.Install coupling guard per applicable safety regulations. 12.Periodically check alignment, as settling can change equipment position. Table 1 - Maximum RPM and Allowable Misalignment Sleeve Size Max RPM 3 4 5 6 7 8 9 10 11 12 13 14 16 9200 7600 7600 6000 5250 4500 3750 3600 3600 2800 2400 2200 1500 G1 (ref) in 1.2 1.5 1.9 2.4* 2.6 2.9 3.5 4.1 4.9 5.7 6.6 7.8 10.2 mm 30 38 49 60 65 75 89 103 124 119 170 197 260 Type JE, JN, JES, JNS, E, N Parallel Angular in mm in mm 0.010 0.25 0.035 0.89 0.010 0.25 0.043 1.09 0.015 0.38 0.056 1.42 0.015 0.38 0.070 1.78 0.020 0.51 0.081 2.06 0.020 0.51 0.094 2.39 0.025 0.64 0.109 2.80 0.025 0.64 0.128 3.21 0.032 0.81 0.151 3.89 0.032 0.81 0.175 4.44 0.040 1.02 0.195 4.95 0.045 1.14 0.242 6.15 0.062 1.58 0.330 7.38 Type H, HS, U** Parallel in – – – 0.010 0.012 0.015 0.017 0.020 0.022 0.025 0.030 0.035 – Angular in mm – – – – – – 0.016 0.41 0.020 0.51 0.025 0.64 0.028 0.71 0.032 0.81 0.037 0.94 0.042 1.07 0.050 1.27 0.060 1.52 – – mm – – – 0.25 0.31 0.38 0.43 0.51 0.56 0.64 0.76 0.89 – * Value for 6J flanges is 2.1 **H and HS sleeves should not be used as replacements for EPDM or Neoprene Sleeves Note: When using a VFD with a centrifugal pump or fan, reduce allowable parallel and angular alignment values by half Table 2 - Fastener Torque Values Size 3 4 5 6 7 8 9 10 11 12 13 14 16 Type J Type S Set Screws Set Screws ft-lbs 3 3 7 13 – – – – – – – – – Nm 4 4 10 18 – – – – – – – – – ft-lbs – – 7 13 13 23 23 23 50 50 100 100 100 Nm – – 10 18 18 31 31 31 68 68 136 136 136 Type SC* Cap Screws Set Screws Flange to Hub ft-lbs Nm ft-lbs Nm – – – – 5.5** 8** – – 4 6 – – 9 12 5 7 9 12 5 7 18 24 9 12 31 42 9 12 50 68 15 20 75 102 30 41 150 203 60 81 150 203 75 102 150 203 75 102 150 203 135 183 Type B Cap Screws ft-lbs – – – 5 5 9 9 15 30 60 75 75 135 Nm – – – 7 7 12 12 20 41 81 102 102 183 Type C Clamping Screws ft-lbs – – – 15 30 55 55 100 100 200 – – – Nm – – – 21 41 75 75 136 136 271 – – – Set Screws ft-lbs – – – 13 13 13 13 13 13 13 – – – Nm – – – 18 18 18 18 18 18 18 – – – * Torque values apply to hub size when different than flange size. ** Values for socket head clamping screw TB Wood’s • 888-829-6637 P-7888-TBW 3 An Altra Industrial Motion Company www.tbwoods.com 2000 Clovis Barker Road San Marcos, TX 78666 512-353-4000 Fax: 512-353-4017 P-7888-TBW 4/15 www.altramotion.com Printed in USA
