Student, Word
advertisement
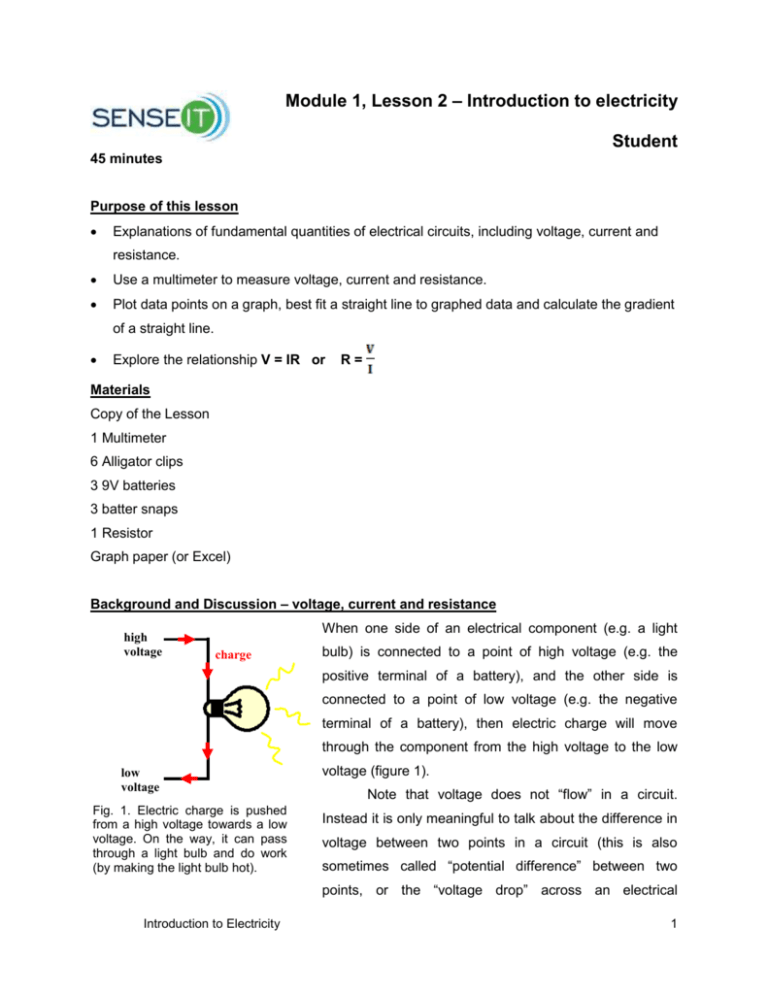
Module 1, Lesson 2 – Introduction to electricity Student 45 minutes Purpose of this lesson Explanations of fundamental quantities of electrical circuits, including voltage, current and resistance. Use a multimeter to measure voltage, current and resistance. Plot data points on a graph, best fit a straight line to graphed data and calculate the gradient of a straight line. Explore the relationship V = IR or R= Materials Copy of the Lesson 1 Multimeter 6 Alligator clips 3 9V batteries 3 batter snaps 1 Resistor Graph paper (or Excel) Background and Discussion – voltage, current and resistance high voltage When one side of an electrical component (e.g. a light charge bulb) is connected to a point of high voltage (e.g. the positive terminal of a battery), and the other side is connected to a point of low voltage (e.g. the negative terminal of a battery), then electric charge will move through the component from the high voltage to the low low voltage Fig. 1. Electric charge is pushed from a high voltage towards a low voltage. On the way, it can pass through a light bulb and do work (by making the light bulb hot). voltage (figure 1). Note that voltage does not “flow” in a circuit. Instead it is only meaningful to talk about the difference in voltage between two points in a circuit (this is also sometimes called “potential difference” between two points, or the “voltage drop” across an electrical Introduction to Electricity 1 component). This voltage difference is what drives the electric charge through the component. The greater the difference in voltage, the greater the amount of charge moving through the circuit, and the more work that charge can do on the way (e.g. making a light bulb hot so that it glows and gives out light). Electric current is a measure of the amount of charge per second that is “flowing” in the circuit. Thus, in figure 1, the bigger the difference in voltage across the light bulb, the greater the current that will flow through the light bulb. This is described by Ohm’s law, which states that, “the current flowing through an electrical component is proportional to the voltage difference across the component”, or: V I (V “is proportional to” I) (1) This leads to the concept of resistance. If the light bulb has a high resistance, then a greater voltage difference will be needed to cause the same amount of current to flow as compared to a low resistance light bulb. Therefore resistance can be defined as being the constant of proportionality in equation 1, resulting in the commonly known form of Ohm’s law: V I R (2) In other words, if the resistance is kept constant, then doubling the voltage across the light bulb will cause twice as much current to flow through it. Alternatively, if the resistance of the light bulb was doubled, then twice as much voltage across it would be needed to cause the same amount of current to flow as before. Note, the unit of voltage or potential difference is the Volt, symbol V. The unit of current is the Ampere (or Amp for short), symbol A, and the unit of resistance is the Ohm, symbol Ω (note that Ω is a greek letter omega which represents an “ohh” sound, hence its use to symbolize Ohms). Traditionally, voltage was measured with a device called a voltmeter and current was measured with a device called an amp meter or ammeter. You have been given a modern device called a “multimeter”. By turning the dial on the multimeter, you can use it as a voltmeter or an ammeter. You can also use it as an ohmmeter for measuring resistance. Introduction to Electricity 2 Note, the unit of voltage or potential difference is the Volt, symbol V. The unit of current is the Ampere (or Amp for short), symbol A, and the unit of resistance is the Ohm, symbol Ω. Volts, Amperes and Ohms are easily measured using a multimeter. Voltage Current Resistance V = I x R V = A x Ω Volts Amperes Ohms Practice Equations Use Ohm’s Law to solve the following: 1) A 10V battery is connected to a 5 Ω resistor. Calculate the current (I). 2) A 2 kΩ resistor draws 3 mA of current. Calculate the voltage (V). 3) A current of 5 mA creates a voltage difference of 5 volts across a device. Calculate the resistance (R). How to measure voltage, current and resistance using a multimeter A multimeter is an instrument used for making electrical measurements. Most multimeters contain an ammeter which measures current, a voltmeter which measures the voltage (potential difference) between two points, and an ohmmeter which measures resistance. Many multimeters also perform additional functions which are sometimes used by technicians and engineers. In this experiment, you will only need the voltmeter, ammeter, and ohmmeter features. The central knob has many positions and you must choose which one is appropriate for the measurement you want to make. If the meter is switched to 20 V DC, for example, then 20 V is the maximum voltage which can be measured. If you are trying to measure a larger voltage than the multimeter is set for, the screen will display “OL”, meaning overload. You will need to switch to a higher setting to measure the voltage. Introduction to Electricity 3 For circuits with power supplies of up to 20 V, which includes most of the circuits you are likely to build, the 20 V DC voltage range is the most useful. Sometimes you will want to measure smaller voltages, and in this case, the 2 V or 200 mV ranges are used. DC - What does DC mean? DC means direct current. In any circuit which operates from a steady voltage source, such as a battery, current flow is always in the same direction.. AC - AC means alternating current. In an electric lamp connected to a wall socket, current flows first one way, then the other. That is, the current and the voltage reverse, or alternate, in direction. You will not be making any AC measurements in this project. For safety reasons, you must NEVER connect a multimeter to an outlet. Where are the two meter probes connected? Many multimeters have probes that are wired directly into the meter and cannot be removed. If you are using a multimeter with removable probes, the black lead is always connected into the socket marked COM, short for COMMON. The red lead is connected into the socket labeled with the units that you are measuring. Often there is one socket for all normal measurements, typically labeled “ V mA”, or something similar. If there is a 10A socket available, do not use it in this project. It isn’t needed, and using it improperly can permanently damage the multimeter. Important note: The most common mistake when using a multimeter is not switching the test leads when switching between current, voltage, and resistance measurements). It is critical that the test leads be in the proper sockets for the measurement you are making. Otherwise, the meter can be damaged. Safety Information Be sure the switch is in the “Off” position before connecting the multimeter to a circuit. Be sure the test leads are in the correct position for the desired measurement. Never use the meter if the meter or the test leads look damaged. Never measure resistance in a circuit when power is applied. Never touch the probes to a voltage source when a test lead is plugged into the 10 A or 300 mA input jack. Introduction to Electricity 4 Voltages above about 30 V can be dangerous or even deadly. Always be careful with electricity. Keep your fingers behind the finger guards on the test probes when making measurements. To avoid false readings, replace the battery as soon as the battery indicator appears. Procedure – Part 1 Measuring Resistance It is important that you have good contact between the test leads and circuit you are testing. Dirt, oil, bodily contact, and poor connections can result in incorrect resistance readings. 1) To test for resistance, first turn off the power in the circuit or component you are testing. Otherwise you may not get the most accurate reading and damage the multimeter. In order to get an accurate reading, you need to make sure the only path for current to flow from one test lead to the other is through the component or circuit whose resistance you are measuring. (For the circuits in the module, this can be achieved by removing a battery from the circuit). Introduction to Electricity 5 2) After ensuring that all power is off, set the dial to the resistance mode and select the 200 kOhm range. The number shown on the dial setting is the highest resistance that can be measured at that setting. If you see “OL” (for overload) displayed on the multimeter, the resistance between the leads is too high to be measured on the present setting. 3) Plug in your test leads, connect the probes across the component as shown in fig. 2. across the device you are measuring, and take a reading. Resistor to be measured Set dial to measure resistance (20KΩ range) Multimeter Fig. 2. Multimeter connected across a component, for measuring resistance. 4) After taking the measurement, remove the test leads from the circuit and turn off the multimeter. Measuring Voltage 1) To test for voltage, first determine whether the application you are testing uses AC or DC voltage. Then set the dial to the appropriate function. 2) Using alligator clips, a battery, and a battery snap, construct the rest of your circuit first, before connecting the multimeter. Introduction to Electricity 6 Resistor to be measured Set dial to measure Voltage (20 DCV ange) Multimeter Fig. 3. Multimeter connected across a component in parallel for measuring voltage. to rest of circuit 3) Like all test procedures, when testing voltage set the range to the number just higher than the expected reading. If you don't know the expected range, set the range to the highest number. (In this project, unless otherwise noted, the 20 VDC setting will usually be best.) 4) If your test leads are permanently connected to the multimeter, ignore this step. If not, plug your test leads into the correct multimeter sockets. For DC voltage, connect the black test lead to the negative polarity (ground) socket (usually colored black) and the red lead to the positive polarity test point (usually labeled with a “V”, although it may be labeled with other units in addition to the “V”). 5) Take the leads and apply them to the circuit, making sure that no part of your body contacts any part of the live circuit. The multimeter will measure the voltage difference between the two points in the circuit where you place the leads. 6) The position of the test leads may need to be adjusted until a reliable measurement appears on the LCD. Once the leads are in good, solid contact with the circuit, read the voltage measurement displayed. 7) Remove the voltmeter from the circuit, then turn it off. Measuring Current IMPORTANT NOTE: Use care anytime you have a multimeter set to measure current. If the multimeter is connected incorrectly, you can blow a fuse in the meter. Always make sure that there is a resistor in series with the multimeter when measuring current. In other words, make sure that any current that flows through the multimeter must flow through a resistor as well. For example, in the circuit in figure 4, the multimeter is in series with the resistor. Introduction to Electricity 7 1) Before changing the dial to any of the current measurement settings, make sure the multimeter is not connected to a circuit. 2) Plug in the leads and set the dial to measure DC current. The 20mA range should be sufficient for all measurements in this module. 3) Connect the meter to the resistor in series, as shown in fig. 4. Set dial to measure current (20mA range) Multimeter Fig. 4. Multimeter connected in series with a component. In this case it is measuring the current that flows through a resistor when it is connected across the terminals of a nine volt battery. Procedure – Part 2 a) Using batteries, battery snaps, alligator clips and resistors, set up the circuit of fig. 5a. Measure the voltage across the resistor by connecting a multimeter in parallel (fig. 5b) and using the 20 DCV setting. Record your measurement in the data table on the next page. After measuring the voltage, remove the multimeter from the circuit before switching the dial to measure current. Now measure the current flowing through the resistor by connecting the multimeter in series (fig. 5c) with the resistor and using the 2mA setting. Record your measurement in the data table on the next page. Introduction to Electricity 8 c) b) a) Fig. 5. a) Resistor connected across 9V (approximately 9V) battery. b) With multimeter connected in parallel to measure voltage across resistor. c) With multimeter connected in series to measure current flowing through resistor. a) b) Fig. 6. a) Two batteries connected in series to form an approx. 18V source. b) Three batteries connected in series to form an approx. 27V source. b) Now repeat the experiment, but applying a larger voltage across the resistor. To do this, replace the single battery by two batteries joined in series, see fig. 6 a). Record your data. (NOTE: On the battery snaps, the Red wire (lead) is positive and the Black wire (lead) is negative). To join multiple batteries in series, join the positive terminal on one battery to the negative terminal on the next battery. NOTE: Battery voltage will not be exactly 9V (will range from 8V – 10V). c) Repeat the experiment again but applying an even bigger voltage, by using three batteries in series (about 27V), see fig. 6b). Record your data. CAUTION: Be careful when using three batteries in series (about 27V). This is a lot of Volts! Connect the circuit briefly, make the measurement and then disconnect Introduction to Electricity 9 immediately. This arrangement may cause batteries to run down fast, and the resistor could grow hot if you leave it connected. Be cautious when touching the resistor and wires in this arrangement as they may grow quite hot. Record experiemental values in the following table: (no batteries) Voltage 0V Current 0 mA (one battery) (two batteries) (three batteries) Convert mA to A by dividing by 1000 Current 0A d) Plot a graph of voltage (Volts) versus current (Amperes), and best fit a straight line to the measured data points. Use the vertical (y) axis for voltage and the horizontal (x) axis for current. Assessment 1) Calculate the gradient (slope) of your graph. 2) Find an equation for the straight line of your graph in the form y mx b 3) Compare the Ohm’s law equation V IR , and explain which feature of your graph represents resistance R. 4) Use your graph to estimate the resistance R of your resistor. 5) Confirm this value by measuring the resistance directly using the 20kΩ setting on your multimeter as in fig. 2. Introduction to Electricity 10 6) How do you think the graph would look if the resistor were a 20kΩ resistor? Introduction to Electricity 11


