Ch1. Questions
advertisement
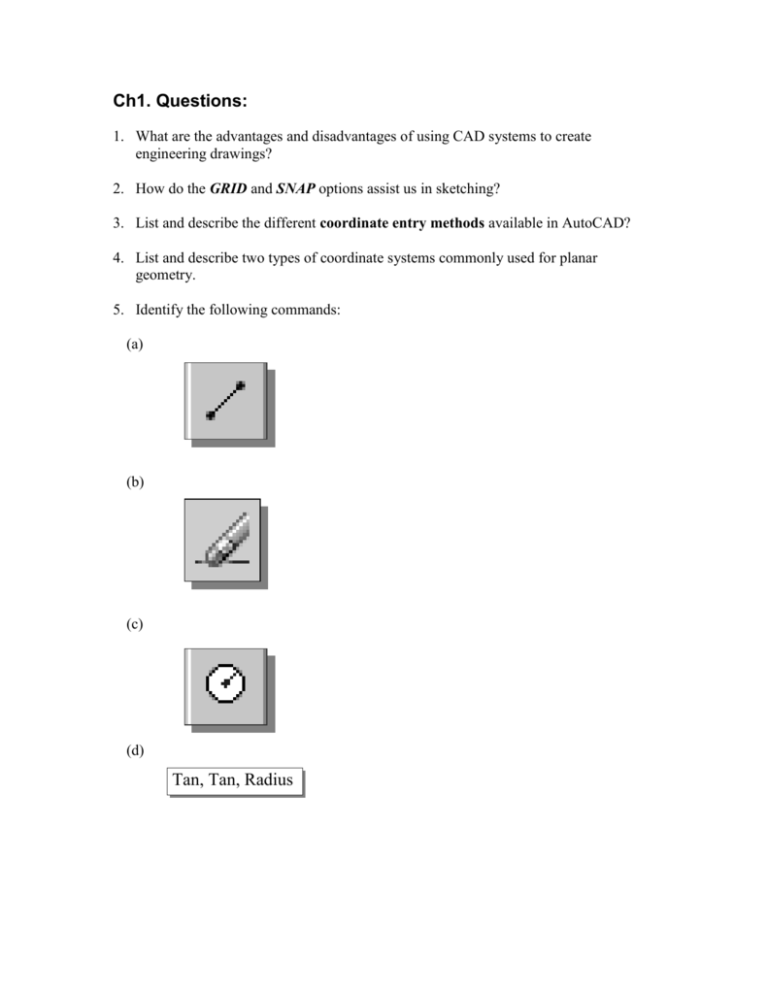
Ch1. Questions: 1. What are the advantages and disadvantages of using CAD systems to create engineering drawings? 2. How do the GRID and SNAP options assist us in sketching? 3. List and describe the different coordinate entry methods available in AutoCAD? 4. List and describe two types of coordinate systems commonly used for planar geometry. 5. Identify the following commands: (a) (b) (c) (d) Tan, Tan, Radius Ch.2 Questions: 1. List some of the advantages of using layers. 2. List two methods to control the layer visibility in AutoCAD® 2007. 3. Describe the procedure to move objects from one layer to another. 4. When and why would you use the Multiline command? 5. Identify the following commands: (a) (b) (c) (d) Ch.3 Questions: 1. Describe the procedure to bisect a line using the classical method. 2. Describe the procedure to create a circle through three points using the classical method. 3. Describe the procedure to activate the AutoCAD Startup option. 4. List and describe three options in the AutoCAD OBJECT SNAP toolbar. 5. Which AutoCAD command can we use to remove a portion of an existing entity? 6. Describe the AutoCAD Polygon command. 7. Identify the following commands: (a) (b) (c) Ch. 4 Questions: 1. Explain what an orthographic view is and why it is important to engineering graphics. 2. Describe the difference between 1st and 3rd angle projections used in engineering graphics. 3. What does the Running Object Snaps option allow us to do? 4. Explain how a miter line can assist us in creating orthographic views. 5. Describe the AutoCAD AutoSnap and AutoTrack options. 6. Identify the following commands: (a) (b) (c) (d) Ch.5 Questions: 1. Why are dimensions and notes important to a technical drawing? 2. Describe the contour rule and the proximity rule used in dimensioning. 3. Describe the procedure in setting up a new Dimension Style. 4. What is the special way to create a diameter symbol when entering a dimension text? 5. Identify the following commands: (a) (b) (c) (d) Ch. 6 Questions: 1. Why are Tolerances important to a technical drawing? 2. Using the Basic Shaft system, calculate the size limits of a nominal size of 1.5 inches. Using the following FN4 fit table for 1.5 inches nominal size: (numbers are in thousandth of an inch.) Nominal size Range Limits of Interference 1.19 - 1.97 1.5 3.1 FN4 Standard Limits – Basic Hole Hole Shaft +1.0 +3.1 -0.0 +2.5 3. Using the Shaft Basis D9/h9 fits, calculate the size limits of a nominal size of 30 mm. 4. What is the procedure to set tolerances in AutoCAD? 5. Explain the following terms: (e) Limits (f) MMC (g) Tolerances (h) Basic Hole System (i) Basic Shaft System 6. Given the dimensions as shown in the below figure, determine the tolerances of the two parts, and the allowance between the parts. Ch. 7 Questions: 1. List and describe three advantages of using template files. 2. Describe the items that were included in the Acad_A_Title template file. 3. List and describe two methods of creating multiple copies of objects in AutoCAD® 2007. 4. Describe the procedure in determining the scale factor for plotting an AutoCAD® 2007 layout. 5. Identify the following commands: (a) (b) (c) (d) Ch. 8 Questions: 1. What is an auxiliary view and why would it be important? 2. Describe the differences between the Reference plane method and the Folding line method in creating Auxiliary views. 3. When is a line viewed as a point? How can a line be shown in true length? 4. What is a GRIP? What are the advantages of using the GRIPS? 5. List three GRIPS editing commands you have used in the tutorial. 6. Identify the following commands: (a) (b) (c) (d) Ch. 9 Questions: 1. When and why is a section view necessary? 2. Describe the general procedure to create a section view in AutoCAD® 2007. 3. In AutoCAD® 2007, can the angle and spacing of hatch patterns be altered? 4. Explain the concept of using a cutting plane line in a section view? 5. Identify the following commands: (a) (b) (c) (d) Ch. 10 Questions: 1. Describe the thread specification of 3/4-16 UNF -3A? 2. Describe the thread specification of M25X3? 3. List and describe four different type os commonly used fasterners. 4. Determine the sizes of a clearance hole for a 0.75 bolt using the Close fit option. 5. Perform an internet search and find information on the different type of set-screws, create freehand sketches of four point styles of set screws you have found. 6. Perform an internet search and examine the different types of machine screws available, create freehand sketches of four different styles of machine screws you have found. 7. Perform an internet search and find information on locknuts, create freehand sketches of four different styles of locknuts you have found. Ch. 11 Questions: 1. Describe the general stages involved in an engineering design procedure. 2. What is an assembly drawing? What are the basic differences between an assembly drawing and a detail drawing? 3. What is a block? List some the advantages of using blocks in AutoCAD. 4. What are the differences between “Copying and pasting with the Windows Clipboard” and “Copying with GRIPS ”? 5. Which command allows us to separate a block into its component objects? 6. Describe the differences between PASTE and PASTE AS A BLOCK. 7. Identify the following commands: (a) (b) (c) (d)
