Lesson 2: PowerPoint Overview
advertisement
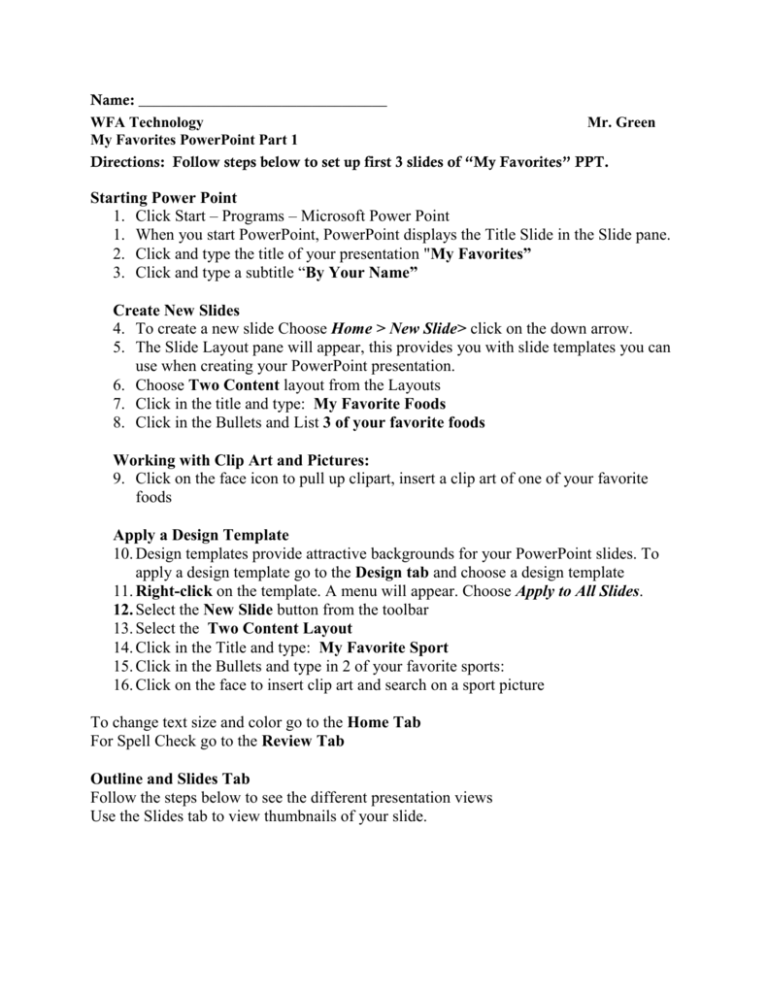
Name: _________________________________ WFA Technology My Favorites PowerPoint Part 1 Mr. Green Directions: Follow steps below to set up first 3 slides of “My Favorites” PPT. Starting Power Point 1. Click Start – Programs – Microsoft Power Point 1. When you start PowerPoint, PowerPoint displays the Title Slide in the Slide pane. 2. Click and type the title of your presentation "My Favorites” 3. Click and type a subtitle “By Your Name” Create New Slides 4. To create a new slide Choose Home > New Slide> click on the down arrow. 5. The Slide Layout pane will appear, this provides you with slide templates you can use when creating your PowerPoint presentation. 6. Choose Two Content layout from the Layouts 7. Click in the title and type: My Favorite Foods 8. Click in the Bullets and List 3 of your favorite foods Working with Clip Art and Pictures: 9. Click on the face icon to pull up clipart, insert a clip art of one of your favorite foods Apply a Design Template 10. Design templates provide attractive backgrounds for your PowerPoint slides. To apply a design template go to the Design tab and choose a design template 11. Right-click on the template. A menu will appear. Choose Apply to All Slides. 12. Select the New Slide button from the toolbar 13. Select the Two Content Layout 14. Click in the Title and type: My Favorite Sport 15. Click in the Bullets and type in 2 of your favorite sports: 16. Click on the face to insert clip art and search on a sport picture To change text size and color go to the Home Tab For Spell Check go to the Review Tab Outline and Slides Tab Follow the steps below to see the different presentation views Use the Slides tab to view thumbnails of your slide. Click the Outline tab to view the text of your presentation as an outline. Slide Sorter View 1. Choose View > Slide Sorter from the menu to move to Slide Sorter view. Double-click a slide to return to Normal view Save your Power Point as “My Favorites” to your student ID folder. WFA Technology Mr. Green My Favorites PowerPoint Part 2 Directions: Follow the steps below to set up the next 3 slides of “My Favorites” Power Point. Open up “My Favorites” 1. Add a New Slide 2. Choose Two Content layout from the Layouts 3. Add the title “My Favorite Music Artist” 4. Click on Insert – Word Art 5. Add the name or group name Ex. “Usher” 6. Delete the text box by clicking on it and hit delete 7. Locate a picture of your favorite music artist on the internet and save to your 890# 8. Click on mountain icon (Insert picture from file), locate your picture and insert it 9. Double click on the picture, go to Format tab, choose an artistic effect and picture styles Pictures as Backgrounds 10. Add a new slide 11. Choose Title and Content layout from the Layouts 12. Click in the Title and type: My Favorite TV Shows 13. Click in the bullets and type in 3 of your favorite TV shows 14. Locate a picture on the internet of 1 of your favorite TV shows and save to your 890# 15. Go to Design Tab and Choose Background Styles then Format Background 16. Under Fill click on Picture or texture fill 17. Choose Insert from File, locate your picture and click insert 18. Click on Hide Background Graphics then choose Close to apply to that slide (You may need to play around with your font color to be able to see it) Background Colors 19. Add a new slide 20. Choose Title and Content layout 21. Click in the Title and type: My Favorite Movie 22. Click in the bullet and type in 1 of your favorite movies 23. Go to Design Tab and Choose Background Styles then Format Background 24. Click in Solid Fill then click on Color to choose a color 25. Click on Close to apply to that Slide Save your Power Point as “My Favorites” WFA Technology My Favorites PowerPoint Part 3 Mr. Green Directions: Follow the steps below to set up the last 3 slides of “My Favorites” Power Point. Open up “My Favorites” 1. Add a New Slide 2. Choose Title and Content from the Layout section 3. Click and type the title of your slide "My Favorite Animal” 4. Click and list your favorite animal 5. Locate a picture from the internet of your favorite animal 6. Insert the picture as a background Inserting Smart Art 7. Add a New Slide 8. Choose Title Only Layout 9. Click and type the title of your slide “My Favorite Classes” 10. Click on Insert - Smart Art 11. Click on List and choose Vertical Bullet List (2nd row) 12. In the top boxes add the name of your favorite classes 13. In the bullets list 1 reason why you like each of the classes Animated Clips 14. Add a new slide 15. Select the Title Only Layout 16. Click in the Title and type: The End 17. Choose Insert – Video – Clip Art Video 18. Choose an animated clip 19. To see the clip move you must be go to Slide Show – From Current Slide Save as My Favorites WFA Technology My Favorites PowerPoint Part 4 Mr. Green Directions: Follow the steps below to add animation and transition to “My Favorites” Power Point. Open up “My Favorites” Slide Transition – how slides move from one slide to the next 1. Go to the Transitions Tab 2. Click on the transitions to see which one you like 3. Under Timing you can set up your slide show to advance automatically after a certain amount of time or on mouse click. 4. Click Apply to All once you have your transition chosen Animation – gives motion to text, pictures, and other content on your slides 5. Go to Slide 1 and select the text or object you want to animate (Click on the text or picture to select it) 6. Go to the Animations tab and select an animation 7. Click on Preview to see what your slide will look like 8. To specify the timing of the effects, on the Animations tab, use the commands in the Timing group. 9. Go through each slide and add animation to 1 item To view your slide show Click on Slide Show – From Beginning Save your changes and show your teacher for a grade
