Turtle manual
advertisement
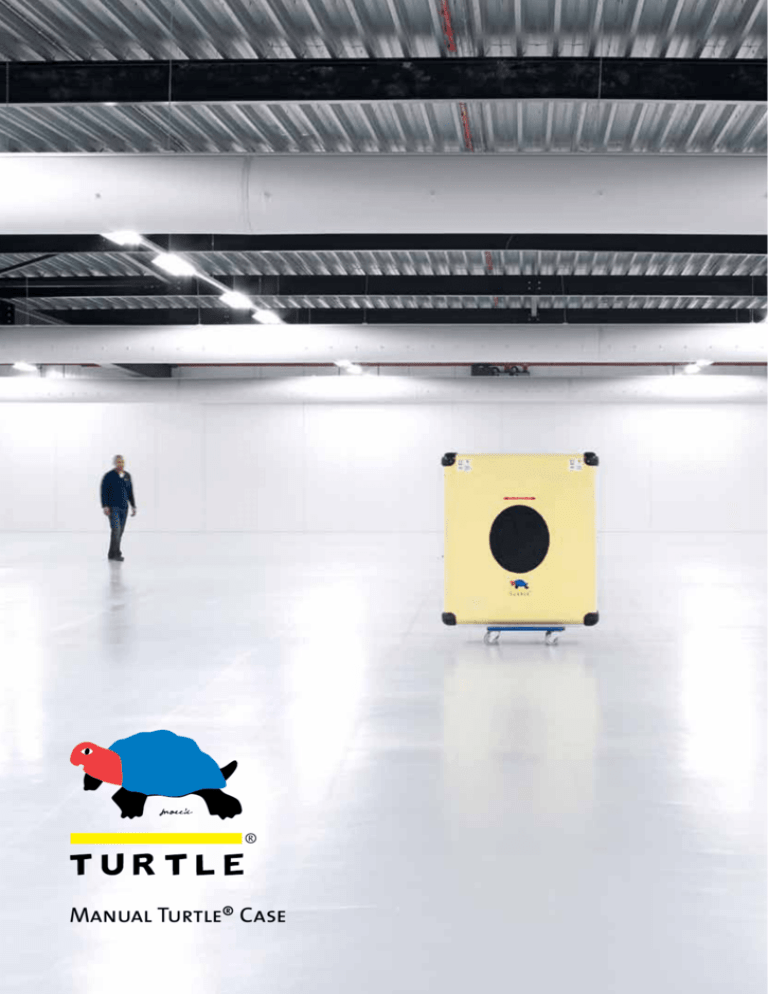
Manual Turtle® Case Index 2 Turtle ® Case Manual 3 Chapter 1. Packing the Turtle ® Case 3 1.1 Opening the Turtle ® Case 5 1.2 Determining the correct support height 5 1.2.1. Method 1 5 1.2.2. Method 2 6 1.3 Adjusting multiple supports at the same height 7 1.4 Placing the painting in the supports 9 1.5 Packing multiple paintings in one Turtle ® case 10 1.6 Packing odd-shaped objects 11 1.7 Closing the Turtle ® Case 12 1.8 Tape and labels 13 1.9 Extra’s 14 Chapter 2. Unpacking the Turtle ® Case 1 Turtle ® Case Manual This manual will discuss the packing (Chapter 1) and unpacking (Chapter 2) methods of the Turtle ® case step by step. Packing and unpacking the Turtle ® case requires two persons. This is necessary to prevent a painting from being damaged. Handling a painting with two persons will allow extra support and one person will be able to make adjustments at all times. The various possibilities of the Turtle ® case will be shown and points of attention during packing an unpacking will be addressed. One general remark when handling paintings: Always wear gloves! 2 Chapter 1. Packing the Turtle ® Case 1.1 Opening the Turtle ® Case • Figure 1 shows the Turtle ®, closed and in an upward position. • Place the Turtle ® flat on the floor and remove the lid. 1. • If necessary unlock the case with the key (figure 2). 2. • Push the handle downward (figure 3). 3. • Turn the handle 180 degrees (figure 4). 4. 3 • The lock will loosen from the slit and now you can remove the lid. 5. • Empty the Turtle ® as seen in figure 6. Clean it before packing paintings. 6. • • • • Inside the Turtle ® supports are mounted to the bottom with Velcro ® strips. The supports can be adjusted to every height using a special rail-system on the edges (figure 3). By loosening the black knob the position of the support cushion can be adjusted. Be careful to not to turn the knob too far or it will fall off. Fasten both knobs at the desired height. cliënt. Fasten both knobs at the desired height. • The painting may require additional packing, for instance in acid-free paper. This depends on the client’s wishes and must occur before placement in the supports. 7. 4 1.2 Determining the correct support height You can use either method described below; it does not matter which. 1.2.1. Method 1 • • • • Measure the height of the painting frame (figure 8). Loosen both support knobs. Adjust to the painting height by measuring the same height from the upper support edge to the support cushion (figure 9). Fasten both knobs at the correct height. 8. 9. 1.2.2. Method 2 • • • • • Place the painting ‘face-up’ or ‘face-down’ (according to the client’s wishes) on a clean table or alternatively use the lid of the Turtle ® (the inside). Align the support against the painting corner (figure 10). Loosen both knobs. Slowly lower the support cushion onto the painting (figure 11). Fasten both knobs in this position. 10. 11. 5 1.3 Adjusting multiple supports at the same height • • • • • The height of the supports used to pack a painting does not need to measured and adjusted separately. There is a quick and easy way to adjust them all to the same height. Both 90-degree (figures 12 and 13) and straight supports (figures 14 and 15) can be adjusted in the same manner. Place the support with the correct, measured height inside the Turtle ® Case. Place the new support next to the adjusted one (figure 12, 14). Slide it up to the same height and fasten the knobs (figure 13, 15). 12. 13. 14. 15. 6 1.4 Placing the painting in the supports 16. • • • Always put the first support on the underside of the Turtle ®. The underside can be identified by the metal ridge running along it inside the Turtle® case red arrow in figure 16). The underside of the Turtle ® case will be facing downwards when the Turtle ® case is in an upright position. Place the painting in the first support. One person secures the painting against the first support while the second person aligns the second support against the other lower corner of the painting (figure 17). • • Make sure that the second support is held in a horizontal position. In this position the painting is not resting fully on the support. Only the edges of the painting have to be in contact with the support (figure 17). The procedure mentioned above will prevent the support from being fastened in a slanted position. • • • • Slowly lower the painting while keeping the support in a horizontal position (figure 18) PLace the support on the bottom of the Turtle ® Case and press softly to ensure maximum adhesion. Check if the support is slanted and if so remove it by pulling it towards you. Repeat the instructions with figure 16, 17 and 18 until the support is in a perfect horizontal position relative to the Turtle ® Case’s bottom. • • • Now check if the supports at the underside are horizontal. Check if the painting is pressed against both sides (see red arrows in figure 19). This will prevent it from sliding between the supports during transportation. Slowly lower the painting while supporting it on both sides. 17. 18. 19. 7 • • • P lace the topside supports against the painting’s upper corners (figure 20). Make sure that the supports are held in a horizontal position aligned with the Turtle ®. In figure 20 it is shown that the supports are not aligned with the painting but are in a horizontal position. The supports are also tightly pressed against the painting sides. 20. • Slowly lower the supports onto the bottom. • Press the supports softly to ensure maximum adhesion. 21. 22. • • • The painting is packed securely and is fixed between the four supports (figure 22). Paintings can be packed in paper or plastic, according to the client’s wishes. This packing has to be done before packing the painting in the Turtle ®. When closed, the lid of the Turtle ® Case will press down on the painting’s frame. This prevents movement during transportation. This makes exact adjustment of the supports imperative. If the supports are adjusted too high the frame will sustain too much pressure; alternately if the height is too low, vibrations and shocks endured by the Turtle ® case during transportation can cause damage • When packing elongated or very large paintings additional supports can be placed, as in figure 23, for extra support. 23. 8 1.5 Packing multiple paintings in one Turtle ® case • • • Pack the first painting as described in the previous paragraph. The red arrow indicates the underside of the Case. Start packing on the underside and the outer side of the Turtle ®. This will leave sufficient space for the packing of additional paintings (figure 24). • Place the second and/or third painting as described in the previous paragraph. The paintings do not necessarily have to be positioned next to each other (in figure 25 the paintings are next to each other) 24. 25. 9 1.6 Packing odd-shaped objects • • • • • Round objects are not packed using the 90-degree supports. Instead, straight supports are used (see also figures 14 and 15). Adjust the supports to the correct height. Make sure that the frame height is exactly that of the support height (see the red arrow in figure 26). This is important in packing objects of any size and shape. Place the first support while one person secures the object. Place the second support (figure 27). 26. 27. 28. 29. • Try to distribute the supports evenly to prevent the object from becoming unstable (figure 30). • The object is now packed firmly inside four supports and ready for transportation (figure 31). 30. • 31. 10 1.7 Closing the Turtle ® Case • Place the lid on the Turtle’s ® underside. • Carefully lower the lid. 32. • Make sure that all the corners and edges are well aligned before the locks are closed. 33. • To fasten the locks, follow the instructions in section 1.1, figures 2 to 5, in reverse order. 11 1.8 Tape and labels • Packing-tape is used to identify cases that are packed if a lot of Turtles ® are kept in the same space. • Place packing-tape over, or slightly next to, the locks. 34. • Be careful that the Packing-tape is not placed over the “Fragile/Keep Dry….” sticker. This will damage the sticker. 35. • Pace the label with the name of the owner, destination address and the name of the agent on top of the packing-tape. 36. 12 1.9 Extra’s • • FIgure 37 shows the window in the black circular area on the outside of the lid. Open the window by loosening both of the black knobs. • • • You can place a piece of paper behind the window, with the content of the Turtle ® (figure 38). When transporting a very valuable or well-known painting it is advisable to use a serial number instead of the painting name. A sticker with the Turtle’s ® serial number is already present (not shown in the figures). Above the black circular area a red arrow indicates the Ship and Flight Direction; make sure to place the Turtle ® in the right transportation direction (figure 38, 39). • • • • • Just below the ‘Ship/Flight Direction’ arrow there is a little black knob (figure 39). A vacuum can develop inside the Case during transportation. This will make it difficult/impossible to open the Turtle ® Case. If a vacuum has developed, turn the little black knob; allowing air to flow into the Turtle ® Case. Be sure to tighten the knob again to prevent undesirable airflow into the Turtle ® Case when the case is used the next time. • • Handles, present on both sides of the Turtle® (figure 40), can be used for carrying or pulling. The rubber handles on both sides of the lid are for additional handling. These are especially useful when removing the lid (not shown in the figures). 37. 38. 39. 40. 13 Chapter 2. Unpacking the Turtle® Case 41. • • • • • • • • • • • If required, leave the Turtle ® to acclimatise for a period of 24 hours. This allows the painting to slowly adjust to altered climatic conditions, diminishing possible damage. After acclimatisation the Turtle® can be opened. Lay the Case flat on the floor in a secure place. Make sure that the front, the side with the black circular area, is facing upwards. Open the locks (see figures 2 t/m 5 in reverse order). Remove the lid and put it away, making sure that it cannot fall over. Remove the painting (and additional packing). Put it in a safe place or hang it up immediately. Make sure that no loose parts are present in the Turtle ® Case (loose parts might indicate damage during transportation) If loose parts are present be sure to collect them all and keep them together. Every part is of importance if the painting needs restoration. Now the Case is empty as in figure 41. Clean the Case, close and store it. 14
