Harvard Outline Instructions
advertisement
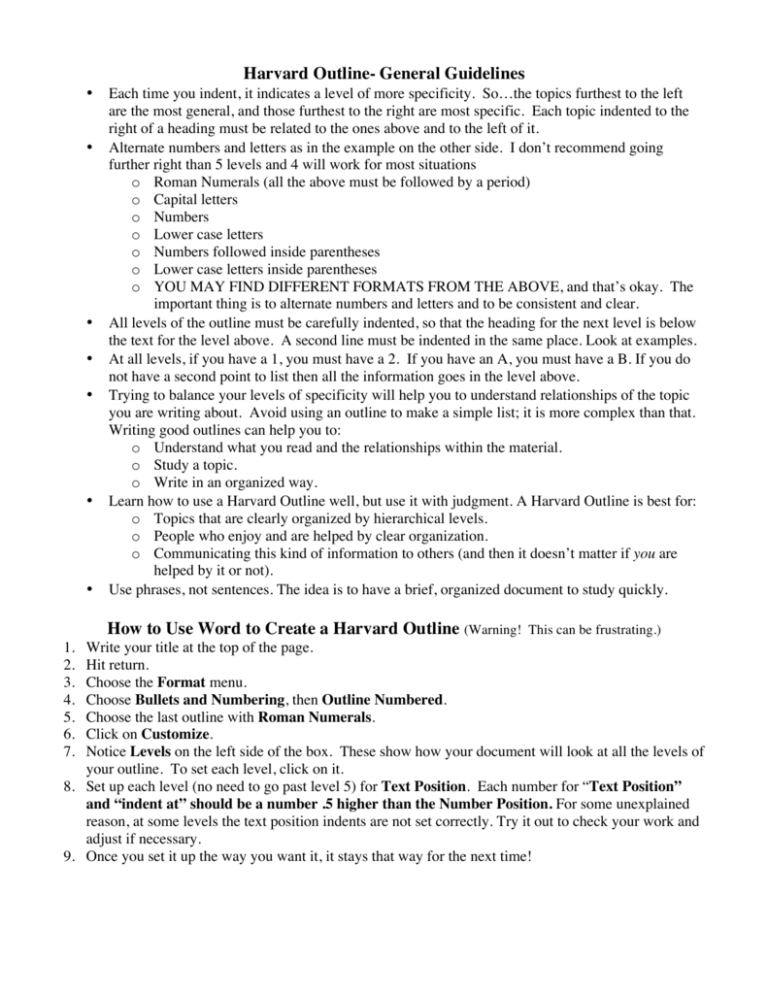
Harvard Outline- General Guidelines • • • • • • • Each time you indent, it indicates a level of more specificity. So…the topics furthest to the left are the most general, and those furthest to the right are most specific. Each topic indented to the right of a heading must be related to the ones above and to the left of it. Alternate numbers and letters as in the example on the other side. I don’t recommend going further right than 5 levels and 4 will work for most situations o Roman Numerals (all the above must be followed by a period) o Capital letters o Numbers o Lower case letters o Numbers followed inside parentheses o Lower case letters inside parentheses o YOU MAY FIND DIFFERENT FORMATS FROM THE ABOVE, and that’s okay. The important thing is to alternate numbers and letters and to be consistent and clear. All levels of the outline must be carefully indented, so that the heading for the next level is below the text for the level above. A second line must be indented in the same place. Look at examples. At all levels, if you have a 1, you must have a 2. If you have an A, you must have a B. If you do not have a second point to list then all the information goes in the level above. Trying to balance your levels of specificity will help you to understand relationships of the topic you are writing about. Avoid using an outline to make a simple list; it is more complex than that. Writing good outlines can help you to: o Understand what you read and the relationships within the material. o Study a topic. o Write in an organized way. Learn how to use a Harvard Outline well, but use it with judgment. A Harvard Outline is best for: o Topics that are clearly organized by hierarchical levels. o People who enjoy and are helped by clear organization. o Communicating this kind of information to others (and then it doesn’t matter if you are helped by it or not). Use phrases, not sentences. The idea is to have a brief, organized document to study quickly. How to Use Word to Create a Harvard Outline (Warning! 1. 2. 3. 4. 5. 6. 7. This can be frustrating.) Write your title at the top of the page. Hit return. Choose the Format menu. Choose Bullets and Numbering, then Outline Numbered. Choose the last outline with Roman Numerals. Click on Customize. Notice Levels on the left side of the box. These show how your document will look at all the levels of your outline. To set each level, click on it. 8. Set up each level (no need to go past level 5) for Text Position. Each number for “Text Position” and “indent at” should be a number .5 higher than the Number Position. For some unexplained reason, at some levels the text position indents are not set correctly. Try it out to check your work and adjust if necessary. 9. Once you set it up the way you want it, it stays that way for the next time!
