PARACHUTE PROJECT
advertisement

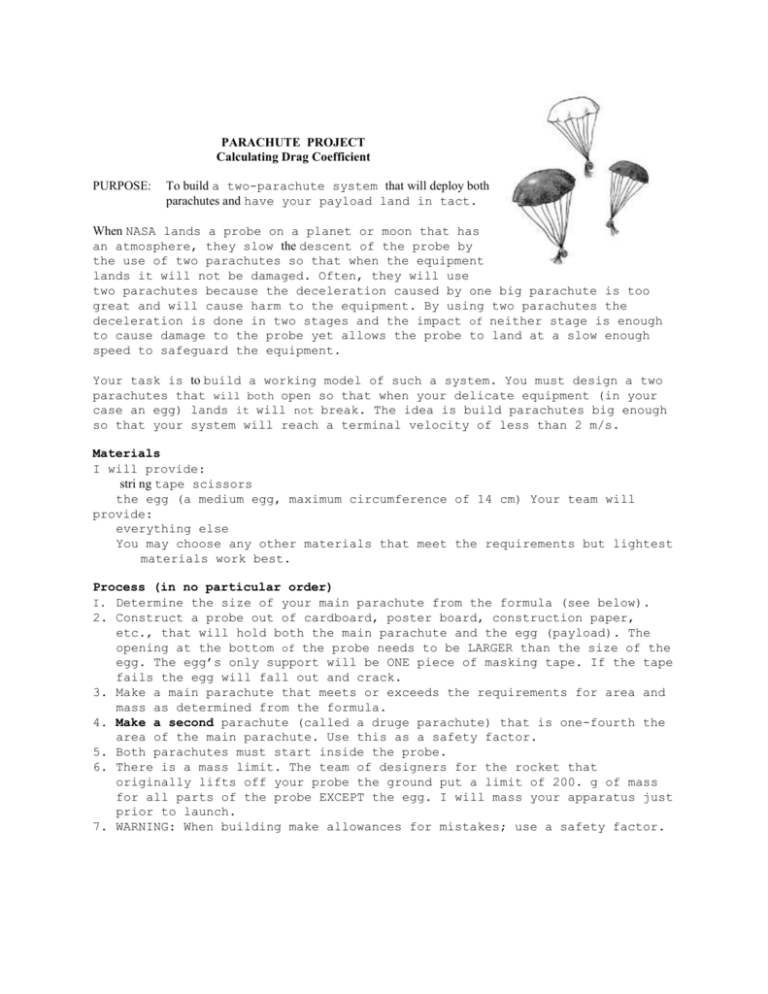
PARACHUTE PROJECT Calculating Drag Coefficient PURPOSE: To build a two-parachute system that will deploy both parachutes and have your payload land in tact. When NASA lands a probe on a planet or moon that has an atmosphere, they slow the descent of the probe by the use of two parachutes so that when the equipment lands it will not be damaged. Often, they will use two parachutes because the deceleration caused by one big parachute is too great and will cause harm to the equipment. By using two parachutes the deceleration is done in two stages and the impact of neither stage is enough to cause damage to the probe yet allows the probe to land at a slow enough speed to safeguard the equipment. Your task is to build a working model of such a system. You must design a two parachutes that will both open so that when your delicate equipment (in your case an egg) lands it will not break. The idea is build parachutes big enough so that your system will reach a terminal velocity of less than 2 m/s. Materials I will provide: stri ng tape scissors the egg (a medium egg, maximum circumference of 14 cm) Your team will provide: everything else You may choose any other materials that meet the requirements but lightest materials work best. Process (in no particular order) I. Determine the size of your main parachute from the formula (see below). 2. Construct a probe out of cardboard, poster board, construction paper, etc., that will hold both the main parachute and the egg (payload). The opening at the bottom of the probe needs to be LARGER than the size of the egg. The egg’s only support will be ONE piece of masking tape. If the tape fails the egg will fall out and crack. 3. Make a main parachute that meets or exceeds the requirements for area and mass as determined from the formula. 4. Make a second parachute (called a druge parachute) that is one-fourth the area of the main parachute. Use this as a safety factor. 5. Both parachutes must start inside the probe. 6. There is a mass limit. The team of designers for the rocket that originally lifts off your probe the ground put a limit of 200. g of mass for all parts of the probe EXCEPT the egg. I will mass your apparatus just prior to launch. 7. WARNING: When building make allowances for mistakes; use a safety factor. Determining Terminal Velocity You will need to devise a system whose terminal velocity is 2.00 m/s or less Physicists have found that the terminal velocity depends on five directly related to: total mass of payload, container, and parachute, and acceleration due to gravity (g) inversely related to: area of parachute (A)shape of object falling (C) density of the fluid it is falling in (air) (p) The formula is written in this way: Vt is the terminal velocity, m is the mass of the falling object, g is gravitational acceleration, Cd is the drag coefficient, ρ is the density of the fluid the object is falling through, and A is the object's cross-sectional area. Determine air density using this website http://www.denysschen.com/catalogue/density.asp Calculate the theoretical size of your parachute based upon the above equation when C=0.5 and density of air =1.29 kg/m^3 Points This activity is a lab worth 80-points. Points wi11 be awarded according to the chart below: Probe construction 20 points First parachute gets out of probe: 3 points First parachute opens: 2 points Second parachute gets out of probe: 3 points Second parachute opens: 2 points Team with minimal mass and successful drop 5pts Report: 50 points Report (due four days after test flight) The report needs to include five sections: 1. Description of the design of the probe (payload chamber) and why you chose this design. 2. Adjustments made during the project 3. Rate your success (1-10) and explain why you rated this way. 4. Calculations for actual terminal velocity during the last few (TBD) meters of fall and comparison to theoretical drag coefficient (0.5) for your system Could the 1/4 extra surface area from your druge parachute account for this difference? 5. If you had to do this over again, how would you improve your project? Engineering Team Directives 30 points. Each team will be testing one variable. This will be chosen by random draw. Procedure Draw a 36-cm diameter circle on the poster board. Use the meter stick to draw lines through the center of the circle to divide it into eight equal parts. Then, mark a point on each line approximately 2 cm in from the circle's edge. Cut out the template and use the compass point to create a small hole in each of the eight places marked around the edge. Repeat this procedure for each team's template. Variable A: Surface Area Your team will test the effects of surface area on descent rate. Your specifications will be: Parachute 1: 18-cm canopy. Use the compass to draw an 18-cm circle on your canopy. Cut eight lines 35 cm long and attach to canopy. Mark and tie off at 25 cm. Attach one 50 gram mass as described below. Parachute 2: 27-cm canopy. Use the compass to draw a 27-cm circle on your canopy. Cut eight lines 35 cm long and attach to canopy. Mark and tie off at 25 cm. Attach one 50 gram mass as described below. Parachute 3: 36-cm canopy. No canopy changes necessary. Cut eight suspension lines 60 cm long and attach to canopy. Cut eight lines 35 cm long and attach to canopy. Mark and tie off at 25 cm. Attach one 50 gram mass as described below. Variable B: Canopy Material Your team will test the effects of canopy material on descent rate. Your parachute specifications will be: Parachute 1: 36-cm canopy made out of the plastic trash bag. Cut eight lines 35 cm long and attach to canopy. Mark and tie off at 25 cm. Attach one 50 gram mass as described below.Attach one 50 gram mass as described below. Parachute 2: 36-cm canopy made out of the plastic grocery bag. Cut eight lines 35 cm long and attach to canopy. Mark and tie off at 25 cm. Attach one 50 gram mass as described below. Attach one 50 gram mass as described below. Parachute 3: 36-cm canopy made of the paper. Cut eight lines 35 cm long and attach to canopy. Mark and tie off at 25 cm. Attach one 50 gram mass as described below. Attach one 50 gram mass as described below. Variable C: Suspension Line Length Your team will test the effects of suspension line length on descent rate. Your specifications will be: Parachute 1: 15-cm lines. Cut eight lines 25 cm long and attach to canopy according to the instructions below. Mark and tie off at 15 cm. Attach one 50 gram mass as described below. Parachute 2: 25-cm lines. Cut eight lines 35 cm long and attach to canopy. Mark and tie off at 25 cm. Attach one 50 gram mass as described below. Parachute 3: 50-cm lines. Cut eight lines 60 cm long and attach to canopy. Mark and tie off at 50 cm. Attach one 50 gram mass as described below. Variable D: Adding Payload 36cm canopy 25-cm suspension line Parachute1 -50grams mass Parachute 2 -200 gram mass Parachute 3 500 gram mass Bring your lines together where they have been marked and tie a half knot with the lines so that the marked areas all appear in the same place on the outside of the knot. Add your washer payload and tie another half knot over the washer. Tighten the knot. Trim the remaining strings to 5 cm. Your parachute is ready to launch! All Teams Attaching Suspension Lines For each line, touch the end of the string to the mark you made 2 cm from the edge of the canopy. Attach each line to the canopy with a 3-cm piece of tape. Start from the top of the string, where it is taped to the canopy, when measuring the length where you will mark to tie off. Do not stretch the string as you are measuring it. Testing Your Parachute To test your parachute, you will drop it from a certain distance and time its descent. Then you will use the drop height and descent time to calculate the descent rate, which is the amount of time it takes the payload to fall a certain distance. Procedure 1. Make three charts like the one below for your trial data. 2. Prepare your parachute for launch. Turn the parachute over, and while holding the washer, find its center point. Turn the parachute back over while holding the center point. Turn the parachute back over while holding the center point. Smooth out the folds of the parachute so that they drape smoothly. Be especially careful when doing this with the non-plastic canopies. 3. Position the parachute over the drop zone and wait for the payload to stop moving. Measure the distance (in meters) from the payload to the floor and record this height. Drop all of your parachutes from this height. 4. Have the person with the stopwatch count down from three, saying "drop" at zero. At that moment, the timer should start timing and the person holding the parachute should drop the parachute. Timing should stop when the payload hits the floor. Conduct two practice trials before performing your actual trials. 5. Perform the five drops, making sure to drop the parachute from the same height each time. 6. Repeat the test for the other two parachutes you built. Calculate and record the average descent rate for the five drops. Variable: Surface Area Parachute 1: 18 cm C=0.5 density of air=1.29 kg/m^3 Drop Descent Surface Height Rate area of Drop # (m) distance parachu Drop (m)/time te (m^2) Time (s) (s) 1 4.5 2.14 2.1 Weight of system (N) Theoretical Terminal velocity (m/s) 2 3 4 5 Average Descent Rate: Questions Write your answers on a separate piece of paper. 1. Which of your parachutes had the slowest descent rate? Explain why. What was the relationship between your variables? 2. What, if any, patterns do you see in your data? How would you explain these patterns? Which patterns do you think are important? Explain your reasoning. 3. What are the lowest and highest descent rates in each of your three parachute trials? If there are any large differences, what do you attribute them to? 4. How confident are you of your results? Explain your level of confidence. Report discussion to other teams in class


