JSO IV Cleaning Procedure
advertisement
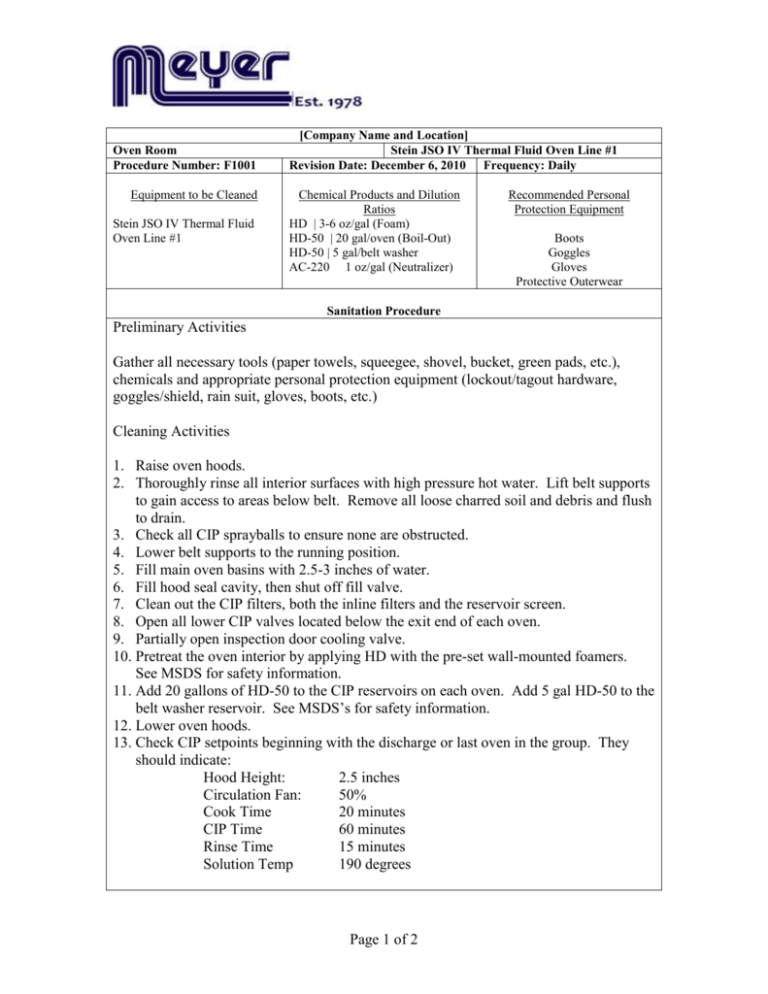
Oven Room Procedure Number: F1001 Equipment to be Cleaned Stein JSO IV Thermal Fluid Oven Line #1 [Company Name and Location] Stein JSO IV Thermal Fluid Oven Line #1 Revision Date: December 6, 2010 Frequency: Daily Chemical Products and Dilution Ratios HD | 3-6 oz/gal (Foam) HD-50 | 20 gal/oven (Boil-Out) HD-50 | 5 gal/belt washer AC-220 1 oz/gal (Neutralizer) Recommended Personal Protection Equipment Boots Goggles Gloves Protective Outerwear Sanitation Procedure Preliminary Activities Gather all necessary tools (paper towels, squeegee, shovel, bucket, green pads, etc.), chemicals and appropriate personal protection equipment (lockout/tagout hardware, goggles/shield, rain suit, gloves, boots, etc.) Cleaning Activities 1. Raise oven hoods. 2. Thoroughly rinse all interior surfaces with high pressure hot water. Lift belt supports to gain access to areas below belt. Remove all loose charred soil and debris and flush to drain. 3. Check all CIP sprayballs to ensure none are obstructed. 4. Lower belt supports to the running position. 5. Fill main oven basins with 2.5-3 inches of water. 6. Fill hood seal cavity, then shut off fill valve. 7. Clean out the CIP filters, both the inline filters and the reservoir screen. 8. Open all lower CIP valves located below the exit end of each oven. 9. Partially open inspection door cooling valve. 10. Pretreat the oven interior by applying HD with the pre-set wall-mounted foamers. See MSDS for safety information. 11. Add 20 gallons of HD-50 to the CIP reservoirs on each oven. Add 5 gal HD-50 to the belt washer reservoir. See MSDS’s for safety information. 12. Lower oven hoods. 13. Check CIP setpoints beginning with the discharge or last oven in the group. They should indicate: Hood Height: 2.5 inches Circulation Fan: 50% Cook Time 20 minutes CIP Time 60 minutes Rinse Time 15 minutes Solution Temp 190 degrees Page 1 of 2 Oven Room Procedure Number: F1001 Equipment to be Cleaned Stein JSO IV Thermal Fluid Oven Line #1 [Company Name and Location] Stein JSO IV Thermal Fluid Oven Line #1 Revision Date: December 6, 2010 Frequency: Daily Chemical Products and Dilution Ratios HD | 3-6 oz/gal (Foam) HD-50 | 20 gal/oven (Boil-Out) HD-50 | 5 gal/belt washer AC-220 1 oz/gal (Neutralizer) Recommended Personal Protection Equipment Boots Goggles Gloves Protective Outerwear Sanitation Procedure 14. Start CIP, discharge oven first. 15. CIP cycle will begin after the chemical solution reaches the setpoint temperature. When the cycle begins, open the exhaust stack cleaning valves located on the infeed and discharge ovens. This does not apply to the middle oven. 16. Allow the CIP solution to flow into the stacks for 10 minutes, then turn valves off. 17. Monitor CIP systems to insure no safety alarms are activated, and the CIP pump is not cavitating. The CIP reservoir screens may periodically need to be cleared of debris. Monitor the filter pressure gauges. The input and discharge pressures should be very close to the same. If not, close the isolation valves and clean the filter screen. Each CIP has two filters. Isolate only one at a time so the CIP solution continues to flow through the other. 18. The CIP cycle shuts down automatically after the 90 minute cleaning time. When this occurs, open the valves to drain cleaning solution. 19. Drain the belt wash reservoir, and flush with water. 20. Raise oven hoods. 21. Lift belt supports. 22. Thoroughly rinse any remaining soils using high pressure hoses. Flush soil and debris to drain. 23. Drain and flush the hood seal cavities. Refill to full level and slightly overflowing. 24. Clean the CIP reservoir and check the filter screens. 25. Apply AC-220 with the foam applicator to all interior surfaces and belt to neutralize the cleaning solution. 26. Lower belt supports to the running position. 27. Fill main oven basins with 2.5-3 inches of water. 28. Lower oven hoods. 29. Open the valves for rinsing the exhaust stacks. 30. Begin rinse mode, discharge oven first. 31. Rinse will shut down automatically. The CIP cleaning is complete. Open drain valves and drain neutralizer solution. 32. Prepare for inspection by raising the oven hoods and opening inspection doors. 33. Inspect the oven and belt with a flashlight and touch up as necessary. Page 2 of 2
