Lab on Reaction Types In this series of experiments, you will
advertisement

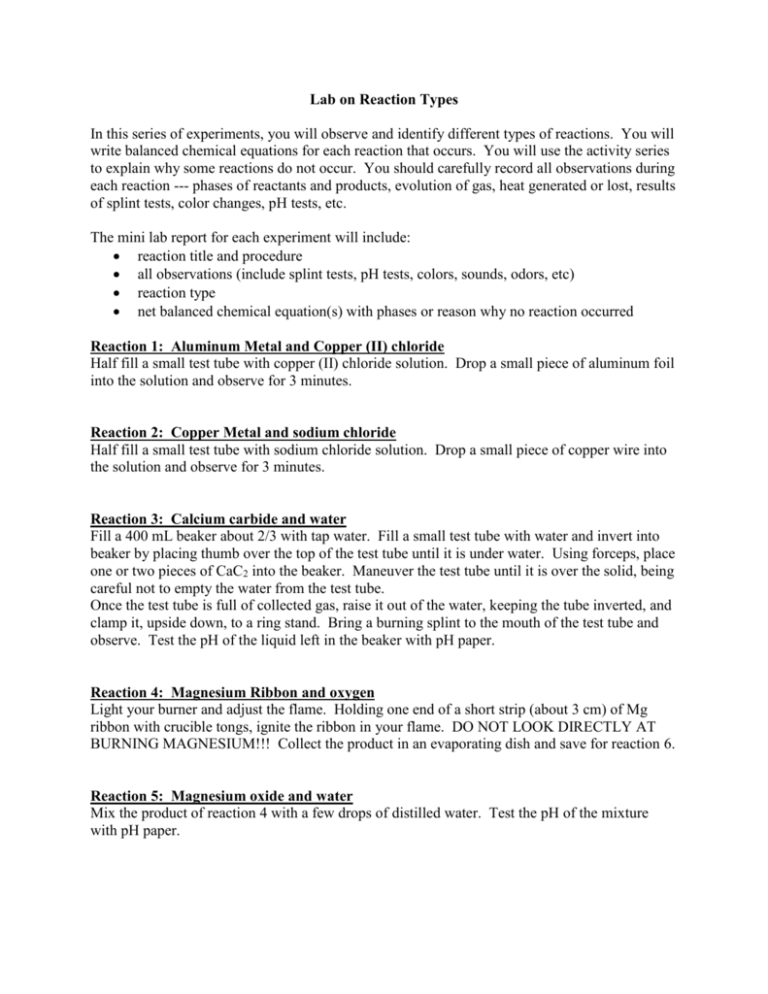
Lab on Reaction Types In this series of experiments, you will observe and identify different types of reactions. You will write balanced chemical equations for each reaction that occurs. You will use the activity series to explain why some reactions do not occur. You should carefully record all observations during each reaction --- phases of reactants and products, evolution of gas, heat generated or lost, results of splint tests, color changes, pH tests, etc. The mini lab report for each experiment will include: reaction title and procedure all observations (include splint tests, pH tests, colors, sounds, odors, etc) reaction type net balanced chemical equation(s) with phases or reason why no reaction occurred Reaction 1: Aluminum Metal and Copper (II) chloride Half fill a small test tube with copper (II) chloride solution. Drop a small piece of aluminum foil into the solution and observe for 3 minutes. Reaction 2: Copper Metal and sodium chloride Half fill a small test tube with sodium chloride solution. Drop a small piece of copper wire into the solution and observe for 3 minutes. Reaction 3: Calcium carbide and water Fill a 400 mL beaker about 2/3 with tap water. Fill a small test tube with water and invert into beaker by placing thumb over the top of the test tube until it is under water. Using forceps, place one or two pieces of CaC2 into the beaker. Maneuver the test tube until it is over the solid, being careful not to empty the water from the test tube. Once the test tube is full of collected gas, raise it out of the water, keeping the tube inverted, and clamp it, upside down, to a ring stand. Bring a burning splint to the mouth of the test tube and observe. Test the pH of the liquid left in the beaker with pH paper. Reaction 4: Magnesium Ribbon and oxygen Light your burner and adjust the flame. Holding one end of a short strip (about 3 cm) of Mg ribbon with crucible tongs, ignite the ribbon in your flame. DO NOT LOOK DIRECTLY AT BURNING MAGNESIUM!!! Collect the product in an evaporating dish and save for reaction 6. Reaction 5: Magnesium oxide and water Mix the product of reaction 4 with a few drops of distilled water. Test the pH of the mixture with pH paper. Reaction 6: Heating Sodium bicarbonate Follow the directions in class to bend a piece of glass tubing to create a U. Set this aside. Fill a medium dry pyrex (look for this label on the tube) test tube to a depth of about 1 cm with sodium bicarbonate. Clamp the test tube to your ring stand at about a 45◦ angle with the mouth of the tube facing an outside wall in the room and the bottom of the tube about 3 cm above a Bunsen burner. Use glycerin to insert a short section of glass tubing into a one-hole stopper and place this in the test tube. Attach a rubber hose to the glass tubing. To the other end of the hose, attach your piece of U-shaped glass tubing. Fill a 400 mL beaker 2/3 with tap water. Invert 2 small test tubes filled with water into the beaker. Place the U-tube into the beaker and maneuver one test tube over the U tube without emptying the water from the test tube. Heat the contents of the test tube strongly with a Bunsen burner for about 2 minutes, collecting gas produced in test tubes. Discard first tube of gas. Raise the second tube of gas straight out of the water and bring a burning splint to the mouth of this tube. Reaction 7: Calcium metal and water Fill a test tube with about 5 mL of water. Use your forceps to obtain a small piece of calcium and drop it into the test tube. As soon as there is evidence of a chemical reaction taking place, cover the mouth of the test tube tightly with your thumb. When gas pressure becomes evident, remove your thumb and quickly place a burning splint into the mouth of the test tube. Test the pH of the aqueous mixture in the test tube. Reaction 8: Hydrogen peroxide and Manganese dioxide Fill a test tube with about 5 mL of hydrogen peroxide. Add a pinch of manganese dioxide to the tube. Observe any reaction. Insert a glowing splint into the mouth of the test tube. Complete the same procedure with 5 mL of water instead of hydrogen peroxide. Account for the differences in the reactions. Reaction 9: Calcium carbonate and Hydrochloric acid Place about 5 calcium carbonate (marble) boiling chips in a test tube. Add just enough dilute HCl to cover the chips. Observe the reaction. Insert a burning splint into the mouth of the test tube. Reaction 10: Calcium Carbide and Water Acetylene and Oxygen Reaction 11: Penny Lab: Copper and HCl Zinc and HCl


