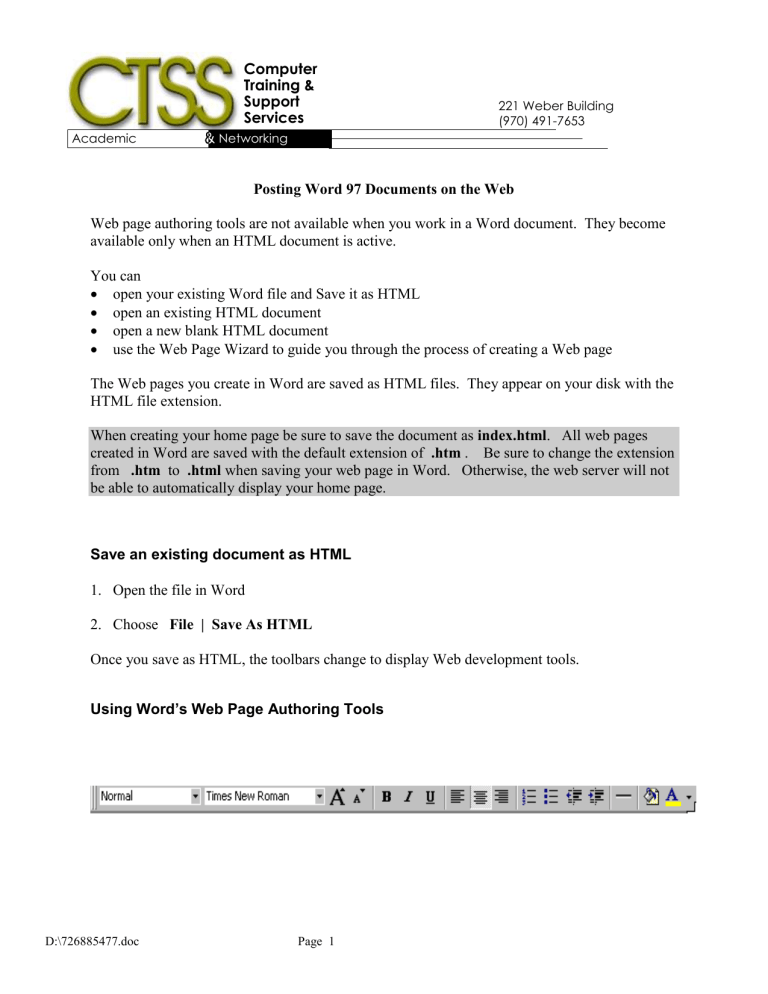
Using Word`s Web Page Authoring Tools
Academic
Computing
Computer
Training &
Support
Services
& Networking
Services
221 Weber Building
(970) 491-7653
Posting Word 97 Documents on the Web
Web page authoring tools are not available when you work in a Word document. They become available only when an HTML document is active.
You can
open your existing Word file and Save it as HTML
open an existing HTML document
open a new blank HTML document
use the Web Page Wizard to guide you through the process of creating a Web page
The Web pages you create in Word are saved as HTML files. They appear on your disk with the
HTML file extension.
When creating your home page be sure to save the document as index.html
. All web pages created in Word are saved with the default extension of .htm
. Be sure to change the extension from .htm
to .html
when saving your web page in Word. Otherwise, the web server will not be able to automatically display your home page.
Save an existing document as HTML
1.
Open the file in Word
2.
Choose File | Save As HTML
Once you save as HTML, the toolbars change to display Web development tools.
Using Word’s Web Page Authoring Tools
D:\726885477.doc Page 1
Inserting Background:
1.
Choose Format | Background or click on the Paint bucket icon
2.
Select a color or select More Colors to create a custom Color
Select Fill Effects to display the textured and marbled background
3.
Choose OK
Formatting the Color of body Text:
Choose Format | Text Colors or click on the Font Color icon
To change Hypertext link colors:
1.
Choose Format | Text Colors
2.
Select a color from one or more of the following:
Hyperlink changes the color of hyperlink text that has never been used.
Followed Hyperlink changes the color of a hyperlink that has been used at least once.
Inserting a Horizontal Line:
One way to visually break your documents into discrete chunks is to use horizontal lines.
1.
Choose Insert | Horizontal Lines
2.
Select a Style
3.
Choose OK
D:\726885477.doc Page 2
Inserting Scrolling Text:
Scrolling text appears like a marquee of text traveling across the page. Different browsers handle special features such as scrolling text in different ways.
1.
Move the cursor to its own line. Scrolling text must appear on its own line in the page.
2.
Choose Insert | Scrolling Text
3.
Type in the Text and select the Behavior, Direction,
Background Color and Speed .
4.
Choose OK
Formatting with bullets and Numbers
1.
Select the paragraphs or lines to be preceded by a bullet.
2.
Choose Format | Bullets and Numbering
3.
Select the type of bullet you want
4.
Choose OK
Typing Hyperlinks to Web Pages
One very quick way to create a hyperlink in an HTML document is to type it directly into the document. If Word recognized what you type as a valid URL, then it will convert your typed
URL into a hyperlink.
Note: the option for Ignore Internet and File Addresses must not be selected under
Tools | Options | Spelling and Grammar for Word to recognize the URL and treat it as a link.
For example, the following lines will be recognized and turned into hyperlinks: http://www.colostate.edu mailto:fran@lamar.colostate.edu
D:\726885477.doc Page 3
Another method of creating a hyperlink in the Web page is with the Insert | Hyperlink command or select the link button from the toolbar.
Inserting Graphics:
1.
Move the cursor to where you want the image or picture
2.
Choose Insert | Picture
3.
Select Clip Art to display the clip gallery, or select From File to display the Insert
Picture dialog box.
4.
Select the image you want inserted, then choose Insert
Creating a Web page with the Web Page Wizard
If you are creating a simple Web page that fits a predefined category, or if you are new to Web publishing, you may want to use the Web page Wizard to help you get started.
Follow these steps:
1.
Choose File | New | Select the Web Pages tab | Select the Web Page Wizard
2.
Choose OK
3.
A Web Page Wizard dialog box appears. Select the type of Web page you want to create and preview the page behind the dialog box.
4.
Choose Next
5.
Select the s tyle of Web page from the dialog box.
6.
Choose Finish
Viewing Your Web Page
To see an approximation of how the HTML file appears in a browser as you are working in
Word, choose the toolbar .
File | Web Page Preview or click on the Web Page Preview button in
D:\726885477.doc Page 4
Copying Your Web page to Another Location
After you create your Web page or pages, you will probably want to copy them to a Web server.
If you included graphics in the Web page, you will need to copy the GIF and JPE files for those graphics as well as the HTML file themselves .
D:\726885477.doc Page 5
