Section #08 14 16 - Flush Wood Doors
advertisement
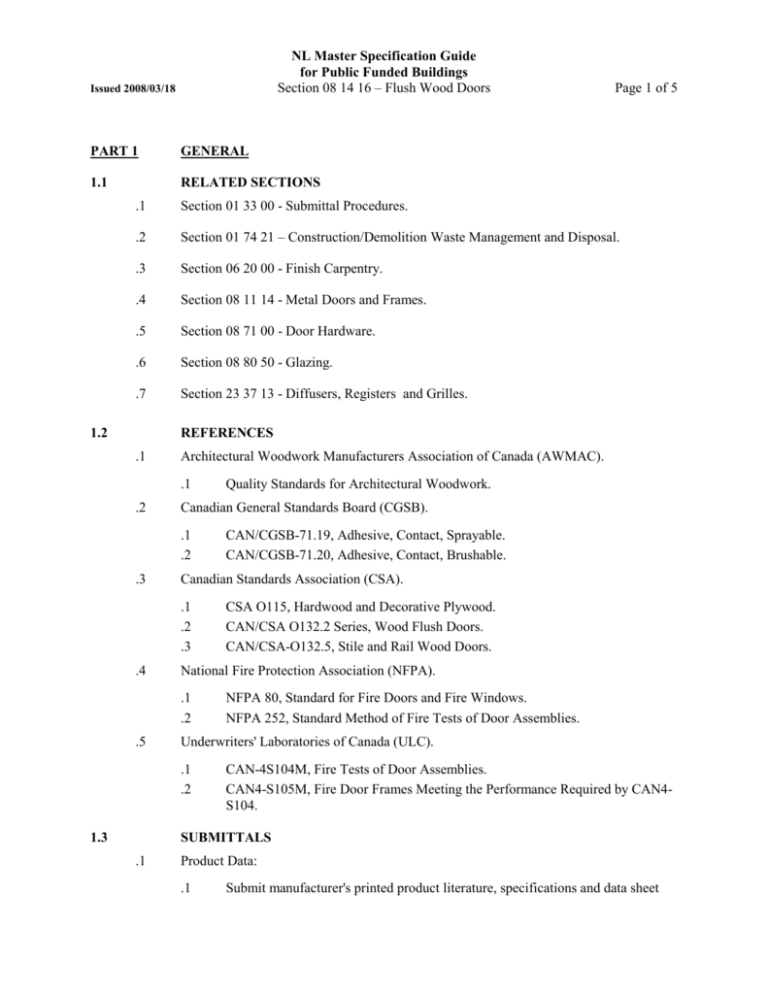
NL Master Specification Guide for Public Funded Buildings Section 08 14 16 – Flush Wood Doors Issued 2008/03/18 PART 1 GENERAL 1.1 RELATED SECTIONS Page 1 of 5 .1 Section 01 33 00 - Submittal Procedures. .2 Section 01 74 21 – Construction/Demolition Waste Management and Disposal. .3 Section 06 20 00 - Finish Carpentry. .4 Section 08 11 14 - Metal Doors and Frames. .5 Section 08 71 00 - Door Hardware. .6 Section 08 80 50 - Glazing. .7 Section 23 37 13 - Diffusers, Registers and Grilles. 1.2 REFERENCES .1 Architectural Woodwork Manufacturers Association of Canada (AWMAC). .1 .2 Canadian General Standards Board (CGSB). .1 .2 .3 NFPA 80, Standard for Fire Doors and Fire Windows. NFPA 252, Standard Method of Fire Tests of Door Assemblies. Underwriters' Laboratories of Canada (ULC). .1 .2 1.3 CSA O115, Hardwood and Decorative Plywood. CAN/CSA O132.2 Series, Wood Flush Doors. CAN/CSA-O132.5, Stile and Rail Wood Doors. National Fire Protection Association (NFPA). .1 .2 .5 CAN/CGSB-71.19, Adhesive, Contact, Sprayable. CAN/CGSB-71.20, Adhesive, Contact, Brushable. Canadian Standards Association (CSA). .1 .2 .3 .4 Quality Standards for Architectural Woodwork. CAN-4S104M, Fire Tests of Door Assemblies. CAN4-S105M, Fire Door Frames Meeting the Performance Required by CAN4S104. SUBMITTALS .1 Product Data: .1 Submit manufacturer's printed product literature, specifications and data sheet NL Master Specification Guide for Public Funded Buildings Section 08 14 16 – Flush Wood Doors Issued 2008/03/18 .2 .2 Submit two copies of WHMIS MSDS Safety Data Sheets. Indicate VOC’s: .1 For caulking materials during application and curing. .2 For door materials and adhesives. Shop Drawings: .1 Indicate door types and cutouts for lights and louvres, sizes, core construction, transom panel construction and cutouts. .3 Submit one 300 x 300 mm corner sample of each type wood door. .4 Show door construction, core, glazing detail and faces. .5 Manufacturer's Instructions: .1 1.4 Page 2 of 5 Submit manufacturer's installation instructions. REGULATORY REQUIREMENTS .1 1.5 Wood fire rated doors: labelled and listed by an organization accredited by Standards Council of Canada. DELIVERY, STORAGE AND HANDLING .1 Protect doors from dampness. Arrange for delivery after work causing abnormal humidity has been completed. .2 Store doors in well ventilated room, off floor, in accordance with manufacturer's recommendations. .3 Protect doors from scratches, handling marks and other damage. .4 Store doors away from direct sunlight. 1.6 WARRANTY .1 Provide a written guarantee, signed and issued in the name of the owner, covering the wood doors for both material and workmanship for a period of 10 (ten) years from the date of Substantial Completion. .2 Areas which prove to be defective in any way shall be repaired or replaced and any damage to other work as a result of such defects shall be repaired at no cost to the Owner. NL Master Specification Guide for Public Funded Buildings Section 08 14 16 – Flush Wood Doors Issued 2008/03/18 PART 2 PRODUCTS 2.1 FIRE RATED WOOD DOORS .1 Wood doors: tested in accordance with CAN4-S104 NFPA 252 to achieve rating as scheduled exceeding 45 minutes shall have an incombustible mineral core (asbestos free). .1 2.2 Page 3 of 5 Face panels: Hardwood Grade I Premium. WOOD FLUSH DOORS .1 Solid core: to CAN/CSA-O132.2.1. .1 .2 .3 .2 Hollow core: to CAN/CSA-0132.2.2. .1 .2 .3 2.3 Construction: .1 Solid particleboard core: stile and rail frame bonded to particleboard core with wood lock blocks 7-ply construction. .2 Solid wood core: .1 Glued block core with wood edge band. .2 Framed block glued core. .3 Framed block nonglued core. .4 Stile and rail core. .5 7-ply construction. Face Panels: .1 Hardwood; veneer grades: Grade I (Premium) Adhesive: Type II (Water resistant) For interior doors. Construction: .1 Ladder core with lock blocks, 7-ply construction. Face Panels: .1 Hardwood: Grade I (Premium) Adhesive: Type II (water resistant) for interior exterior doors. GLAZING .1 2.4 Glass: to Section 08 80 50 – Glazing. TRANSOM AND SIDE PANELS .1 Construction: to match adjacent door. .2 Meeting edges of doors and transom panels: checked. .3 Veneer of doors and transom panels: end matched. NL Master Specification Guide for Public Funded Buildings Section 08 14 16 – Flush Wood Doors Issued 2008/03/18 2.5 Page 4 of 5 FABRICATION .1 Vertical edge strips to match face veneer. .2 Prepare doors for louvres and glazing. Provide hardwood species to match face veneer glazing stops with mitred corners. .3 Bevel vertical edges of single acting doors 3 mm in 50 mm on lock side and 1.5 mm in 50 mm on hinge side. .4 Radius vertical edges of double acting doors to 60 mm radius. .5 Provide waterproof non-staining membrane at cutouts on exterior doors to exclude moisture from core. PART 3 EXECUTION 3.1 MANUFACTURER'S INSTRUCTIONS .1 3.2 Compliance: comply with manufacturer's written data, including product technical bulletins, product catalogue installation instructions, product carton installation instructions, and data sheets. INSTALLATION .1 Unwrap and protect doors in accordance with CAN/CSA-O132.2 Series, Appendix A. .2 Install labelled fire rated doors to NFPA- 80. .3 Install doors and hardware in accordance with manufacturer's printed instructions and CAN/CSA-O132.2 Series, Appendix A. .4 Adjust hardware for correct function. .5 Install glazing in accordance with Section 08 80 50 - Glazing. .6 Install louvres and stops. .7 Secure transom and side panels by means of concealed fasteners or countersunk screws concealed by means of wood plugs matching panel in grain and colour. 3.3 ADJUSTMENT .1 Re-adjust doors and hardware just prior to completion of building to function freely and properly. NL Master Specification Guide for Public Funded Buildings Section 08 14 16 – Flush Wood Doors Issued 2008/03/18 3.4 Page 5 of 5 CLEANING .1 Perform cleaning as soon as possible after installation to remove construction and accumulated environmental dirt. .2 Remove traces of primer, caulking; clean doors and frames. .3 Clean glass and glazing materials with approved non-abrasive cleaner. .4 On completion of installation, remove surplus materials, rubbish, tools and equipment barriers. 3.5 COMMISSIONING .1 Contractor to instruct maintenance personnel in operation and maintenance of doors and hardware. .2 Confirm operation and function for all doors and hardware. .3 Commissioning will be witnessed by Owner’s Representative and certificate will be signed by Contractor and Owner’s Representative. END OF SECTION
