SP_yeast_activity
advertisement
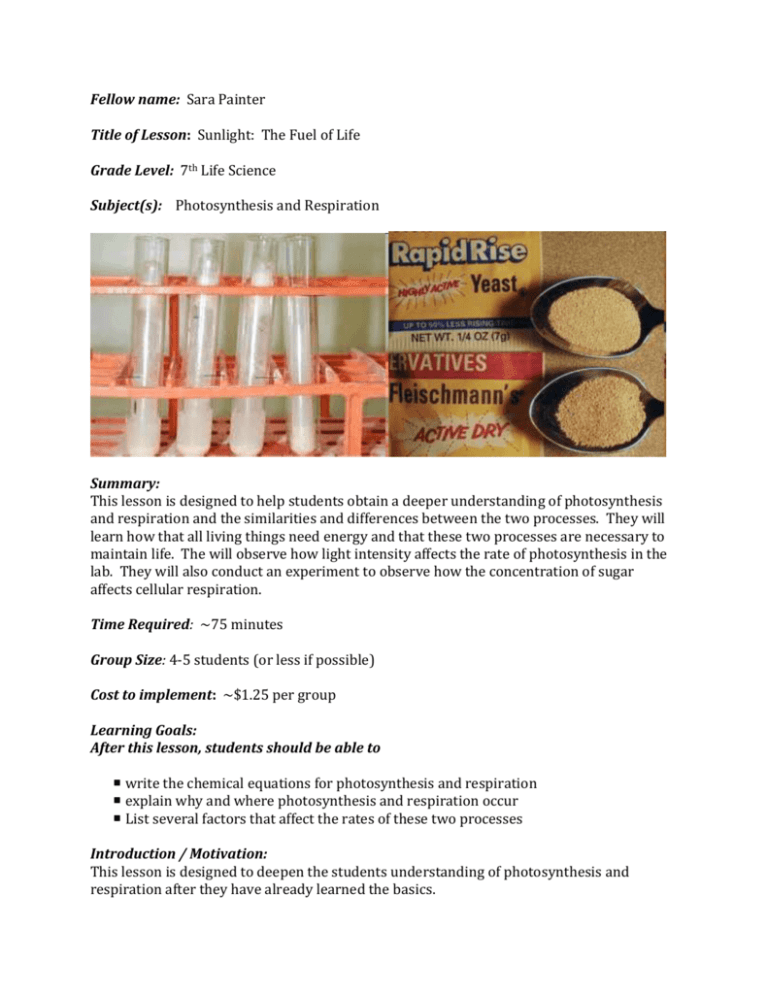
Fellow name: Sara Painter Title of Lesson: Sunlight: The Fuel of Life Grade Level: 7th Life Science Subject(s): Photosynthesis and Respiration Summary: This lesson is designed to help students obtain a deeper understanding of photosynthesis and respiration and the similarities and differences between the two processes. They will learn how that all living things need energy and that these two processes are necessary to maintain life. The will observe how light intensity affects the rate of photosynthesis in the lab. They will also conduct an experiment to observe how the concentration of sugar affects cellular respiration. Time Required: ~75 minutes Group Size: 4-5 students (or less if possible) Cost to implement: ~$1.25 per group Learning Goals: After this lesson, students should be able to write the chemical equations for photosynthesis and respiration explain why and where photosynthesis and respiration occur List several factors that affect the rates of these two processes Introduction / Motivation: This lesson is designed to deepen the students understanding of photosynthesis and respiration after they have already learned the basics. To introduce the lesson to the class start with start by discussing what makes living thing different to non living things. Have the students attempt to define life. Explain to the students that one of the definitions of life is that all living thing need and use energy. Tell them that photosynthesis and respiration are what allow organisms to obtain the energy they need to grow, reproduce, maintain homeostasis and in general, be alive! Review the equations for photosynthesis and respiration by asking the students what plants and animals need in order to survive. Explain that these same things (water, light, co2, etc) are the starting points for photosynthesis and respiration. Following the review have a discussion on the similarities between the two processes. Explain that plants actually do both processes while animals cannot photosynthesize. Following the introduction demonstrate and explain how to set up the laboratory experiment. Have the students follow along and perhaps even read the directions to you from their worksheet while you demonstrate what to do. Procedure: Have the students sent up their yeast experiment first. Once their experiment is running they will have some down time as they will be taking measurement only every 5 minutes. While they are waiting to take their measurement have them go observe photosynthesis in the Elodea plants and answer the questions in their worksheet. Once they have observed the Elodea plant they can then work on the word search on the back of their worksheet. Yeast Experiment (cellular respiration) Carbon dioxide production can be measured by measuring the depth of the layer of bubbles trapped in foam on top of the yeast solution and also by observing the balloons, which catch the carbon dioxide and get bigger. What the students will do: - Add 1/2 tea spoon of highly active yeast to each test tube - Add 10 ml of each sugar solution to each test tube (sugar solutions should be made ahead of time and provided to the students. Solution that are 0%, 0.5%, 1%, 4% and 10% sugar dissolved in water create a nice range of results for the students) - Add 10ml of hot water to the test tube - Put a balloon on top of each tube - Seal the top of the tube with your finger and shake each tube until the yeast is dissolved (~10-15 seconds). - The students should measure the bubble height in the test tube after 5, 10, 15 and 20 minutes. At the end of the experiment they should measure the circumference of their balloon using the string provided. Photosynthesis in Elodea Oxygen production can be measured by observing the amount of gas produced by elodea as it photosynthesizes. Set up the Elodea plants ahead of time for the students. Create a water solution with carbon for the plants by dissolving one tsp of baking soda in three cups of water. Using this solution, place a spring of Elodea in a test tube and fill it with solution. Holding your thumb over the top of the test tube to create a seal and invert the test tube in a beaker of solution. Do this for two Elodea plants and place one directly under a lamp and place the other nearby so that it has just the classroom light. Make sure to set the two plants away from a window to ensure they are getting different amounts of light. What the students will do: - Students will carefully observe and compare the elodea in that has been placed directly under a light source with one that has not. They should see that the plant under the light will be producing oxygen bubbles via photosynthesis. They will need to answer questions on their worksheet regarding their observations. Materials List Each group will need: Test tube rack 5 test tubes (~30ml volume) Highly active yeast ¼ or ½ tsp measuring spoon Beaker of hot water 5 sugar solutions (0%, 0.5% 1%, 4% and 10% sugar dissolved in water) Small graduated cylinders 5 balloons Piece of string to measure balloon circumference Ruler to measure bubble height in the test tubes & balloon circumference Worksheets (1 per student) To share with the entire class: One bunch of Elodea for the photosynthesis observation 2 Large test tubes (~50ml volume) to set up Elodea observation 2 large beakers ~300 ml to set up Elodea observation Safety Issues: The hot water used for the yeast experiment should be very hot (near boiling). Instruct the students to be careful with the hot water while transferring it to the test tubes. Lesson Closure: When the students finish the lab have them return to their seats and spend some time discussing the results. Below is a suggested list of questions for discussion: - What did you observe during the yeast experiment? - What did you observe during the Elodea observation? - Which sugar solution produced the most bubbles? - Which sugar solution produced the biggest balloon? - - - Where did the bubbles in the yeast experiment come from? What gas was in these bubbles? How do you know? What was the difference between the Elodea plant under the light and the one that was not? Where did the bubbles come from? What gas was in those bubbles? How do you know? If the results from the yeast experiment didn’t come out as you expected what other variables do you think could have affected the experiment and how so? (ex: timing, temp of the hot water, how well mixed the test tube was, etc.) What can you conclude about how sugar concentration affects cellular respiration? What can you conclude about how light intensity affects photosynthesis? Is yeast alive? How do you know? Is this lesson based upon or modified from existing materials? If yes, please specify source(s) and explain how related: Yes. Yeast is commonly used in classrooms for demonstrations and experiments on respiration and alcoholic fermentation. My partner teachers have previously used yeast to demonstration respiration in their classrooms. I modified my teacher’s old lessons with ideas I got from the many existing yeast labs online to create this lesson. References: Yeast Experiment: http://en.wikipedia.org/wiki/Yeast http://www.planetguide.net/cool/yeast_activity.html http://www.the-aps.org/education/k12curric/activities/pdfs/sullivan.pdf Elodea Photosynthesis Observation: http://kenpitts.net/bio/energy/elodea_lab.htm http://www.youtube.com/watch?v=QXa7jMtcSFk&feature=related Attachments: SP_yeast_sunlight the fuel of life.ppt (Notes are included in the Powerpoint) SP_yeast_worksheet.doc List CA Science Standards addressed: Cell Biology 1.d. Students know that mitochondria liberate energy for the work that cells do and that chloroplasts capture sunlight energy for photosynthesis.
