Converting PowerPoint Slides to Flash for CGCC Digital Signage
advertisement

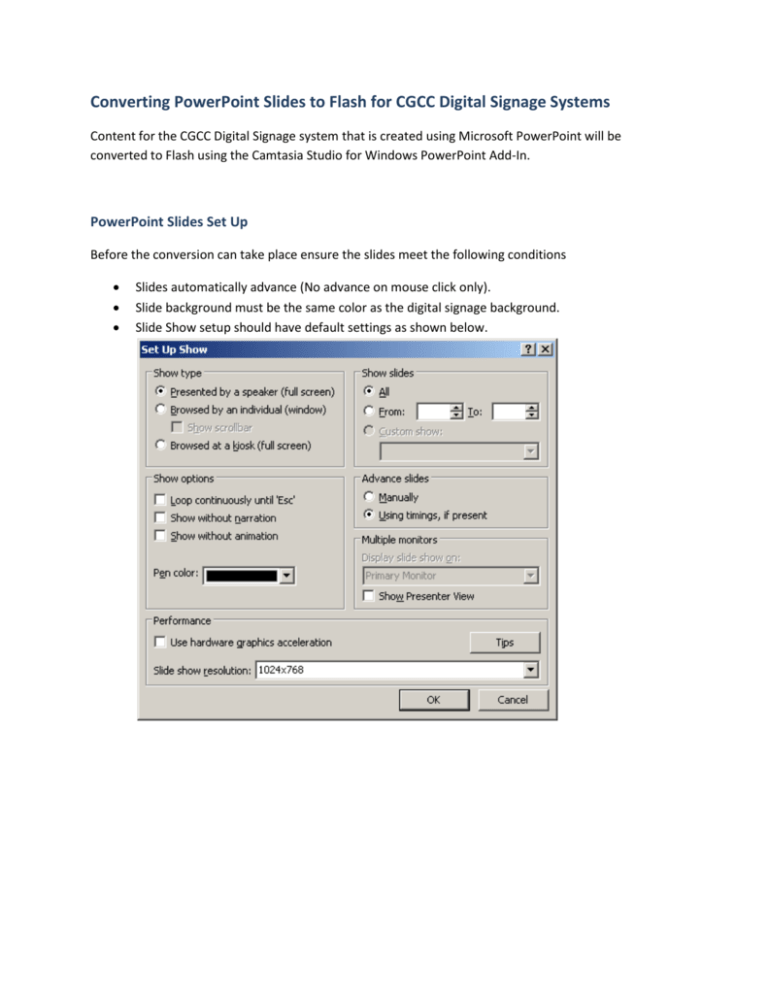
Converting PowerPoint Slides to Flash for CGCC Digital Signage Systems Content for the CGCC Digital Signage system that is created using Microsoft PowerPoint will be converted to Flash using the Camtasia Studio for Windows PowerPoint Add-In. PowerPoint Slides Set Up Before the conversion can take place ensure the slides meet the following conditions Slides automatically advance (No advance on mouse click only). Slide background must be the same color as the digital signage background. Slide Show setup should have default settings as shown below. Creating the Flash file from PowerPoint slides With the Camtasia Studio for Windows PowerPoint Add-In installed, launch the PowerPoint file, go to the Add-Ins tab and click on Recording Options. You’ll want to make sure you are not recording the mouse cursor. Click Ok and then Record. NOTE: Before recording, close out any applications that may open windows from the system tray and show in the recording. Email applications are an example. The slide show will run. When completed, you will be prompted to save the recording. After saving, choose to produce the recording. In Camtasia Studio, the will then choose the Custom production settings. Click Next. You will then choose SWF (Adobe Flash output). Click Next. For the Flash template, you will choose legacy with no controls and a size of 1024 X 700 pixels. Click on the Flash Options button and click on the Controls tab. Choose No playback controls and set the End action to Go to first frame. Click Ok and then Next. For the Video Options and Marker Options screens, there are no custom settings, click Next. The final step is to produce the video. For the Production name, choose the name of the file you will upload to the SharePoint folder. For Williams, we will use WCFlash as the name. Click Finish. The project will render. When completed, click the Open Production Folder button to view the location of the Flash (.swf) file that you will upload to the SharePoint folder. The SWF file is the only file you need to upload, all other files can be ignored. To view your video before you upload, navigate to the production directory (as shown below) and double click on the html file. If satisfied with the results you can then upload the Flash file. Click Finish. If prompted to save the project after closing Camtasia Studio you can ignore and not save. Upload the Flash file to a SharePoint folder. Navigate to the SharePoint folder that holds the Flash file for the Digital Signage system you are uploading to. Click the Upload button and upload the SWF file only. There is no need to update any other file in the folder.


