RBX430-1 Hookup
advertisement
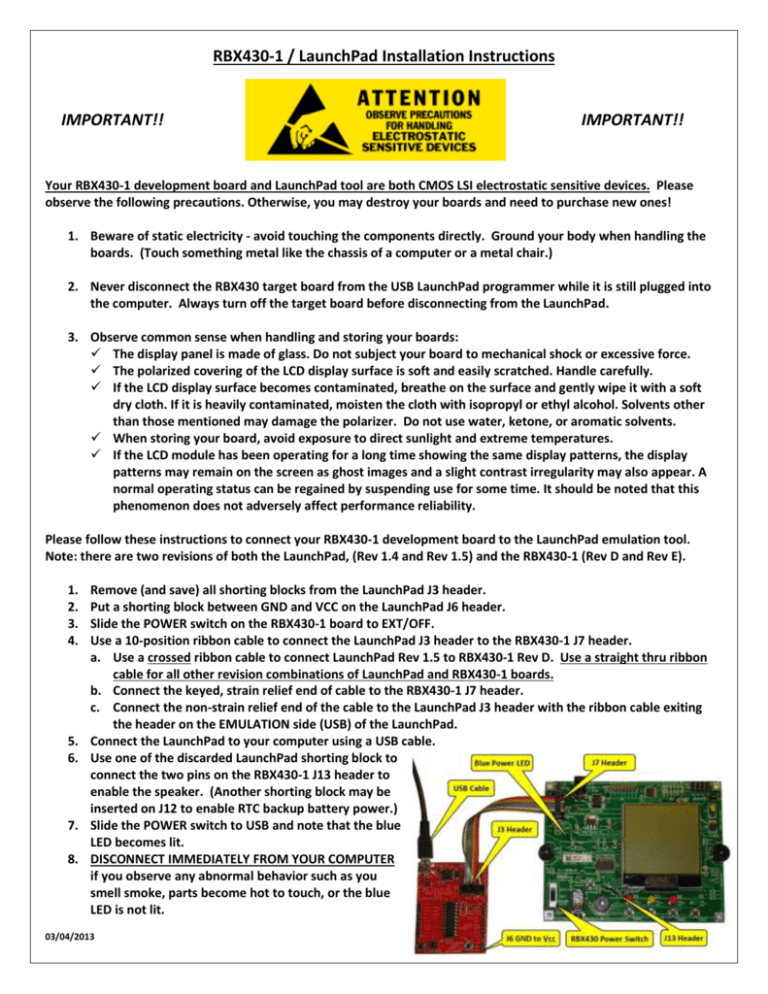
RBX430-1 / LaunchPad Installation Instructions IMPORTANT!! IMPORTANT!! Your RBX430-1 development board and LaunchPad tool are both CMOS LSI electrostatic sensitive devices. Please observe the following precautions. Otherwise, you may destroy your boards and need to purchase new ones! 1. Beware of static electricity - avoid touching the components directly. Ground your body when handling the boards. (Touch something metal like the chassis of a computer or a metal chair.) 2. Never disconnect the RBX430 target board from the USB LaunchPad programmer while it is still plugged into the computer. Always turn off the target board before disconnecting from the LaunchPad. 3. Observe common sense when handling and storing your boards: The display panel is made of glass. Do not subject your board to mechanical shock or excessive force. The polarized covering of the LCD display surface is soft and easily scratched. Handle carefully. If the LCD display surface becomes contaminated, breathe on the surface and gently wipe it with a soft dry cloth. If it is heavily contaminated, moisten the cloth with isopropyl or ethyl alcohol. Solvents other than those mentioned may damage the polarizer. Do not use water, ketone, or aromatic solvents. When storing your board, avoid exposure to direct sunlight and extreme temperatures. If the LCD module has been operating for a long time showing the same display patterns, the display patterns may remain on the screen as ghost images and a slight contrast irregularity may also appear. A normal operating status can be regained by suspending use for some time. It should be noted that this phenomenon does not adversely affect performance reliability. Please follow these instructions to connect your RBX430-1 development board to the LaunchPad emulation tool. Note: there are two revisions of both the LaunchPad, (Rev 1.4 and Rev 1.5) and the RBX430-1 (Rev D and Rev E). 1. 2. 3. 4. 5. 6. 7. 8. Remove (and save) all shorting blocks from the LaunchPad J3 header. Put a shorting block between GND and VCC on the LaunchPad J6 header. Slide the POWER switch on the RBX430-1 board to EXT/OFF. Use a 10-position ribbon cable to connect the LaunchPad J3 header to the RBX430-1 J7 header. a. Use a crossed ribbon cable to connect LaunchPad Rev 1.5 to RBX430-1 Rev D. Use a straight thru ribbon cable for all other revision combinations of LaunchPad and RBX430-1 boards. b. Connect the keyed, strain relief end of cable to the RBX430-1 J7 header. c. Connect the non-strain relief end of the cable to the LaunchPad J3 header with the ribbon cable exiting the header on the EMULATION side (USB) of the LaunchPad. Connect the LaunchPad to your computer using a USB cable. Use one of the discarded LaunchPad shorting block to connect the two pins on the RBX430-1 J13 header to enable the speaker. (Another shorting block may be inserted on J12 to enable RTC backup battery power.) Slide the POWER switch to USB and note that the blue LED becomes lit. DISCONNECT IMMEDIATELY FROM YOUR COMPUTER if you observe any abnormal behavior such as you smell smoke, parts become hot to touch, or the blue LED is not lit. 03/04/2013
