work books
advertisement
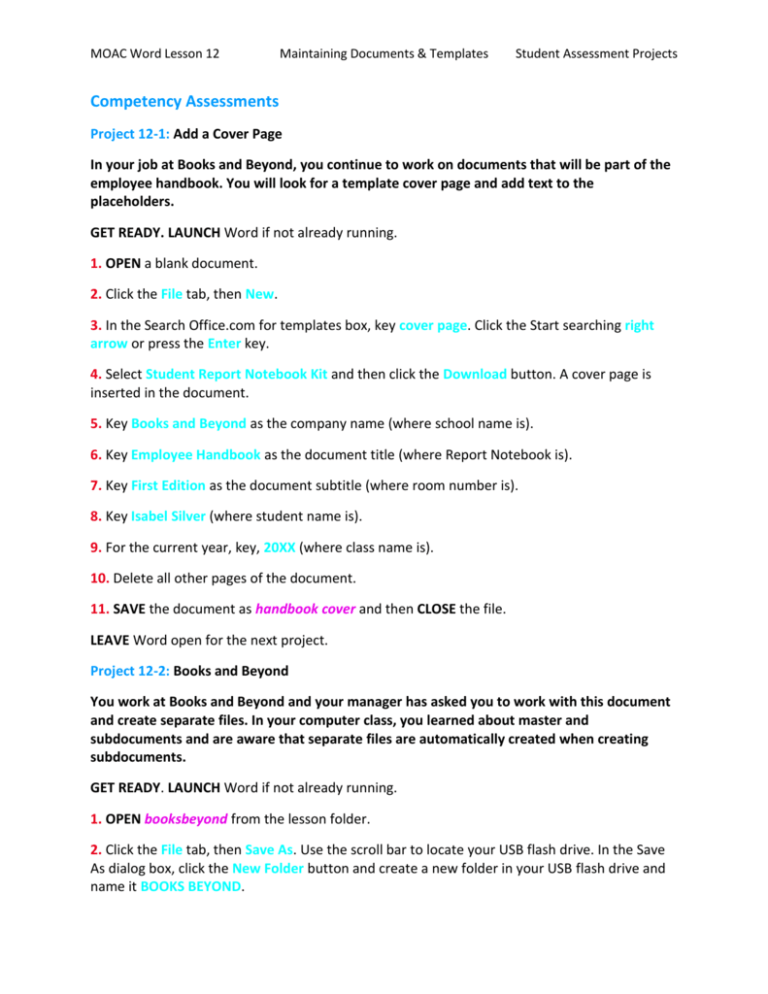
MOAC Word Lesson 12 Maintaining Documents & Templates Student Assessment Projects Competency Assessments Project 12-1: Add a Cover Page In your job at Books and Beyond, you continue to work on documents that will be part of the employee handbook. You will look for a template cover page and add text to the placeholders. GET READY. LAUNCH Word if not already running. 1. OPEN a blank document. 2. Click the File tab, then New. 3. In the Search Office.com for templates box, key cover page. Click the Start searching right arrow or press the Enter key. 4. Select Student Report Notebook Kit and then click the Download button. A cover page is inserted in the document. 5. Key Books and Beyond as the company name (where school name is). 6. Key Employee Handbook as the document title (where Report Notebook is). 7. Key First Edition as the document subtitle (where room number is). 8. Key Isabel Silver (where student name is). 9. For the current year, key, 20XX (where class name is). 10. Delete all other pages of the document. 11. SAVE the document as handbook cover and then CLOSE the file. LEAVE Word open for the next project. Project 12-2: Books and Beyond You work at Books and Beyond and your manager has asked you to work with this document and create separate files. In your computer class, you learned about master and subdocuments and are aware that separate files are automatically created when creating subdocuments. GET READY. LAUNCH Word if not already running. 1. OPEN booksbeyond from the lesson folder. 2. Click the File tab, then Save As. Use the scroll bar to locate your USB flash drive. In the Save As dialog box, click the New Folder button and create a new folder in your USB flash drive and name it BOOKS BEYOND. MOAC Word Lesson 12 Maintaining Documents & Templates Student Assessment Projects 3. In the File name box, key master_books and click the Save button to save in the BOOKS BEYOND folder. 4. Select the heading, Acknowledgement. In the Styles group of the Home tab, select Heading 1. 5. Select the Introduction heading. In the Styles group, select Heading 1. 6. Select the General Performance Expectations Guidelines heading. In the Styles group, select Heading 1. 7. Click the View tab, and in the Document Views group click the Outline button. 8. In the Outline Tools group of the Outlining tab, click the drop-down arrow by Show Level to display Level 1. 9. Click the plus (+) symbol next to General Performance Expectation Guidelines. 10. On the Outline Tools group, click the Demote button. The General Performance Expectation Guideline heading is now a Level 2. 11. On the Master Document group, click the Show Document button. 12. Select the plus (+) symbol by next to Acknowledgement to select the heading and contents under that header. Click the Create button in the Master Document group. 13. Select the plus (+) symbol by Introduction to select the heading and contents under that heading. Click the Create button in the Master Document group. 14. Click the Save button on the Quick Access Toolbar and then close the file. 15. OPEN the master_books document and preview your document in the Outlining tab, and then CLOSE the file. LEAVE Word open for the next project. Proficiency Assessment Project 12-3: Interview Thank-You Letter As the assistant to the Director of Human Resources at Whitbeck Technologies, one of your responsibilities is preparing letters for candidates for a second interview. You decide to find a template in Word to help you with the wording and format. GET READY. LAUNCH Word if not already running. 1. OPEN the Templates screen in Backstage. 2. Browse to the Letters: Employment and resignation letters: Interview Letters category. MOAC Word Lesson 12 Maintaining Documents & Templates Student Assessment Projects 3. Download the Confirmation of Second Interview letter. Replace the other fields in the document by keying the following information where indicated: [Your Name]: Hazel Loera [Street Address]: 1243 Angel Drive [City, ST ZIP Code]: Modesto, CA 45632 [Recipient Name]: Joe Villanueva [Title]: Marketing Manager [Company Name]: Contoso Pharmaceuticals [Street Address]: 5683 Boston Street [City, ST ZIP Code]: Jasper, IN 70023 [Recipient Name]: Mr. Villanueva [Date]: January 10, 20XX [Time]: 9:00 am [Date]: January 20 [Time]: 8:30 am [Phone Number]: 999-999-9999 [Your Name]: Hazel Loera [Title]: Director of Human Resources 4. SAVE the document as interview_thanks in your USB flash drive in the lesson folder and CLOSE the file. LEAVE Word open for the next project. Project 12-4: Computer Use Policy You are putting your computer skills to use and feel more confident in creating subdocuments. Your task is to create and rearrange the subdocuments. GET READY. LAUNCH Word if not already running. 1. OPEN the computerusepolicy document from the lesson folder. 2. Create a new folder in your USB flash drive and name it COMPUTER_POLICY. 3. Save the document in the COMPUTER_POLICY folder as master_policy. 4. Change the view to Outline View. 5. Click the Show Level drop-down arrow in the Outline Tools group of the Outlining tab to display two levels. 6. Click the Show Documents button on the Master Document group to display the additional commands. 7. Select the individual headings by clicking the plus (+) symbol, then click the Create button to create subdocuments for each section. MOAC Word Lesson 12 Maintaining Documents & Templates Student Assessment Projects 8. Click the Save button on the Quick Access Toolbar to save the master_policy document. 9. Select the plus (+) symbol by Section Four. Click the Move Up arrow in the Outline Tools group until Section Four is above Section Two. (Hint: Make sure you see two continuous section breaks above Section Four and below Section One.) 10. Select the plus (+) symbol in Section Four, then click the Create button in the Master Document group to create a subdocument. Section Four and Section Two are in a border. 11. Select the text FOUR in SECTION FOUR and key TWO in uppercase. 12. Renumber each section appropriately and key in uppercase. Section TWO is now Section THREE, and Section THREE is now Section FOUR. 13. SAVE the master_policy document in your USB flash drive in the COMPUTER_POLICY folder and close the file. 14. OPEN the master_policy document and view document with hyperlinks. 15. SAVE the document in your USB flash drive in the COMPUTER_POLICY folder. LEAVE Word open for the next project. Mastery Assessment Project 12-5: Fax Cover Sheet In your position at Tech Terrace Real Estate, you frequently have to fax documents and need an attractive cover sheet. You decide to see what templates are available for faxes. GET READY. LAUNCH Word if not already running. 1. Click the File tab, then New. 2. Under the Faxes category, select Fax cover sheet (Blue Gradient design). 3. Replace the fields in the fax document by keying the following information where indicated: To: Leonard Lachmann From: Aggie Becker RE: Update on Property Fax: 999-999-9989 Pages: 3 4. SAVE the document as fax_cover and then CLOSE the file. LEAVE Word open for the next project. Project 12-6: Stock Agreement MOAC Word Lesson 12 Maintaining Documents & Templates Student Assessment Projects You are preparing the stock agreement document for a committee. The committee will be working on this document during a scheduled meeting time. Your task is to prepare the document and separate it into seven sections and rearrange the document before the meeting. GET READY. LAUNCH Word if not already running. 1. OPEN the stock_agreement document from the lesson folder. 2. Create a new folder in your USB flash drive and name it AGREEMENTS. 3. Save the document in the AGREEMENTS folder as master_agreement. 4. Select Section One, Section Two, Section Three, Section Four, Section Five, Section Six, Section Seven, and identify as a Heading 1 style. Center each heading. 5. Under each of the sections is a subheading; select and add as a Heading 2 style. Center each subheading. 6. Create a subdocument for Sections One through Seven. 7. SAVE the document in your USB flash drive in the AGREEMENT folder and close the master_agreement file. 8. OPEN the master_agreement document. 9. Format Sections One through Seven by increasing the font size to 16 pts and selecting Dark Blue in the Standard Colors. 10. Move Section Four below Section Six and renumber. 11. SAVE the document in your USB flash drive in the AGREEMENTS folder. CLOSE Word.
