District Protocol for Cataloguing iPads
advertisement
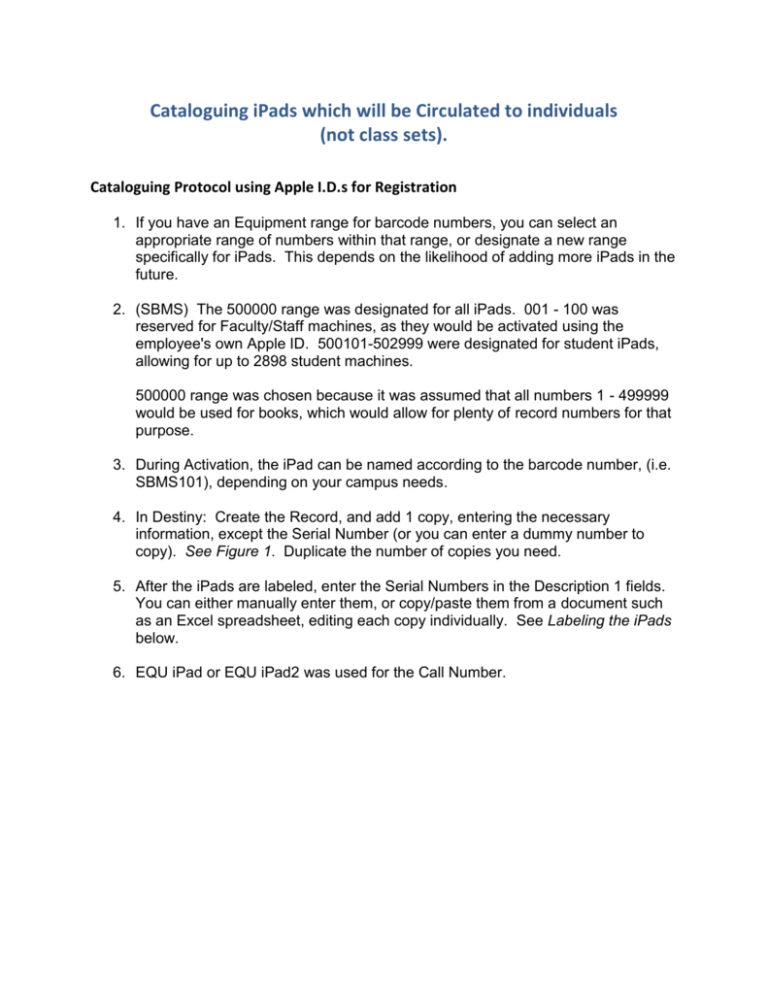
Cataloguing iPads which will be Circulated to individuals (not class sets). Cataloguing Protocol using Apple I.D.s for Registration 1. If you have an Equipment range for barcode numbers, you can select an appropriate range of numbers within that range, or designate a new range specifically for iPads. This depends on the likelihood of adding more iPads in the future. 2. (SBMS) The 500000 range was designated for all iPads. 001 - 100 was reserved for Faculty/Staff machines, as they would be activated using the employee's own Apple ID. 500101-502999 were designated for student iPads, allowing for up to 2898 student machines. 500000 range was chosen because it was assumed that all numbers 1 - 499999 would be used for books, which would allow for plenty of record numbers for that purpose. 3. During Activation, the iPad can be named according to the barcode number, (i.e. SBMS101), depending on your campus needs. 4. In Destiny: Create the Record, and add 1 copy, entering the necessary information, except the Serial Number (or you can enter a dummy number to copy). See Figure 1. Duplicate the number of copies you need. 5. After the iPads are labeled, enter the Serial Numbers in the Description 1 fields. You can either manually enter them, or copy/paste them from a document such as an Excel spreadsheet, editing each copy individually. See Labeling the iPads below. 6. EQU iPad or EQU iPad2 was used for the Call Number. Labeling the iPads 1. Note: It is extremely important to have the iPads in the original shipping box that has the Serial Numbers in barcode format on the label. See Figure 2. You will also need a laptop or computer with a barcode scanner. Without this barcode, you have to look at the very tiny printed serial number on the back of the iPad, or plug it into a computer with iTunes, and do the first step of activating the iPad to know which serial number it is. The middle 4 digits are the key. 2. Create a Spreadsheet with Column A for your barcode numbers (101, 102, etc.). Column B will be the Serial Numbers. As you scan each barcode, the spreadsheet should automatically move you down to the next cell in the column. 3. Remove the iPads from the shipping carton, then scan each barcode into your spreadsheet, writing the number (101, 102, etc.) of the barcode on the boxes as you go. 4. Remove the iPad from the box, place it face down on the table, and pull the protective plastic up enough to place the barcode label. Do not completely remove the plastic yet. 5. Place the barcode on the back of the iPad, centered over the large Apple. See Figures 3 & 4. Place a clear protective label over the barcode, if you choose to do so. It is helpful to have one of the Otterboxes handy to check your placement, then use that same criteria for each subsequent placement of barcodes. Note: 1st Generation Otterboxes had a large flap at the bottom, and barcodes were placed above the Serial Number at the bottom of the iPad. See Figure 5. The “apple window” on the back of the 1st Generation Otterboxes is NOT clear enough to easily scan the barcode through it. You need to know which type of Otterbox you will be using, so you know where to place the barcodes. 6. Once the barcodes are placed and you are ready to install Otterboxes, open the Otterbox case, remove the iPad’s protective plastic cover enough to slide it (without touching the glass) into the case. Make sure everything lines up, and close the case. Illustrations Figure 1 Figure 2 Figure 3 Figure 4 Figure 5
