link to attached document
advertisement
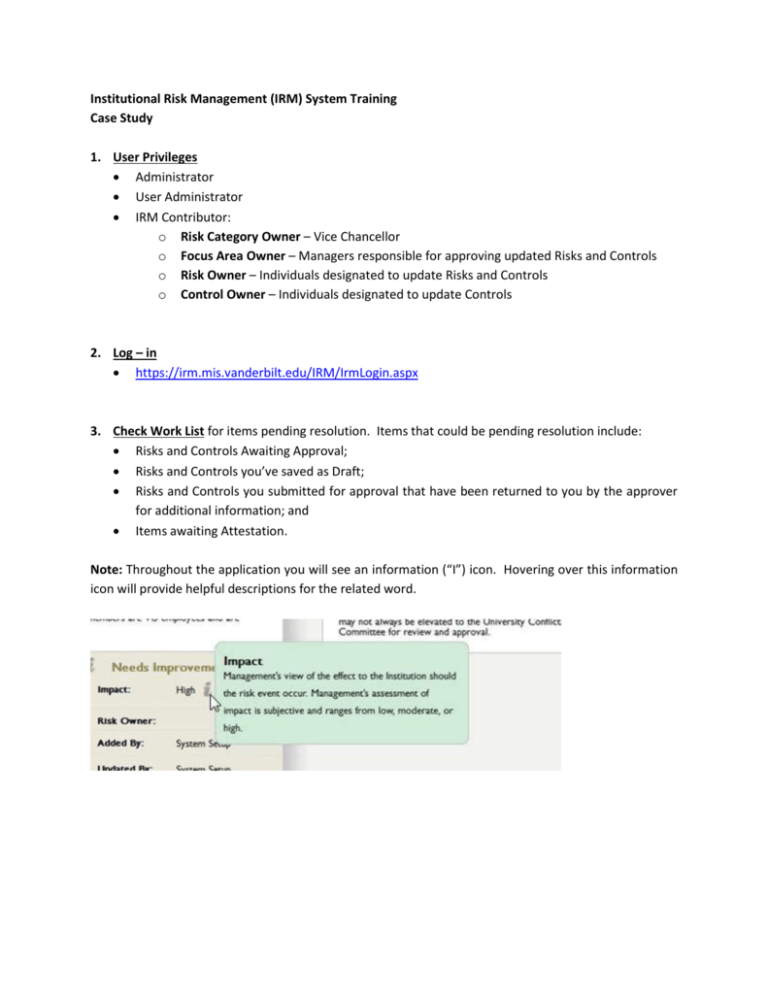
Institutional Risk Management (IRM) System Training Case Study 1. User Privileges Administrator User Administrator IRM Contributor: o Risk Category Owner – Vice Chancellor o Focus Area Owner – Managers responsible for approving updated Risks and Controls o Risk Owner – Individuals designated to update Risks and Controls o Control Owner – Individuals designated to update Controls 2. Log – in https://irm.mis.vanderbilt.edu/IRM/IrmLogin.aspx 3. Check Work List for items pending resolution. Items that could be pending resolution include: Risks and Controls Awaiting Approval; Risks and Controls you’ve saved as Draft; Risks and Controls you submitted for approval that have been returned to you by the approver for additional information; and Items awaiting Attestation. Note: Throughout the application you will see an information (“I”) icon. Hovering over this information icon will provide helpful descriptions for the related word. 4. Run Reports From the menu select “Reports” and then “Reports Hub” After selecting desired Report Filters and Risk Category(ies), select “Check Report Data for Warnings” Review warning messages and make corrections as determined necessary Run the Heat Map Run the Detailed Risk and Control reports 5. Update Risks and Controls From the menu select “Risks & Controls” and then the Risk Category with Risks or Controls you want to view or edit Select “View Details” for the Focus Area with Risks or Controls you want to view or edit Select “View Details” for the Risk you want to view or edit Select “View Details” for the Control you want to view or edit From the Risk or Control detail select “Edit” or “Add” to update or add a Risk or Control After making changes, select “Save” and then choose to “Save as Draft” or “Save and Submit for Approval” and select the approver you would like to approve the change and select “Save” 6. Approve changes From the menu select “Work List”. Note: The “Attestation Work List” section will be displayed for Focus Area Owners when the Attestation period is open and will not be displayed when the Attestation period is closed. To Approve a change from the Work List there are two options: o For changes you have already reviewed (e.g., through review of a report) you can check the box next to each item you want to approve and then select “Approve Selected”. o For changes for which you want to review the proposed changes, click on the item description. A summary of proposed changes are presented on the right side of the screen. Fields that were changed are shown with red text. See example below. After reviewing proposed changes select “Approve” or “Reject”. 7. Attestation – To be performed after Heat Map and Detailed reports have been reviewed and all Risks and Controls have been determined to be complete and accurate. Navigate to the Attestation Work List by selecting “Work List” from the menu From the Attestation Work List select the Focus Area(s) you want to Attest. Focus Areas without warnings are shown with a check box; those with Warnings do not have a check box. o For Focus Areas without warnings (e.g., Athletics / (E) Recruiting and Athletics / (F) Safety in the example below), check the box next to the description and select “Attest Selected”, follow the on screen prompts. o For Focus Areas with warnings, click on the description (e.g., Athletics / (A) Academic Requirements in the example above) of the Focus Area you want to review and Attest. The Focus Area warning summary is shown on the right side of the screen, see example below. Review the warning details by clicking on the warning counts and make corrections as determined necessary To complete the Attestation there are two options: o From the warning summary screen select “Attest” and follow on screen prompts o From the warning summary screen select “View Details” which will direct the user to the Focus Area detail screen. From the Focus Area detail screen select “Attestation”. See example below. From the Focus Area detail screen the user can navigate to and review the underlying Risks and Controls (described in the “Update Risks and Controls” section above). 8. Certification - To be performed after Heat Map and Detailed reports have been reviewed and all Risks and Controls have been determined to be complete and accurate. From the menu select “Certification” which is the default home page for a Risk Category Owner (i.e., Certifier). The Certification page will look different depending on if the Certification period is closed or open, see examples below. Certification Period Closed Certification Period Open Note: Each Risk Category may be assigned to multiple Vice Chancellors, as shown in the example above. Each assigned Vice Chancellor must perform the Certification and the Certification screen provides the Certification status of each assigned Vice Chancellor. Risk Categories without warnings will be displayed with a check box. The check box is not shown for Risk Categories with warnings. For Risk Categories without warnings (e.g., Treasury from the “Certification Period Open” example above), check the box next to the description and select “Certify Selected”, follow the on screen prompts. For Risk Categories with warnings (e.g., Athletics from the “Certification Period Open” example above), click on the description for the Risk Category (e.g., Athletics) you want to review and Certify. The Risk Category warning summary will be shown on the right side of the screen, see example below. After reviewing warning details, by clicking on the warning counts, and making corrections as determined necessary, select “Certify” and follow the on screen prompts.
