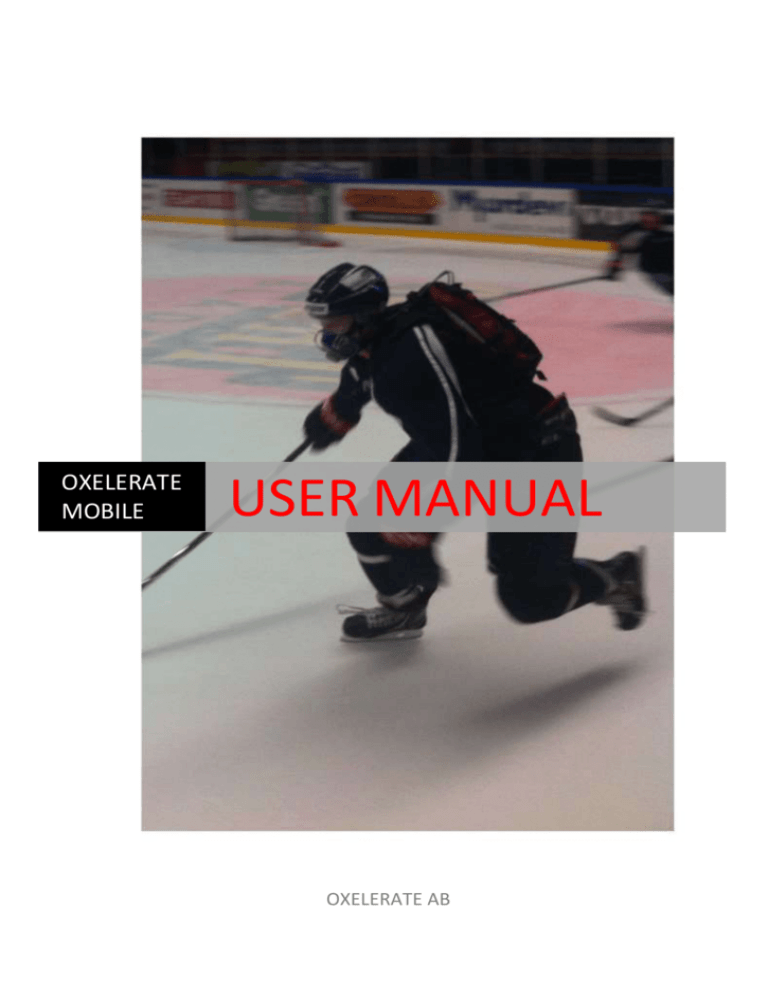
Oxelerate Athlete Unit
advertisement

OXELERATE MOBILE USER MANUAL OXELERATE AB Table of Contents Oxelerate - Overview ........................................................................................... 3 Oxelerate mobile system...................................................................................... 4 Quick start guide .................................................................................................. 6 Before exercise ................................................................................................. 6 During exercise ................................................................................................. 9 After exercise .................................................................................................. 10 Oxelerate Athlete Unit ....................................................................................... 11 Filling the Oxygen Cylinder ................................................................................. 13 Heart Rate Monitor ............................................................................................ 16 Oxelerator Mask................................................................................................. 17 Troubleshooting ................................................................................................. 18 Oxelerator Software ........................................................................................... 19 SW Setup and Install ....................................................................................... 19 Running the Oxelerate SW .............................................................................. 22 Oxelerate SW tab 1. ..................................................................................... 23 Oxelerate SW tab 2 ...................................................................................... 27 Oxelerate SW tab 3 ...................................................................................... 27 Uninstalling or repairing the Oxelerate SW ..................................................... 28 Warranty ............................................................................................................ 29 Service................................................................................................................ 30 Cautions and Warnings ...................................................................................... 31 Declaration of Conformity .................................................................................. 32 2 Oxelerate - Overview The Oxelerator 1.3 is a system designed to control oxygen supplementation to an athlete during physical exercise. Oxygen supplementation follows an algorithm which integrates measurements of heart rate and breathing frequency to decide when oxygen will be supplemented. When heart rate exceeds a user settable threshold and an inspiration is detected Oxygen is added to the inspired stream of air increasing the inspired oxygen fraction to 25-30%. Oxygen cylinder Oxygen Concentrator O2 WWW.OXELERATE.COM Oxygen Dosage Control PC for data logging presentation & analysis Oxelerate Algorithm Display Oxygen Dosage Breathing Detection Wireless Heart Rate Figure 1. Overview of the Oxelerator system The Oxelerate Athlete Unit, also called the Oxelerator, has a mini-USB port for charging the battery and for (when needed) communication with an external PCcomputer to enable data collection and adjustments of control parameters for supplementation. 3 Oxelerate mobile system A complete Oxelerate mobile system consists of the following sub units: The Oxygen supply subsystem The blue EverFlo Oxygen concentrator The gray UltraFill Oxygen tank filler The white Oxygen cylinder seen on top of the UltraFill tank filler The Oxelerate Athlete Unit ON/OFF LED USB The unit controls and supervises the oxygen supplementation An USB cable for: Communication Setup Charging of the Oxelerate Athlete Unit. 4 Oxelerate software to be downloaded in to your computer. The Software allows the set-up and supervision of the system as well as data recording. Requires windows XP or newer A Backpack to house the Oxygen cylinder and Oxelerate Athlete Unit during exercise. An Oxelerate mask with dosage connections and dosage tube connected. tube A Heart rate monitor and strap 5 Quick start guide To ensure proper setup, filling and use of the Oxelerate mobile system, follow the steps listed below. Before attempting to troubleshoot a problem, always check to make sure that the system has been setup correctly and that the filling process was initiated properly. Unauthorized modification of the system or its components is strictly prohibited. Before exercise Check Oxygen cylinder pressure, fill tank if necessary Open the Oxygen valve slowly, one complete turn is enough, if the valve is opened completely, always turn it back a quarter of a turn. Never leave it completely opened to avoid trying to open a valve already maximally opened. Verify that the flow selector (on top of the Oxygen cylinder) is in position “6” Connect a clean Oxelerate mask and tubing Wet and mount the heart rate monitor and strap Start the Oxelerator, verify two quick blinks and then blinking in synchrony with heart rate Put on the mask and tighten it lightly, it does not have to be completely tight 6 Place the Oxygen cylinder together with the Oxelerate Athlete Unit in the backpack. Ensure that the gas cylinder has the regulator (i.e. the steel colored end with gas outlets) up and the oxygen valve facing the middle of the backpack. Connect the dosage tubes to the Oxelerate Athlete Unit. Breath sense O2 flow Check: Verify that the cylinder is fixed in the backpack and that the dosage tubes have been connected to the Oxelerate Athlete Unit. Verify that the tubes are not kinked. Connect the dosage tubes from the Oxelerate Athlete Unit to the Oxelerate mask. You can connect the tubes to any of the two ports. Wet and mount the heart rate detector and strap 7 ON/OFF LED USB Switch on the Oxelerate Athlete Unit. The pin of the power switch shall point towards the breathing sensing port. In the picture the switch is in the “OFF” position Check: If the red LED on the Athlete Unit does not flash twice at start-up of if it flashes fast, the Athlete Unit must be charged before use. Open the Oxygen valve slowly, one complete turn is enough, if the valve is opened completely, always turn it back a quarter of a turn. Never leave it completely opened to avoid trying to open a valve already maximally opened 8 During exercise Go for it! The Oxelerator will add a volume of Oxygen to each breath. 9 After exercise Close the Oxygen valve lightly, do not force the valve fully closed Check tank pressure, fill tank if necessary Remove mask and tubes Rinse and Clean mask using hand dish detergent Shake away excess water and allow mask and tube to dry Rinse / Wash/ Dry the heart rate monitor and band Charge the Oxelerator using a micro USB cable and any USB charger Store the Oxelerator System and its components in a dry storage area in room temperature. 10 Oxelerate Athlete Unit To charge Athlete Unit the Oxelerator To charge the Athlete Unit you connect the unit either to the USB port of a computer or to an USB charge adaptor. How long does it take to charge The Oxelerator will be fully charged in 2h the Oxelerator? using a normal 500 mA capable USB port. The LED of the Oxelerator Charge the Oxelerator, When the battery is flashes quickly? in need of charging, the LED will flash at 5 Hz (five flashes/second) Breath sense ON/OFF LED O2 flow USB Figure 1. The Oxelerate Athlete Unit with gas and USB connectors, LED and ON/OFF switch 11 Breath sense O2 flow Figure 2 Oxelerate Athlete Unit and mask with tubes connected Fill Connector O2 shut off valve Pressure gauge O2 tank Figure 3. Oxelerate Athlete Unit and mobile Oxygen cylinder. 12 Filling the Oxygen Cylinder Tubing is properly connected between UltraFill and the oxygen concentrator. Check for kinks. Check: Inspect visually Oxygen concentrator is powered on. Check: Green light on top panel should be lit. If not, check that the power cord is plugged in and the power button is depressed. If the problem persists, consult the Troubleshooting section in this guide. Oxygen concentration level is properly set. The Oxygen flow control on the EverFlo should be at or below 2 LPM. Check the concentrator’s flow meter. 13 UltraFill is powered on. Check: Green light on top panel should be lit. If not, check that the power cord is plugged in and the power button is depressed. If the problem persists, consult the Troubleshooting section in this guide Check that the cylinder valve is closed. Check: Inspect visually. Turn the valve head clockwise until tight Cylinder is properly connected to the UltraFill device. Check: One or more lights on the fill-level indicator is solid. No lights should be flashing. Fill Start/Stop button is depressed and filling has started. Check: If cylinder is not full, one or more of the lights on the fill-level indicator will flash 14 Filling complete. Release cylinder from UltraFill. Check: All lights on the fill-level indicator are solidly lit. 15 Heart Rate Monitor 1. Wet the electrode areas of the strap under running water and make sure that they are well moistened. 2. Attach the connector to the strap. Adjust the strap length to fit snugly and comfortably. 3. Tie the strap around your chest, just below the chest muscles, and attach the hook to the other end of the strap. 4. Check that the wet electrode areas are firmly against your skin and that the Polar logo of the connector is in a central, upright position. Detach the transmitter connector from the strap and rinse the strap and transmitter under running water after every use. 16 Oxelerator Mask To don the mask Pull the neck strap over your head and the place the mask over your mouth and nose, pull the head band over your head and tighten the straps lightly. The mask does not have to be perfectly tight. To temporarily remove the If you need to talk or want an air break, simply mask. pull the head strap forward and let the mask hang from neck strap only. Remove the dosage tubes Use the top of your fingers to push the dosage tubes away from the mask and Athlete unit. If you pull on the tubes they will be harder to remove. Be sure to clean and dry the mask after every use 17 Troubleshooting The device is not filling the Verify that the cylinder is connected to the fill coupler (fill level LEDs lit). Oxygen Cylinder Verify that the fill Start/Stop button is depressed (either a fill level LED will be blinking or all 4 LEDs will be lit solid If all 4 LEDs are constantly lit, the cylinder is full and ready for use. If all 4 fill level indicator LEDs are not lit and none are blinking, again depress the fill Start/Stop button. If this does not start the filling process, contact Oxelerate The Oxygen tank filler alarms! Verify that the ventilation intake on the backside is not obstructed, remove the obstruction and restart the filler after 5 min. The stationary Oxygen concentrator alarms when on but not in use, yellow LED is flashing The Concentrator will alarm if no oxygen flows through the device for 5 minutes, Restart the Oxygen concentrator when it is time for exercise. The red LED on the Athlete Unit Check that the heart rate belt is moist and that does not flash during exercise? the distance between the heart rate belt and the Oxelerator is less than 70 cm. The red LED of the Oxelerator Charge the Oxelerator, When the battery is in Athlete Unit flashes quickly need of charging, the LED will flash at 5 Hz (five flashes/second) 18 Oxelerator Software SW Setup and Install Connect the Oxelerate Athlete Unit with a PC using the USB cable. If your PC is connected to Internet, the PC will now automatically install the needed USB drivers. It is recommended that you download and install the latest drivers from www.oxelerate.com. Download the Oxelerate.zip compressed file from www.oxelerate.com. Extract the files to a suitable folder on your PC. Double click the “OxeleratorSetup_1.1.msi” file to Install the Oxelerate PC SW If you get a dialogue box with Windows safety warnings, click OK to continue the installation. 19 Click “Next” to start the installation Select and installation folder: 20 21 Running the Oxelerate SW Locate where the Oxelerate SW was installed and double click on the ”Oxelerate.exe” file. Note: It is not possible to have two Oxelerate Athlete Units connected to the PC while running the Oxelerate SW. 22 Oxelerate SW tab 1. The first tab is used to control the exercise. The Oxelerate SW shall detect the Oxelerate Athlete Unit automatically and connects to it. If this would fail, click “the “Connect” button up to the right. Note, the USB drivers for the Athlete Unit must be successfully installed before the Oxelerate SW can work with the Athlete Unit. Overview of the Oxelerate SW tab 1. There are two graphs presenting exercise data, In the upper graph: Heart rate [in BPM] and breathing flow [in arbitrary units]. Note that the scale for the HR is to the right and the scale for flow is to the right. 23 In the lower graph it is indicated when the valve is open (“1”) or closed (“0”). The controls to the left are used to set Oxygen supplementation control parameters. “HR Threshold”: Controls the HR above which the O2-supplementation can take place. Set this parameter high (i.e. 80 – 90 % of HR max) if the athlete prefers addition only at high workloads or low (i.e. 60 - % of HR max) if the athlete wants Oxygen also at lower workloads or recovery. “Pressure Threshold” sets the sensitivity of the breath detection, Should be set between 27 and 30. If the Athlete unit is too sensitive and adds Oxygen too frequently, the “Pressure Threshold” is INCREASED to reduce the sensitivity. If the threshold is set too high 24 Oxygen will not be delivered to all breaths. “Opening time” controls the time the Oxygen dosage valve shall be open thus controlling the volume of Oxygen to be added to each breath. It is set in number of 100 ms. An “8” corresponds to an opening time of 800 ms. The Oxelerator Athlete Unit can store settings for up to 9 athletes (numbered 1 to 9) internally in the unit. At startup the last stored settings are always used. Adjust settings as appropriate for the athlete, assign the athlete a number, enter this number and press “Save Current Settings”. The settings are stored and will be used from and also after the unit has been restarted. If more than one athlete share the same Oxelerate Athlete Unit, assign them an athlete number each, adjust settings for each of them and use the SW to save settings for each and then read them back when needed. Note that, when started, the Athlete Unit always starts with the last saved settings. If settings were adjusted but not saved these will be discarded when the athlete unit is switched off. 25 The Oxelerator SW can store all data during exercise, click the ”Start” button and you will be prompted for a file name and a file location. Is is possible to enter extra comments into the data file during use by entering texts into the “Event Comment” filed and press the “Send Comment” button below. A click om “Pause” temporarily halts the recording and a click on “Stop” stops recording. The data file is a tab separated text file easily read into Microsoft Excel or other program for further analysis. 26 Oxelerate SW tab 2 The second tab is intended for Power User and allows a more direct control of the Oxelerate Athlete Unit. This interface is not described in this manual Oxelerate SW tab 3 The third tab allows the operator to quickly view a previously recorded data file. 27 Uninstalling or repairing the Oxelerate SW If there is a need to uninstall the Oxelerate SW or repair the installation, simply run the “OxelerateSetup.msi” file again. 28 Warranty During the warranty period, service the Oxelerate mobile unit at an authorized Oxelerate Service Center only. The warranty does not cover damage caused by unauthorized service. The guarantee does not cover the battery, damage due to misuse, abuse, accidents or non-compliance with the precautions; improper maintenance, cracked or broken cases and elastic strap. The guarantee does not cover any damage/s, losses, costs or expenses,direct, indirect or incidential, consequential or special, arising out of, or related to the product. During the guarantee period the product will be either repaired or replaced at an authorized service center free of charge. 29 Service The three major components needing service are: 1. EverFlo Oxygen concentrator maintenance: Service by Oxelerate once every two years. 2. UltraFill Oxygen Cylinder filling station. No planned maintenance. The device has an integrated supervision system that will inform when service or repair is needed. 3. Oxygen cylinders. These shall be serviced including inspection and hydrostatic testing every 5 years, this can be performed by any authorized pressure vessel service company. 30 Cautions and Warnings Before any use of the Oxelerate system consult your physician to make sure you are healthy and fit enough. Unauthorized modification is strictly prohibited and voids the warranty. Handle the Oxelerator System inclusive high pressure vessel with care. Note that Oxygen sustains fire and lowers ignition temperatures. Do not smoke close to the system. Do not smoke while using the device. Do not use oil or grease together on any part of the Oxelerator system Do not use the device in circumstances that can result in impact on the Oxelerate unit. The Oxelerator is rugged but can be broken. Protect your Oxelerate mobile unit from the elements when not in use. Prolonged exposure to sunlight, damp and extremes of heat and cold can weaken the components. Failure to follow these guidelines may result in injury. The user assumes the risk of injury and all liability resulting from the use of this product. Take care and train/use safe! User’s manual version 1.3.02 sept 2014 31 Declaration of Conformity Declaration of Conformity Hereby, Oxelerate AB declares that the following product: Mobile Oxygen Supply, Oxelerator 1.3 Is in compliance with the essential requirements and other relevant provisions in directives Low Voltage Directive 2006/95/EC IEC 60950 - EMC Directive 2004/108/EC -> - RoHS 2 Directive 2011/65/EU -> Tumba, Sweden, July 2014 Oskar Frånberg President Oxelerate AB, Tumba, Sweden 32


