Low Poly Game Shield Pt. 1
advertisement
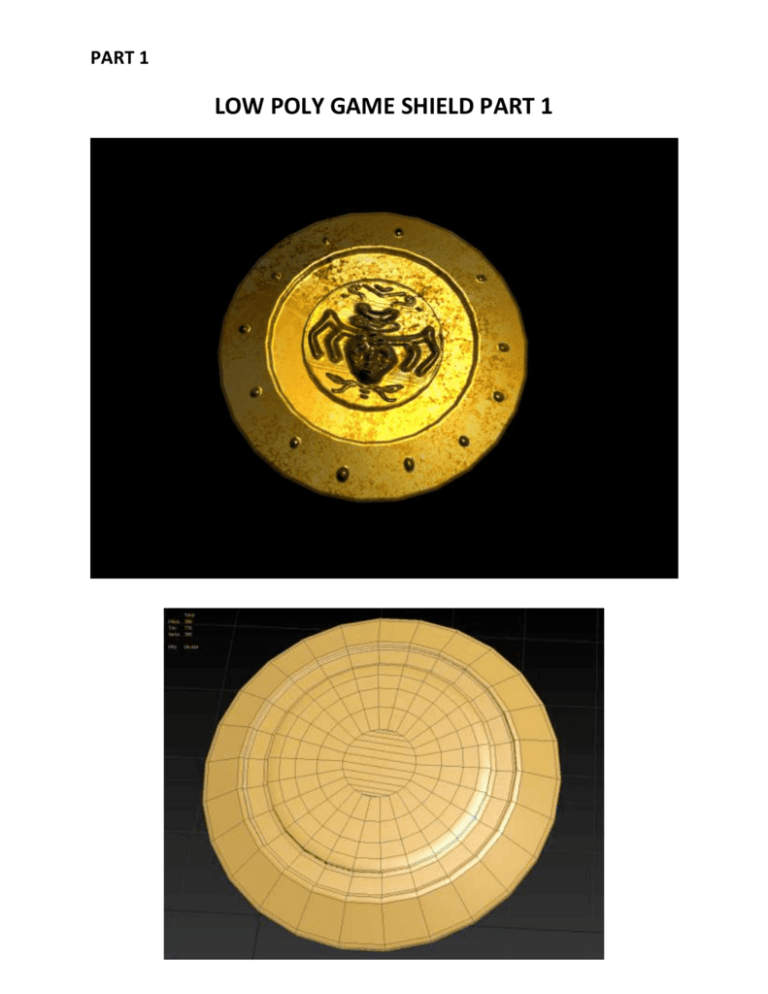
PART 1 LOW POLY GAME SHIELD PART 1 PART 1 MODELING THE SHIELD 1. Create a cylinder. Rename it shield. For the parameters, set the Sides to 26, Cap and Height Segments to 1. For the rest of the parameters, use your own dimensions. Then Convert It To Editable Poly. 2. Select the face at the bottom of the shield and delete it. 3. Select the face at the top of the shield and scale it proportionately: 4. With the top face still selected, use the Extrude tool to extrude it in. Then use the Inset tool to create a circular shape and extrude it out. You should have something similar to this: 5. Use the Cut tool to fix the topology so every face is four-sided: PART 1 6. Select the top faces of the shield and Inset it 4 times: 7. Select all of the faces of the shield and Extrude it out to add thickness to the shield. 8. Go to border selection mode. Select the border at the bottom of the shield. While holding Shift, scale down dragging the yellow pyramid. Then Cap the border. 9. Fix the topology using the Cut tool. PART 1 10. Add a Smoothing Group to the shield: 11. After you add the Smoothing Groups, you will notice some black shades appear on your shield. To fix this, you need to add loops around the edges of the shield using the Swift Loop Tool: UNWRAPPING UVS 1. Now you will be unwrapping the UVs for texturing and for adding normal maps. Unwrapping UVs will allow polygons that make up a 3D object to be painted with color from a flat image. Select the shield and make sure that you are on Top Level selection mode. Add the Unwrap UVW modifier to the shield. Go to Top view and then to the Unwrap UVW’s polygon selection mode. Select the top faces of the shield: PART 1 2. Open the UV Editor of the Unwrap UVW. You will see that the UVs of the front part of the shield looks messy. You have to fix this by doing a Planar Projection: 3. Right click on the UV editor and go to Top Level Selection mode: 4. Move the UVs to the side using the Move tool from the UV Editor as shown: PART 1 5. Relax the UVs to further unfold them. You want to make sure that there are NO overlapping vertices or faces on top of faces. 6. There are still UVs on the grid that needs to be projected. These are the back faces of the shield. Select the extra UVs that are on the grid by dragging a rectangular selection region: 7. Do a Planar Projection and move it to the side. Relax the UVs to further unfold them. You want to make sure that there are NO overlapping vertices or faces on top of faces. Then use the move and scale tools from the UV Editor to place the UVs inside the grid: PART 1 7. Collapse everything on the modifier stack by right-clicking the shield and Converting it to Editable Poly.
