Student Activity 5.2
advertisement
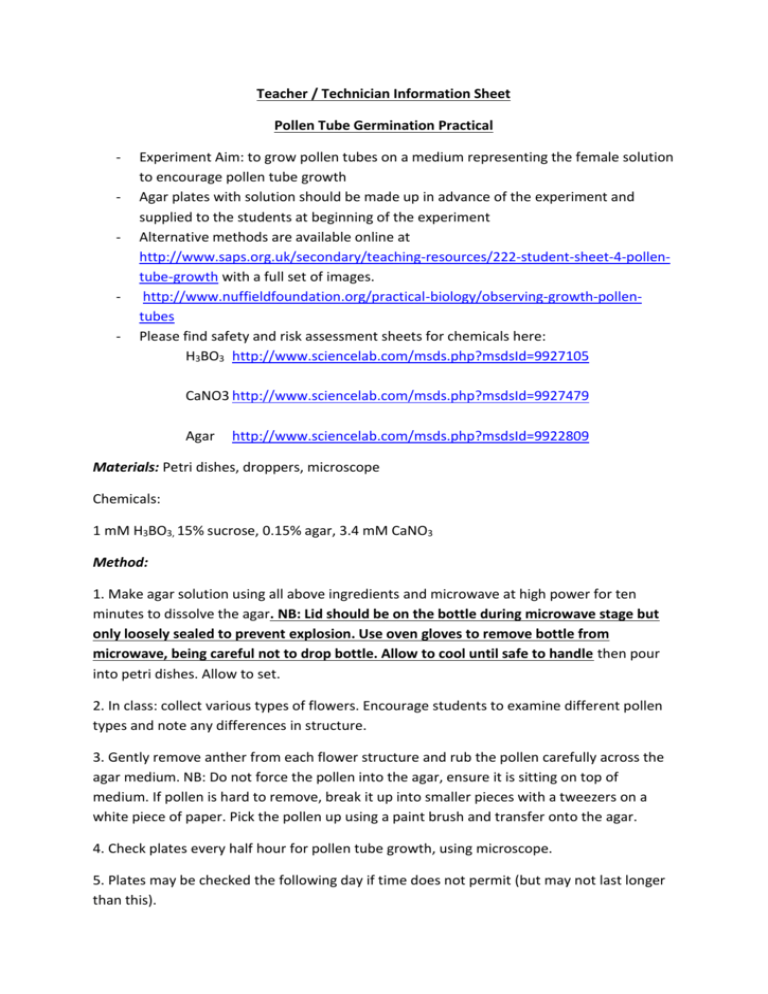
Teacher / Technician Information Sheet Pollen Tube Germination Practical - - Experiment Aim: to grow pollen tubes on a medium representing the female solution to encourage pollen tube growth Agar plates with solution should be made up in advance of the experiment and supplied to the students at beginning of the experiment Alternative methods are available online at http://www.saps.org.uk/secondary/teaching-resources/222-student-sheet-4-pollentube-growth with a full set of images. http://www.nuffieldfoundation.org/practical-biology/observing-growth-pollentubes Please find safety and risk assessment sheets for chemicals here: H3BO3 http://www.sciencelab.com/msds.php?msdsId=9927105 CaNO3 http://www.sciencelab.com/msds.php?msdsId=9927479 Agar http://www.sciencelab.com/msds.php?msdsId=9922809 Materials: Petri dishes, droppers, microscope Chemicals: 1 mM H3BO3, 15% sucrose, 0.15% agar, 3.4 mM CaNO3 Method: 1. Make agar solution using all above ingredients and microwave at high power for ten minutes to dissolve the agar. NB: Lid should be on the bottle during microwave stage but only loosely sealed to prevent explosion. Use oven gloves to remove bottle from microwave, being careful not to drop bottle. Allow to cool until safe to handle then pour into petri dishes. Allow to set. 2. In class: collect various types of flowers. Encourage students to examine different pollen types and note any differences in structure. 3. Gently remove anther from each flower structure and rub the pollen carefully across the agar medium. NB: Do not force the pollen into the agar, ensure it is sitting on top of medium. If pollen is hard to remove, break it up into smaller pieces with a tweezers on a white piece of paper. Pick the pollen up using a paint brush and transfer onto the agar. 4. Check plates every half hour for pollen tube growth, using microscope. 5. Plates may be checked the following day if time does not permit (but may not last longer than this).
