Activity 6.4.3 Coordinates in Three-Dimensions
advertisement
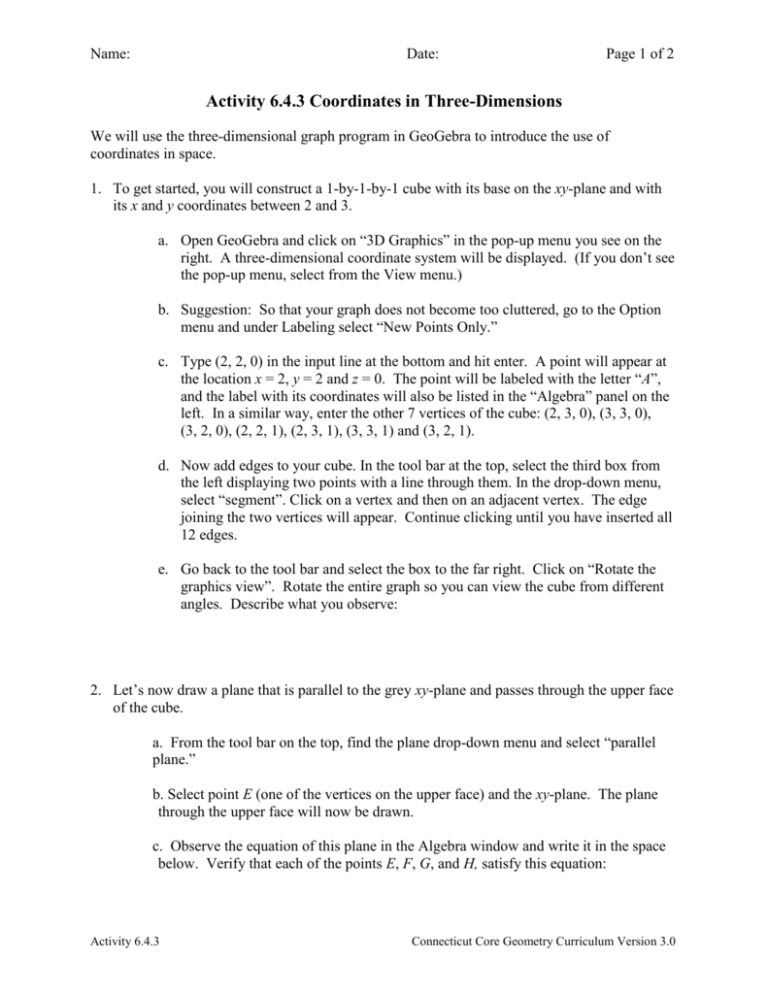
Name: Date: Page 1 of 2 Activity 6.4.3 Coordinates in Three-Dimensions We will use the three-dimensional graph program in GeoGebra to introduce the use of coordinates in space. 1. To get started, you will construct a 1-by-1-by-1 cube with its base on the xy-plane and with its x and y coordinates between 2 and 3. a. Open GeoGebra and click on “3D Graphics” in the pop-up menu you see on the right. A three-dimensional coordinate system will be displayed. (If you don’t see the pop-up menu, select from the View menu.) b. Suggestion: So that your graph does not become too cluttered, go to the Option menu and under Labeling select “New Points Only.” c. Type (2, 2, 0) in the input line at the bottom and hit enter. A point will appear at the location x = 2, y = 2 and z = 0. The point will be labeled with the letter “A”, and the label with its coordinates will also be listed in the “Algebra” panel on the left. In a similar way, enter the other 7 vertices of the cube: (2, 3, 0), (3, 3, 0), (3, 2, 0), (2, 2, 1), (2, 3, 1), (3, 3, 1) and (3, 2, 1). d. Now add edges to your cube. In the tool bar at the top, select the third box from the left displaying two points with a line through them. In the drop-down menu, select “segment”. Click on a vertex and then on an adjacent vertex. The edge joining the two vertices will appear. Continue clicking until you have inserted all 12 edges. e. Go back to the tool bar and select the box to the far right. Click on “Rotate the graphics view”. Rotate the entire graph so you can view the cube from different angles. Describe what you observe: 2. Let’s now draw a plane that is parallel to the grey xy-plane and passes through the upper face of the cube. a. From the tool bar on the top, find the plane drop-down menu and select “parallel plane.” b. Select point E (one of the vertices on the upper face) and the xy-plane. The plane through the upper face will now be drawn. c. Observe the equation of this plane in the Algebra window and write it in the space below. Verify that each of the points E, F, G, and H, satisfy this equation: Activity 6.4.3 Connecticut Core Geometry Curriculum Version 3.0 Name: Date: Page 2 of 2 3. Now let’s draw a plane passing through the face containing vertices A, D, E, and H. a. From the tool bar on the top, find the plane drop-down menu and select “perpendicular plane.” b. Select point A and the segment the segment ̅̅̅̅ 𝐴𝐵 . A plane through A perpendicular to ⃡ line 𝐴𝐵 should now be drawn. c. Observe the equation of this plane in the Algebra window and write it in the space below. Verify that each of the points A, D, E, and H satisfy this equation: d. To change the color of one of your planes, double-click on it and select “Object properties.” Use the tool “Rotate graphics view” to restore the axes in their original position so that the cube is in the upper right region of the window. 4. Let’s draw one more plane: this time one that passes through vertices A, C, and H. a. From the tool bar on the top, find the plane drop-down menu and select “plane through 3 points” b. Select the three points A, C, and H. c. Observe the equation of this plane in the Algebra window and write it in the space below. Verify that each of the points A, C, and H satisfy this equation: 5. Choose “New Window” from the “File Menu” and “3D Graphics” from the pop-up menu. a. Locate two points: A(0, 0, 0) and B(0, 0, 2). b. From the menu bar find “Sphere with Center through Point.” Select A as the center and B as the point on the sphere. c. Observe the equation of the sphere in the Algebra window and write it in the space below: d. How is the equation of a sphere like the equation of a circle? How are they different? Activity 6.4.3 Connecticut Core Geometry Curriculum Version 3.0
