Paper Making Tutorial
advertisement
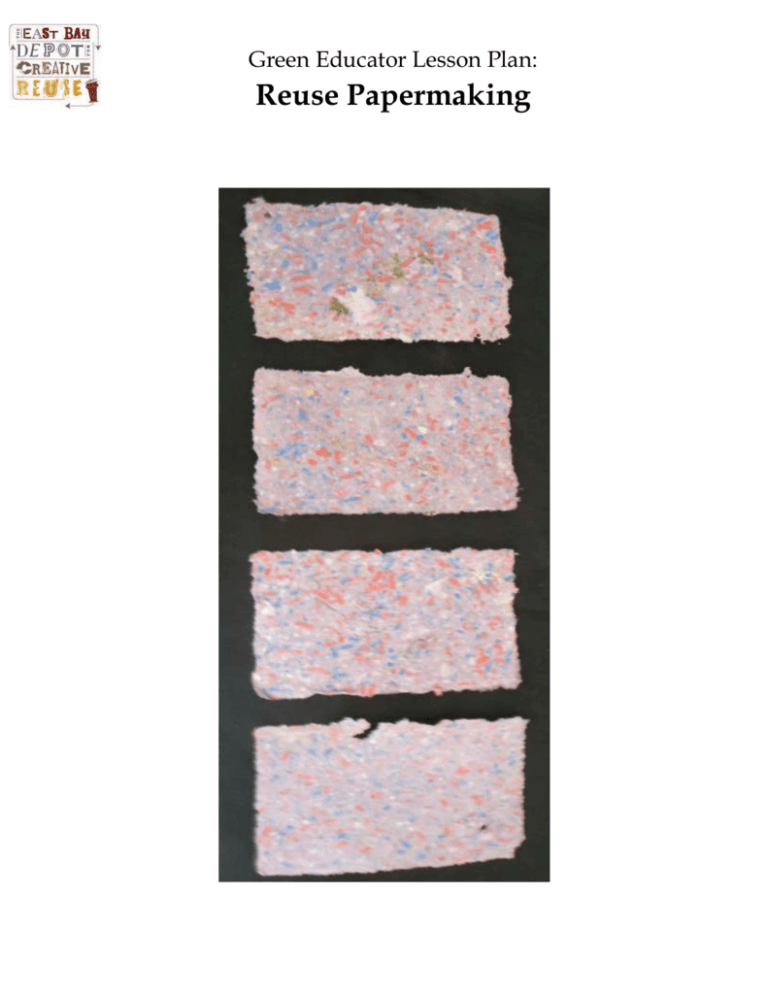
Green Educator Lesson Plan: Reuse Papermaking Green Educator Lesson Plan: Reuse Papermaking Time: Age Level: Supervision required: About 30 minutes 6 and up Yes, while blending the paper Can be used in conjunction with curricula about: Art, reuse, recycling Materials (for each station) Mold and deckle: o A set of matching wooden picture frames (ideally at least 6 inches long) o An old nylon mesh window screen o Wire cutters o Staple gun o Duct tape 1 old blender (which will not be used for food again) Shallow plastic bin Measuring cup 4-8 felt squares per student (standard 8.5 x 11”) Fine strainer Sponge Butter knife A variety of brightly color paper scraps Add ins such as sequins, seeds, flower petals, thread, glitter… Green Educator Lesson Plan: Reuse Papermaking Advanced preparation: follow steps A 1-6 to make the mold and deckle before class. Have you students bring in paper scraps from home Instructions: A. Before you start: 1. Prepare your frames by removing the glass and backing. 2. Each mold and deckle consists of two frames of the same size; arrange your frames in pairs by size. 3. Choose one of the frames to be the mold. Place your mold on top of the window screen 4. Use your wire cutters to cut out the window screen around your mold, then trim the edges of the screen so that they do not extend over the edge of the mold. 5.Use your staple gun to attach the screen to the mold in at least 4 spots. Use duct tape around the edges of the frame to cover any sharp edges from the screen. 6. Now you have created a mold. Your deckle will be the remaining frame from the pair, it does not need further alteration. B. Prepare your work stations: Ideally you will have 1 station for every 5 students, each work station should be near a power outlet. Set up your stations with a shallow plastic bin, and fill the bin about half way with fresh water. Green Educator Lesson Plan: Reuse Papermaking Provide a stack of felt squares and at least 2 mold and deckle sets at each station Set up a blender at each station. You can arrange the paper scraps at the station by color, so that you have a green station, a red station, and a purple station and so on. Depending on the size of your class and the age of your students, you may allow the students to move from station to station to create a variety of papers. C. Let the papermaking begin! 1. Have the students rip the paper scraps into tiny bits. 2. Put the paper scraps into the blender and add water at a 2:1 ratio (2 parts water, 1 part paper) 3. Blend 4. Pour the paper pulp into the prepared plastic bin of water. D. Stop and demonstrate to your students how the mold and deckle will work 1. Hold the mold so that the screen is facing the up. Place the deckle on top (this will create smooth edges for your paper 2. Keep the mold and deckle together while you dip them into the plastic bin of pulp and water, at a slight angle. Do not let go of the mold and deckle. 3. Pull the mold and deckle out of the pulp mixture and shake it gently to evenly distribute the pulp. Allow all of the water to drain through the screen. E. Set paper Green Educator Lesson Plan: Reuse Papermaking 1. Now is the time to add in glitter, pressed flowers, seeds, or other decoration. 2. Remove the top deckle and set it aside. 3. Transfer the paper by quickly flipping the mold over onto a felt square. 4. Now the mold is on the felt with the screen side down. Use the wet sponge to loosen the paper by pressing on the back side of the mold screen. 5. Slowly lift the mold starting from one corner. Use the butter knife to help remove the paper if needed. F. Clean up 1. Pour the leftover pulp into the strainer over the sink. 2. Compost the residue. G. Dry 1. Allow the paper to dry on the felt overnight in a well-ventilated room. 2. When the paper is dry, peel it from the felt. 3. Press the paper under heavy books for a few days to ensure that it is flat. 4. Trim the edges if desired. Some ideas for using the homemade paper: Homemade cards Scrapbooking Decorating covers of homemade books


