Lec 6 Operative Dentistry
advertisement
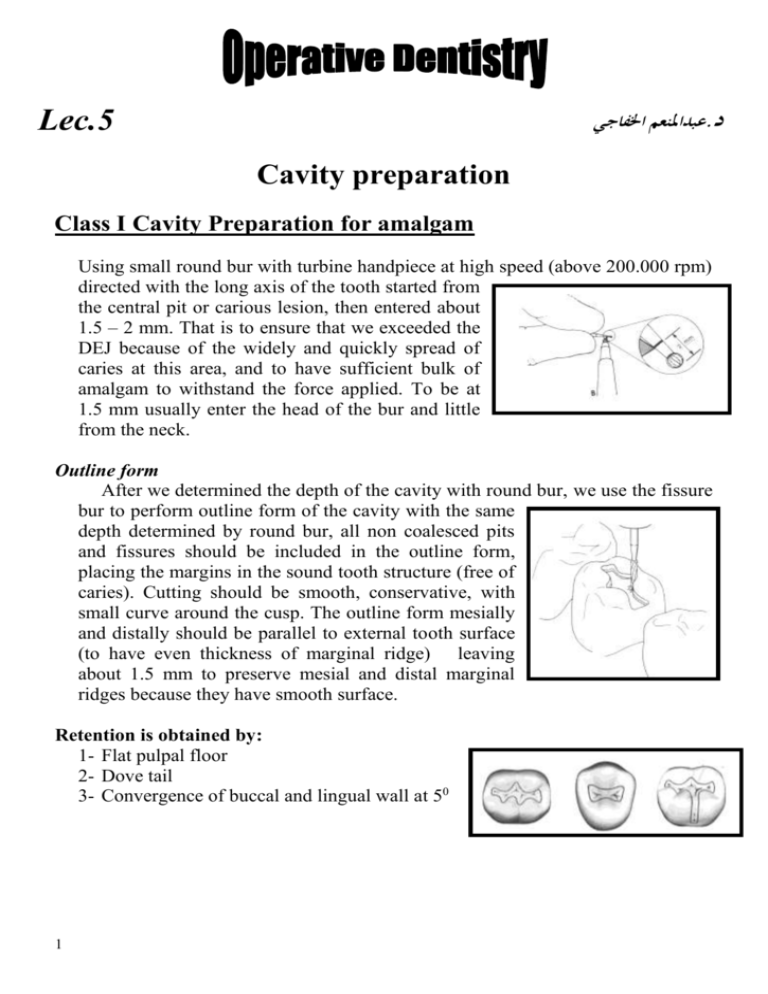
عبداملنعم اخلفاجي.د Lec.5 Cavity preparation Class I Cavity Preparation for amalgam Using small round bur with turbine handpiece at high speed (above 200.000 rpm) directed with the long axis of the tooth started from the central pit or carious lesion, then entered about 1.5 – 2 mm. That is to ensure that we exceeded the DEJ because of the widely and quickly spread of caries at this area, and to have sufficient bulk of amalgam to withstand the force applied. To be at 1.5 mm usually enter the head of the bur and little from the neck. Outline form After we determined the depth of the cavity with round bur, we use the fissure bur to perform outline form of the cavity with the same depth determined by round bur, all non coalesced pits and fissures should be included in the outline form, placing the margins in the sound tooth structure (free of caries). Cutting should be smooth, conservative, with small curve around the cusp. The outline form mesially and distally should be parallel to external tooth surface (to have even thickness of marginal ridge) leaving about 1.5 mm to preserve mesial and distal marginal ridges because they have smooth surface. Retention is obtained by: 1- Flat pulpal floor 2- Dove tail 3- Convergence of buccal and lingual wall at 50 1 Resistance is obtained by 1- Width of the cavity 1/4 of ICD 2- Unsupported enamel should be removed 3- Depth of the cavity 1.5-2 mm 4- Mesial and distal walls should be parallel or slightly diverged 5- Smooth pulpal floor 6- Cavosurface line angle should be between (90 – 110 0). 7- Internal line angles should be rounded. Using fissure bur and inverted cone bur create sharp internal line angles , so after preparation , we should use small round bur along line angles to make them rounded to prevent formation of stress concentration area. Convenience form Cavity design should allow the operator to do preparation and filling the cavity conveniently. Removing remaining caries, finishing enamel walls and toilet of the cavity. Class I cavity preparation of Buccal and Palatal Pit Class I cavity of buccal pit of lower first molars The lower first molar has three cusps buccally: mesiobuccal , distobuccal and distal cusp and have a buccal groove between the mesiobuccal and distobuccal cusps and has a buccal pit which is susceptible to caries , the buccal pit has a triangular shape, due to inclination of mesiobuccal and distobuccal cusps towards the buccal groove, so we should be conservative in our cavity preparation and make triangular outline form, the buccal pit located at the center of the triangle. 1- Outline form : first at the centre of the pit we do enterance using small round bur to the depth of 1.5 mm, after that , using fissure bur with high speed turbine making the triangular outline form the base of triangle is towards the gingival and the tip of the triangle is towards the occlusal surface. The margins of triangle should be at sound tooth structure. 2 2- Retention form : the mesial and distal walls of the cavity should be slightly converged to the outside , the gingival seat should be perpendicular to the outer surface. The axial wall should be flat. 3- Resistance form : can be achieved by the followings : a- depth of the cavity is 1.5 – 2 mm b- rounded internal line angles c- gingival seat is perpendicular to the outer surface (if converged this cause unsupported enamel, because the buccal surface at this area is flat) d- cavosurface line angle (900 - 1100 ) Note : the occlusal one third of the buccal surface of the lower molars has an inclination occlusally, so we should make sure the depth of the cavity will be 1.5 mm all around to have equal stress distribution it not this will cause fracture of the restoration. 4- Convenient form 5- Removing remaining caries 6- Finishing enamel walls and toilet of the cavity Class I cavity of palatal pit of upper incisors There is a non coalesced pit in the palatal surface of the upper incisors , incisal to the cingulum with two small grooves radiated. The caries in this area attack this pit with the two grooves , so the cavity has triangular shape, the pit is located at the apex of triangle . 1- outline form : the entrance with small round bur. Then using a fissure bur with high speed turbine to perform the outline form which should be triangular in shape, the base is directed incisally and the apex is directed cervically. Make sure to preserve the cingulum and the mesial and distal marginal ridges if they are not affected by caries. 2- Retention form : mesial and distal walls is slightly converged to the outside, incisal wall is flat , the axial wall is flat. 3 3- Resistance form : rounded internal line angles, cavosurface line angle at right angle , depth of the cavity 1.5 -2mm all around, flat incisal wall to remove the unsupported enamel. 4- Convenient form 5- Removing remaining caries 6- Finishing enamel walls and toilet of the cavity Class I cavity of upper molars The upper molars has oblique ridge from the distobuccal cusp to the mesiolingual cusp. The ridge is smooth , has a good bulk of enamel, so it is highly resistance to dental caries, we should preserve this ridge and do two separate class I cavities one mesially and other distally. ( but if this oblique ridge is evolved with caries , we should included in our cavity and do one class I cavity , also if the width of the oblique ridge is very small 0.5 mm or less , it could not withstand the force of mastication so we should included in our cavity preparation). Distal cavity (Distal to the oblique ridge) : Distally there is a groove which is extend from the occlusal surface to the palatal surface and end by non coalesced pit., so caries almost extend along this groove , and our cavity preparation should be extend palatally , ( applying all the principles of the cavity preparation ) the entrance by small round bur than using fissure bur perpendicular to the occlusal surface to make outline form extend the bur palatally at the same depth (1.5) and include the carious groove , then when the cavity is opened to the palatal surface , we should extend out cavity lingually to include the carious pit by two ways : 4 1- keep the bur perpendicular to the occlusal surface and cut 1.5-2mm from the occlusal surface and ascend in cutting gingivally till we include the carious fissure and reach sound tooth structure. 2- Or tilt the bur to be perpendicular to the palatal surface, cutting about 1.52mm form the occlusal surface extending gingivally to remove all caries and reach sound tooth structure. We end our preparation in the lingual surface by what we called (Step) Note: making a step is necessary otherwise if we deepening the all occlusal surface to include all caries palatally this make a danger of hitting the pulp. All principles of cavity preparation should be applied during our preparation. Mesial cavity (Mesial to the oblique ridge) we do a class I cavity applying all principles (outline form, retention form , resistance form …etc) Class I cavity of lower first premolar -There is a transverse ridge between buccal cusp and lingual cusp of lower first premolar , which should be preserved during cavity preparation because of its resistance to caries, so we do two class I cavity mesially and distally, and do all principles of cavity preparation. But if this ridge is involved by caries so we should do one class one cavity. - The pulpal floor of the cavity should be inclined lingually because the lower first premolars have a prominent buccal cusp and the buccal pulp horn is much higher than lingual pulp horn, if we do flat pulpal floor, the possibility of hitting the pulp will be high , so the bur should be inclined 45 0 lingually to make inclined pulpal floor to protect the pulp. 5
