Freezing Green Beans - National Center for Home Food Preservation
advertisement
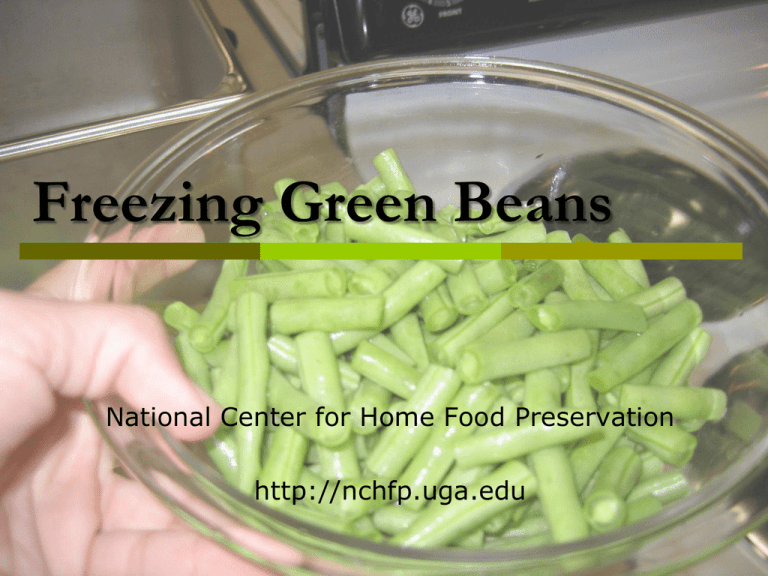
Freezing Green Beans National Center for Home Food Preservation http://nchfp.uga.edu Disclaimers This slide show is a photographic description of steps in freezing fresh green beans at home. Background information on freezing vegetables at home can be found in So Easy to Preserve, 5th ed., or at http://nchfp.uga.edu/how/freeze.html Trade and brand names are used only for information. The Cooperative Extension Service, University of Georgia College of Agricultural & Environmental Sciences and College of Family & Consumer Sciences, and the U.S. Department of Agriculture do not guarantee nor warrant published standards on any product mentioned; neither does the use of a trade or brand name imply approval of any product to the exclusion of others which may also be suitable. 2 Step #1: Before Beginning the Freezing Process… Wash hands and clean your working area. Gather and prepare materials needed. 3 Step #2: Selecting Quality Beans Select young tender bean pods when the seed is first formed. Work with a small quantity of beans to prevent loss of quality and nutrients. Beans should be of best quality and frozen quickly before freshness is lost. 4 Step #3: Washing the Beans The beans should be washed in small quantities under several changes of cold water. The beans need to be lifted out of the water so the dirt is washed off the vegetables; do not soak. 5 Step #4: Snipping or Cutting the Beans The beans should be snipped or cut into 2inch to 4-inch lengths. Be sure to remove the ends first. Remove any “bad spots” on the beans and discard the beans of poor quality. 6 7 The parts removed from the beans can be discarded in the nearest compost or trash bin. 8 Step #5: Blanching the Beans The beans are now ready to be water or steam blanched. Either method can be done, but the water blanching method is preferred because a larger quantity of beans can be blanched at one time. Blanching is important because it stops enzyme actions which can cause loss of flavor, color, and texture. It also cleans the surface, brightens the color, helps retard loss of vitamins, and softens the beans making them easier to pack. 9 Option #1: Steam Blanching Use a pot with a tight lid and basket that holds the beans at least 3 inches above the bottom of the pot. Bring 1 to 2 inches of water to a boil in the pot. 10 Steam Blanching, cont. Place beans in basket in single layer. Place basket over the boiling water in the pot and cover. Keep heat on high. Blanch for 5 minutes, counting steaming time as soon as lid is placed on the pot. 11 Option #2: Water Blanching Use blancher with a blanching basket and fitted lid. a large pot and wire basket can also be used Bring 1 gallon of water per pound of prepared vegetables to a full boil. 12 Place vegetables in the basket insert. Place lid on the blancher. The water should return to a boil within 1 minute. If not, this is an indication there are too many beans for the amount of water. Blanching time begins when the water comes to a boil again after beans are added. Blanch beans for 3 minutes of boiling. 13 Step #6: Cooling After Blanching After blanching, the basket of beans should be removed immediately and plunged into icy cold water, 60°F or below. It is best to make a bath with cold water and some ice cubes. Be careful not to burn yourself with the hot water that will drain away from the beans in the basket. The beans should remain in the cold water the same amount of time as the blanching time (the water should be changed out if it does not remain cold). 14 5 minutes of cooling if steam blanched 3 minutes of cooling if water blanched 15 Step #7: Draining After soaking in the cold water, the beans should be drained to prevent extra moisture during freezing. 16 Step #8: Preparing Containers or Bags Freezer containers and/or freezer bags may be used to freeze the green beans. A container or bag with a capacity over half gallon should not be used. The container or bag must be moisturevapor resistant, durable/leak proof, strong in low temperatures, resistant to substances, protect foods from off-flavors or odors, easy to seal, and easy to mark. 17 18 Step #9: Labeling Containers or Bags Label the beans by writing with a dark permanent marker on freezer tape or directly onto the bag/container. The label should include: the name of the beans, how they were blanched and packed, the serving size, and date they were frozen. 19 Step #10: Packaging the Beans (Dry Pack) The beans should be packaged quickly, removing as much air as possible. A ½-inch headspace should be left so air can circulate freely. The headspace should be measured. The container should be sealed completely Freezer tape can be used around the edges to ensure proper sealing. 20 21 22 Step #11: Placing Beans in the Freezer The beans should be placed in the freezer and frozen as quickly as possible to ensure large ice crystals do not form. The foods should be frozen at 0°F or lower Set the temperature to -10°F, 24 hours in advance. The freezer should not be overloaded with unfrozen food Only 2-3 pounds per cubic foot of space. Keep your freezer set 0°F or lower all the time for best quality frozen vegetables. 23 Step #11: Placing Beans in the Freezer, cont. The containers/bags of beans should be placed in contact with the coldest part of the freezer (back and sides). Leave space between the packages so air can circulate freely during freezing. After the beans are frozen, move packages closer together for freezer storage. Enjoy when you are ready to eat them! They are best if eaten within 8 to 12 months. 24 Reference and Credits Andress, E.L., and Harrison, J.A., Eds. (2006). So Easy to Preserve, 5th ed. Athens, GA: University of Georgia Cooperative Extension. This slide set was developed by MeriBeth Davis as a student project in FDNS 3010, Department of Foods and Nutrition, The University of Georgia. Edited by faculty and staff of the National Center for Home Food Preservation. 25 Document Use: Permission is granted to reproduce these materials in whole or in part for educational purposes only (not for profit beyond the cost of reproduction) provided the author and the University of Georgia receive acknowledgment and this notice is included: Reprinted (or Adapted) with permission of the University of Georgia. Andress, E.L. and Davis, M. (2013). Freezing Green Beans (slides). Athens, GA: The University of Georgia, Cooperative Extension. Permission to post on other websites must be requested. © University of Georgia This material is based upon work supported by the Cooperative State Research, Education, and Extension Service, U.S. Department of Agriculture, under Agreement No. 00-51110-9762. 26

