INSTALLATION INSTRUCTIONS
advertisement

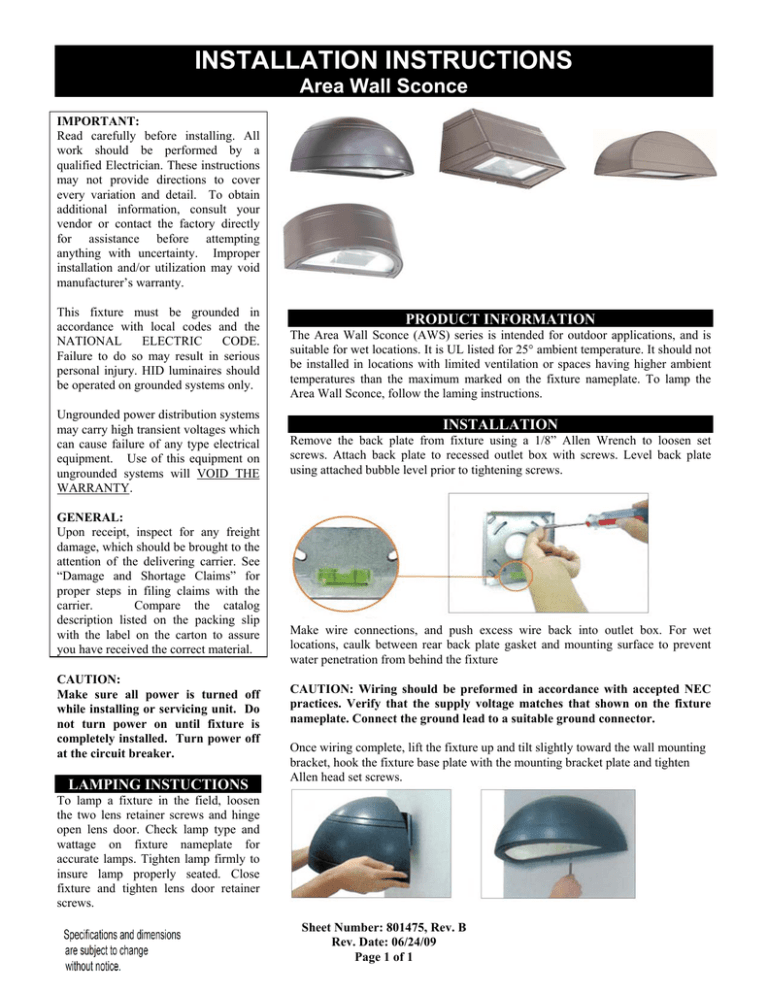
INSTALLATION INSTRUCTIONS Area Wall Sconce IMPORTANT: Read carefully before installing. All work should be performed by a qualified Electrician. These instructions may not provide directions to cover every variation and detail. To obtain additional information, consult your vendor or contact the factory directly for assistance before attempting anything with uncertainty. Improper installation and/or utilization may void manufacturer’s warranty. This fixture must be grounded in accordance with local codes and the NATIONAL ELECTRIC CODE. Failure to do so may result in serious personal injury. HID luminaires should be operated on grounded systems only. Ungrounded power distribution systems may carry high transient voltages which can cause failure of any type electrical equipment. Use of this equipment on ungrounded systems will VOID THE WARRANTY. GENERAL: Upon receipt, inspect for any freight damage, which should be brought to the attention of the delivering carrier. See “Damage and Shortage Claims” for proper steps in filing claims with the carrier. Compare the catalog description listed on the packing slip with the label on the carton to assure you have received the correct material. CAUTION: Make sure all power is turned off while installing or servicing unit. Do not turn power on until fixture is completely installed. Turn power off at the circuit breaker. LAMPING INSTUCTIONS PRODUCT INFORMATION The Area Wall Sconce (AWS) series is intended for outdoor applications, and is suitable for wet locations. It is UL listed for 25° ambient temperature. It should not be installed in locations with limited ventilation or spaces having higher ambient temperatures than the maximum marked on the fixture nameplate. To lamp the Area Wall Sconce, follow the laming instructions. INSTALLATION Remove the back plate from fixture using a 1/8” Allen Wrench to loosen set screws. Attach back plate to recessed outlet box with screws. Level back plate using attached bubble level prior to tightening screws. Make wire connections, and push excess wire back into outlet box. For wet locations, caulk between rear back plate gasket and mounting surface to prevent water penetration from behind the fixture CAUTION: Wiring should be preformed in accordance with accepted NEC practices. Verify that the supply voltage matches that shown on the fixture nameplate. Connect the ground lead to a suitable ground connector. Once wiring complete, lift the fixture up and tilt slightly toward the wall mounting bracket, hook the fixture base plate with the mounting bracket plate and tighten Allen head set screws. To lamp a fixture in the field, loosen the two lens retainer screws and hinge open lens door. Check lamp type and wattage on fixture nameplate for accurate lamps. Tighten lamp firmly to insure lamp properly seated. Close fixture and tighten lens door retainer screws. Sheet Number: 801475, Rev. B Rev. Date: 06/24/09 Page 1 of 1