Instructions - SupplyHouse.com
advertisement
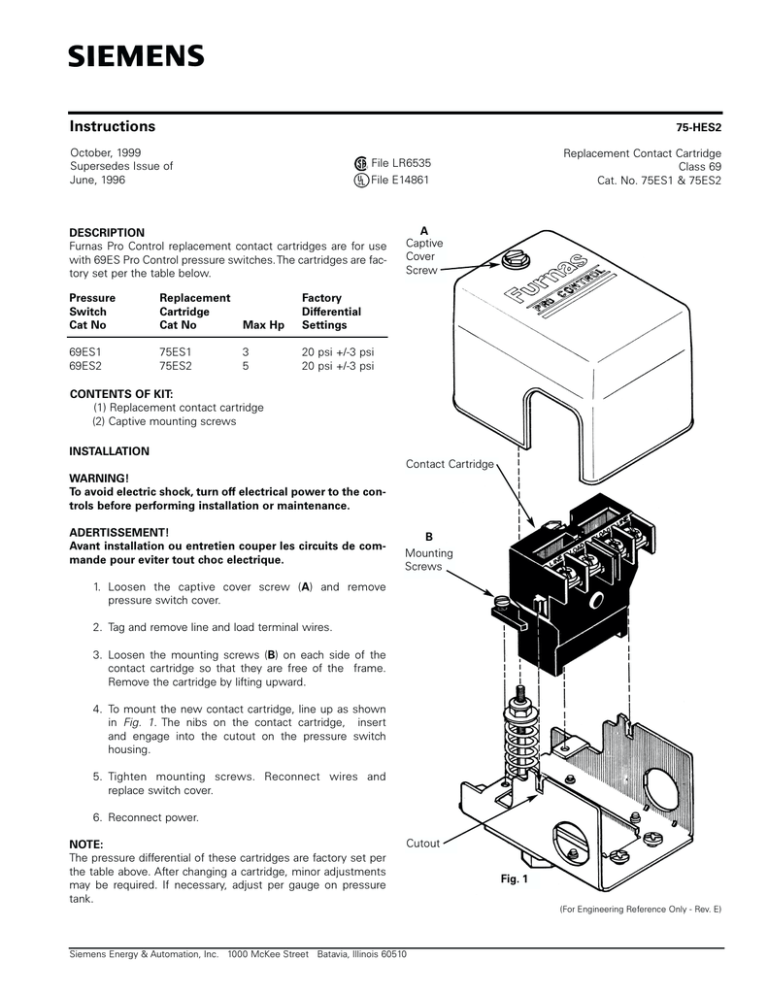
Instructions 75-HES2 October, 1999 Supersedes Issue of June, 1996 Replacement Contact Cartridge Class 69 Cat. No. 75ES1 & 75ES2 File LR6535 File E14861 DESCRIPTION Furnas Pro Control replacement contact cartridges are for use with 69ES Pro Control pressure switches.The cartridges are factory set per the table below. Pressure Switch Cat No Replacement Cartridge Cat No Max Hp Factory Differential Settings 69ES1 69ES2 75ES1 75ES2 3 5 20 psi +/-3 psi 20 psi +/-3 psi A Captive Cover Screw CONTENTS OF KIT: (1) Replacement contact cartridge (2) Captive mounting screws INSTALLATION Contact Cartridge WARNING! To avoid electric shock, turn off electrical power to the controls before performing installation or maintenance. ADERTISSEMENT! Avant installation ou entretien couper les circuits de commande pour eviter tout choc electrique. B Mounting Screws 1. Loosen the captive cover screw (A) and remove pressure switch cover. 2. Tag and remove line and load terminal wires. 3. Loosen the mounting screws (B) on each side of the contact cartridge so that they are free of the frame. Remove the cartridge by lifting upward. 4. To mount the new contact cartridge, line up as shown in Fig. 1. The nibs on the contact cartridge, insert and engage into the cutout on the pressure switch housing. 5. Tighten mounting screws. Reconnect wires and replace switch cover. 6. Reconnect power. NOTE: The pressure differential of these cartridges are factory set per the table above. After changing a cartridge, minor adjustments may be required. If necessary, adjust per gauge on pressure tank. Cutout Fig. 1 (For Engineering Reference Only - Rev. E) Siemens Energy & Automation, Inc. 1000 McKee Street Batavia, Illinois 60510
