Seeing is Believing?
advertisement

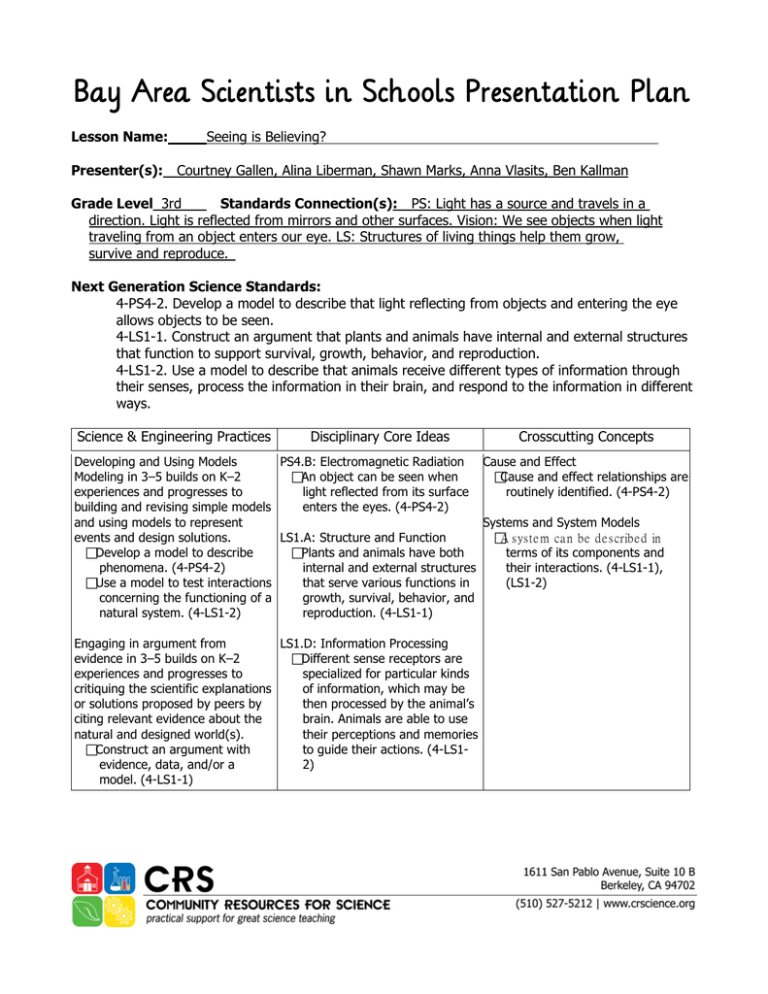
Bay Area Scientists in Schools Presentation Plan Lesson Name: Seeing is Believing? Presenter(s): Courtney Gallen, Alina Liberman, Shawn Marks, Anna Vlasits, Ben Kallman Grade Level 3rd Standards Connection(s): PS: Light has a source and travels in a direction. Light is reflected from mirrors and other surfaces. Vision: We see objects when light traveling from an object enters our eye. LS: Structures of living things help them grow, survive and reproduce. Next Generation Science Standards: 4-PS4-2. Develop a model to describe that light reflecting from objects and entering the eye allows objects to be seen. 4-LS1-1. Construct an argument that plants and animals have internal and external structures that function to support survival, growth, behavior, and reproduction. 4-LS1-2. Use a model to describe that animals receive different types of information through their senses, process the information in their brain, and respond to the information in different ways. Science & Engineering Practices Disciplinary Core Ideas Crosscutting Concepts Developing and Using Models PS4.B: Electromagnetic Radiation Cause and Effect Modeling in 3–5 builds on K–2 An object can be seen when Cause and effect relationships are experiences and progresses to light reflected from its surface routinely identified. (4-PS4-2) building and revising simple models enters the eyes. (4-PS4-2) and using models to represent Systems and System Models events and design solutions. LS1.A: Structure and Function A syste m ca n be de scribe d in Develop a model to describe Plants and animals have both terms of its components and phenomena. (4-PS4-2) internal and external structures their interactions. (4-LS1-1), Use a model to test interactions that serve various functions in (LS1-2) concerning the functioning of a growth, survival, behavior, and natural system. (4-LS1-2) reproduction. (4-LS1-1) Engaging in argument from LS1.D: Information Processing evidence in 3–5 builds on K–2 Different sense receptors are experiences and progresses to specialized for particular kinds critiquing the scientific explanations of information, which may be or solutions proposed by peers by then processed by the animal’s citing relevant evidence about the brain. Animals are able to use natural and designed world(s). their perceptions and memories Construct an argument with to guide their actions. (4-LS1evidence, data, and/or a 2) model. (4-LS1-1) Common Core Standards: ELA/Literacy: RI.4.3 Explain events, procedures, ideas, or concepts in a historical, scientific, or technical text, including what happened and why, based on specific information in the text. SL.4.5 Add audio recordings and visual displays to presentations when appropriate to enhance the development of main ideas or themes. Mathematics: MP.2 Reason abstractly and quantitatively. MP.5 Use appropriate tools strategically. MP.4 Model with mathematics. FOSS Connections: Grade 3 Module: Matter and Energy Investigation 2: Light Teaser: Vision is our most important sense. Even though we have very keen vision, sometimes our brain can lead us astray and cause us to perceive things that aren’t really there. In this lesson, we will first focus on the parts of our bodies that we use to see by tracing light from the retina to the visual areas of the brain. Then, using visual illusions, blindspot bookmarks and mirror tracing activities, we will show that the brain is actually causing changes in what we see. Vocabulary/Definitions: 3 – 6 important (new) words - Neuroscience - Retina - Optic nerve - Photoreceptors (Rods & Cones) - Opponent colors Materials: What will you bring with you? Mirrors; visual illusions; bookmarks What should students have ready? Rulers, markers/crayons/pencils, papers, scissors Classroom Set-up: Power for laptop Have the students split into 4 groups. Classroom Visit 1. Personal Introduction: 5 Minutes We are neuroscience graduate students from UC Berkeley. That means we study the brain. Topic Introduction: 10 Minutes Ask what they think is their most important sense. Ask how they navigate their world or get around from day to day. Ask how or with what body parts they see. Trace the visual pathway from eye to brain. Mention that information from the eye travels along the optic nerve to the brain. Introduce the idea of the brain changing the physical world to figure out what the images mean. Emphasize that it helps you make sense of what you see in the world, but sometimes it can make mistakes. Today we’re going to talk about one of our senses. Can anyone name the five senses? [Hearing, smelling, touching, tasting, seeing.] The senses help us make sense of what’s going on the world and let us know what’s good for us and what’s bad for us. Which one do we use the most? [Vision.] So, how do we see? What body parts do we use to see? [Eyes.] That’s right. Our eyes gather information from the outside world, but they don’t help us figure out the meaning of what we’re seeing. Your eyes can’t tell you that that’s the letter Q or that that face is your teacher’s. [We won’t necessarily use those examples, but whatever is around in the room, i.e. a picture of an elephant or something.] Our eyes are just the first step. What body part do you think lets us figure out the meaning of what we see? [The brain.] Let’s talk about how information from the eyes gets to the brain. Does anyone have any ideas? What you see travels along the optic nerve, which goes all the way from the back of your eye (the retina) to a part of your brain called the visual cortex. Once it gets there, the brain actually transforms or changes what you see into something useful. Does anyone have an iPod? [When you click the play button, the iPod takes a meaningless file and transforms it into music that you can listen to. The brain does the same thing; it takes meaningless patterns of light that hit your eye and transforms them into meaningful pictures that can you can understand and use.] How can we prove that the brain is doing something to the information that’s coming from the eye? Well, sometimes the brain gets tricked. These are called visual illusions, and you’ll see them at one of the four stations we have set up. At the other stations, you’ll learn more about the path from the eye to the brain and see a really cool trick that will prove we have an optic nerve. At the fourth station, you’ll work with mirrors to show how the brain is actually changing the information it receives from the eyes. We’ll split you up into groups, you’ll spend 10 minutes at each station, and then you’ll move on to the next. 2. Learning Experience(s): 40 Minutes What will you do, what will kids do? Demonstrations, hands-on activities, images, games, discussion, writing, measuring… Describe in order, including instructions to kids. The students will be split up into four groups (7 or 8 students per group). Each group will move to a station, where they will spend 10 minutes before rotating to the next. The four stations will be: 1. Anatomy: Which parts of our body are important for seeing? “Now that you guys have had an introduction to vision and some of the parts that are necessary to see, we want to test how well you are able to identify these important parts of our body on a picture of the brain.” Ask kids how they would find out which parts are important (i.e. would you start at the eyes, etc.) and give them a coloring diagram. “You guys probably have an idea of where to begin, but do your best to fill in the blanks with the correct vocab words we listed on the board. We may have put some words on the picture that we didn’t go over to keep you on your toes. It doesn’t matter whether you are right or wrong, just see how well you can do from memory. If you have any questions you can ask me. Once you’ve filled in the blanks feel free to color in the diagram accordingly.” [Make sure to have a cheat sheet of words and pictures on hand to provide the kids with a little assistance in case they run into trouble] Color parts of the eye and the visual pathway. “Now that you guys have listed out your vocab words we’ll go over what the correct order of vocab words is and when we’re done we can talk about some other aspects of visual processing.” Mention that if they haven’t already been to the blind spot station that it is coming up and they will have another chance to ask questions about it/learn more. Ask general questions about visual processing i.e. Order the pathway of light from the eye to the brain, if you view something through your right eye is it processed by the right side of your brain, why/why not, etc. 2. Blind spot: Do we have a blind spot in our vision? Why might that be? How could you test whether we have a blind spot or not? Talk about how scientists have humans and animals do activities just like they are about to do to find out about how vision works. Cut out blind spot bookmarks. Do blind spot demonstration and explanation, asking kids to make observations about how their blind spot works and to hypothesize about why it works that way. 1) Discuss anatomy of the blind spot (3 minutes) a. Show image with retina and photoreceptors and reiterate importance of photoreceptors in vision i. The retina is the back part of the eye that contains cells that respond to light. These cells are called photoreceptors. b. Point out that there is an area without any photoreceptors i. At one location in the back of the eye, there are no photoreceptors. This area is the optic nerve, which carries information from the eye to the brain. c. Ask how this would affect vision and explain the concept of the blind spot i. If photoreceptors respond to light and help you see but there is a part of the eye with no photoreceptors, how would this affect how your vision? ii. This area of the eye is called the blind spot because there are no photoreceptors and the brain does not receive any information about what you are seeing in this region. 2) Discuss how to test blind spot and do demonstration (2 minutes) a. Discuss how to test blind spot i. Scientists use experiments to find out about how vision works. ii. How do you think we could test whether we have a blind spot or not? 3) Cut out blind spot bookmarks (2 minutes) 4) Do Blind spot demonstration (3 minutes) a. Close your right eye and hold your bookmark about 20 inches from your face. b. With your left eye, look at the plus sign. c. Slowly bring the bookmark closer to your face, while looking at the plus sign with your left eye. d. At a certain distance, the dot on the left will disappear from your vision. This is when the dot falls on the blind spot of your left eye. e. Now repeat this by closing your left eye and looking at the dot. Move the bookmark closer until the plus sign disappears from your vision. This is when the plus sign is on the blind spot of your right eye. 5) Discuss why this demonstration works Why do we see a blank white space when we’ve found the blind spot instead of a hole? a. Discuss how the brain fills in this information for us. Why don’t we notice our blind spot in everyday life? a. Discuss how the two eyes work together to fill in the information 3. Illusions: [adapted from the Whitney Lab and University of Washington Neurobiology and Behavior Outreach:http://faculty.washington.edu/chudler/eyecol.html] Materials we bring: Printed out illusions/ computer with illusions Benham Disks Materials provided by classroom: Scissors Who knows what an optical illusion is? An optical illusion is when you’re tricked into seeing something that isn’t there. There are many different illusions that can trick our eyes. Scientists have used visual illusions to learn more about our vision. I will now show you some illusions with color. Look at the black and white picture. Do you see any color there? Stare at this image for 30 seconds. Why do you think you are seeing colors that aren’t there? I will now tell you how we see color. Have you noticed that as daylight fades or as room lights dim, colors become hard to identify? Do you remember what the retina is? Our color vision depends on special cells in the retina of the eye called photoreceptors. The two color-sensitive cell types are called cones and rods. Cones only work in bright light and help us see color. Rods take over when it gets dark, but rods don’t really help us see colors. In the retina of your eyes, there are three types of color receptors (cones) that are most sensitive to either red, blue or green. When you stare at a particular color for too long, these receptors get "tired" or "fatigued." When you look at a different background, the receptors that are tired do not work as well. Therefore, the information from all of the different color receptors is not in balance. You see the color "afterimages." (Show opponent colors) These pairs are called opponent colors: red with green, and blue with yellow. An afterimage occurs when we “tire out” the cells that correspond to a given color. Tiring out those cells allows their opponent cells to fire relatively more strongly. Here are some more illusions. Which colors are you seeing in the black and white image? How do you think scientists figured out what our opponent colors are? Scientists have been able to figure out some details about our vision using the illusions that I just showed you. We will now look at an illusion that we don’t understand yet. (Make Benham’s disk). 4. Mirror drawing: adapting our actions to new sights [adapted from University of Washington Neurobiology and Behavior Outreach: http://students.washington.edu/nbout/LessonPlans/mirrordrawing.pdf] Materials we bring: - 6x6 mirrors - shape printouts Materials provided by classroom: - writing utensils - stopwatches (optional) General set-up: Students are paired in groups of two and take turns drawing and helping. The helper student holds up the mirror and uses a piece of paper or folder to cover the hands and paper of the student drawing at a desk. The student drawing looks in the mirror while tracing between the lines on a shape printout. Quick introduction: - Our eyes guide how we move around in the world. - We do a lot of things without having to think very hard about what we’re seeing and doing. - Give an example; show how people can react quickly without thinking. For instance: “clap when I count to three: one, two, three!” or “quick, draw a circle in the air.” Then ask what went into being able to do the action they just did. Observations (hopefully made by students): -At first, it is hard to stay within the lines, and your hand wants to draw in the wrong direction. -After practicing (drawing 2-3 shapes), it gets faster and easier to do Questions to guide students through ideas: 1.Do you think it will be/is easier or harder to trace something while looking in the mirror vs. just looking at the paper? 2.Why might it be harder to trace while looking in the mirror? 3.What does the mirror do to the image you are tracing? (It reverses it.) 4.What happened as you traced more and more objects? Why did that happen? 5.What do you think would happen if you did everything by looking in a mirror for a long time i.e. a week? What would happen if you stopped using the mirror again? 6.Why might it be important for the brain to be able to adapt like this? (i.e. if you go blind in one eye; learning a new skill like driving (maybe they won’t be able to identify with this); when you swim under water; when you learn cursive/how to write.) Take home messages -When we change what we see so that it is different from what we touch (i.e. using a mirror) then our brains get confused and we have to think harder about what we do. -When our brains get confused, we make mistakes. -The brain can learn and adjust to new things we see. 3. Wrap-up: Sharing Experiences 5 Minutes Recap the activities in each station while clarifying main themes. What did the kids do? What did they learn? Connect themes from each station to a general idea of how the brain interprets visual input. Ask for questions. 4. Connections & Close: 2 Minutes What else might kids relate this to from their real-life experience? How can they learn more? Thanks and good-bye! Clean-up. Next time you use your eyes, think about how your brain is processing the image! Total 50 – 60 Minutes Differentiated Instruction: English Learners: Repeat directions, if necessary, and physically model how to perform activities at each station. Provide students with anatomy vocabulary at the anatomy station. Write vocabulary words on the board and read words aloud. Vocabulary words can also be visually demonstrated using an illustration or action and redefined in very simplistic terms. Advanced Learners: Have students try mirror drawings with their non-dominant hands. Follow-up Possibilities ELA Activity: Suggest students write a letter explaining “How we learned about vision and how we see...” Reading Connections: - The Brain: Our Nervous System by Seymour Simon http://www.seymoursimon.com/index.php/books/detail/the_brain/ - Seeing (Senses and Sensors) by Alvin Silverstein http://www.amazon.com/Seeing-SensesSensors-Alvin-Silverstein/dp/0761316639 - The Complete Human Body by Dr. Alice Roberts http://www.amazon.com/Complete-HumanBody-Book-DVD-ROM/dp/075666733X/ Mathematics Activity: -Have students identify symmetrical portions of the brain on their brain diagrams. -Students can time themselves (multiple trials) drawing a mirror illustration and then calculate the average time. Other: Lots of related follow-up activities can be found in the Exploratorium’s Snack Book (http://www.amazon.com/The-Exploratorium-Science-Snackbook-JosseyBass/dp/0470481862/) or on the associated website: http://www.exploratorium.edu/snacks/ 1. ________________________ 2. ________________________ 3. ________________________ 4. ________________________ 5. ________________________


