INSTALLATION INSTRUCTIONS IMPORTANT SAFEGUARDS
advertisement

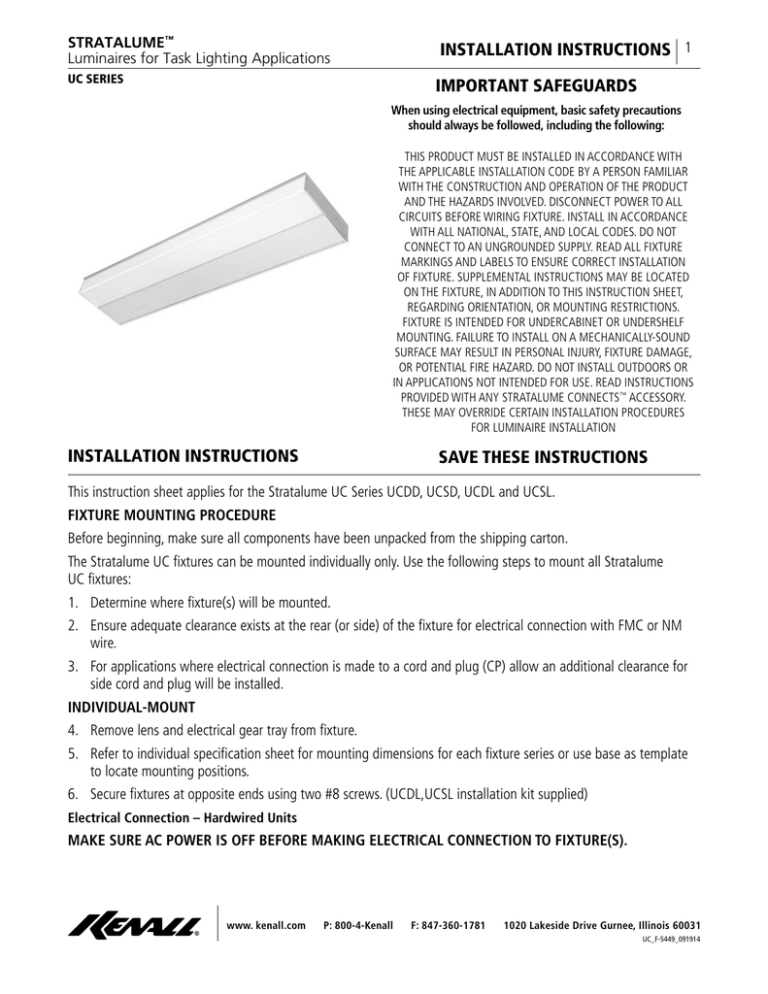
STRATALUME™ Luminaires for Task Lighting Applications INSTALLATION INSTRUCTIONS 1 UC SERIES IMPORTANT SAFEGUARDS When using electrical equipment, basic safety precautions should always be followed, including the following: THIS PRODUCT MUST BE INSTALLED IN ACCORDANCE WITH THE APPLICABLE INSTALLATION CODE BY A PERSON FAMILIAR WITH THE CONSTRUCTION AND OPERATION OF THE PRODUCT AND THE HAZARDS INVOLVED. DISCONNECT POWER TO ALL CIRCUITS BEFORE WIRING FIXTURE. INSTALL IN ACCORDANCE WITH ALL NATIONAL, STATE, AND LOCAL CODES. DO NOT CONNECT TO AN UNGROUNDED SUPPLY. READ ALL FIXTURE MARKINGS AND LABELS TO ENSURE CORRECT INSTALLATION OF FIXTURE. SUPPLEMENTAL INSTRUCTIONS MAY BE LOCATED ON THE FIXTURE, IN ADDITION TO THIS INSTRUCTION SHEET, REGARDING ORIENTATION, OR MOUNTING RESTRICTIONS. FIXTURE IS INTENDED FOR UNDERCABINET OR UNDERSHELF MOUNTING. FAILURE TO INSTALL ON A MECHANICALLY-SOUND SURFACE MAY RESULT IN PERSONAL INJURY, FIXTURE DAMAGE, OR POTENTIAL FIRE HAZARD. DO NOT INSTALL OUTDOORS OR IN APPLICATIONS NOT INTENDED FOR USE. READ INSTRUCTIONS PROVIDED WITH ANY STRATALUME CONNECTS™ ACCESSORY. THESE MAY OVERRIDE CERTAIN INSTALLATION PROCEDURES FOR LUMINAIRE INSTALLATION INSTALLATION INSTRUCTIONS SAVE THESE INSTRUCTIONS This instruction sheet applies for the Stratalume UC Series UCDD, UCSD, UCDL and UCSL. FIXTURE MOUNTING PROCEDURE Before beginning, make sure all components have been unpacked from the shipping carton. The Stratalume UC fixtures can be mounted individually only. Use the following steps to mount all Stratalume UC fixtures: 1. Determine where fixture(s) will be mounted. 2. Ensure adequate clearance exists at the rear (or side) of the fixture for electrical connection with FMC or NM wire. 3. For applications where electrical connection is made to a cord and plug (CP) allow an additional clearance for side cord and plug will be installed. INDIVIDUAL-MOUNT 4. Remove lens and electrical gear tray from fixture. 5. Refer to individual specification sheet for mounting dimensions for each fixture series or use base as template to locate mounting positions. 6. Secure fixtures at opposite ends using two #8 screws. (UCDL,UCSL installation kit supplied) Electrical Connection – Hardwired Units MAKE SURE AC POWER IS OFF BEFORE MAKING ELECTRICAL CONNECTION TO FIXTURE(S). www. kenall.com P: 800-4-Kenall F: 847-360-1781 1020 Lakeside Drive Gurnee, Illinois 60031 UC_F-5449_091914 INSTALLATION INSTRUCTIONS 2 CONNECTION TO FIXTURE 1. On UCSL, UCDL fixtures, attach supplied NM/FMC connector to preferred ½" double “D” knockout. On UCSD and UCDD models, use standard 1/2" conduit fitting. 2. Bring power into fixture and connect to ballast (use 90°C minimum conductors) 3. Install electrical gear tray and lens. 4. Turn power on. CUSTOMER SERVICE For technical assistance, call 1-800-4KENALL (1-800-453-6255). WARRANTY Kenall reserves the right to issue credit, repair, or replace the defective merchandise, at its discretion, upon notification and confirmation by its local representative of the defect. Kenall also reserves the right to test and examine the defective product if the defect is questionable and to deny the warranty herein for any product altered, improperly installed, installed in applications for which it is not intended. This includes operation in ambient temperatures above stated limits for any length of time. Failure by electrical surge shall not be covered under warranty. Kenall assumes no responsibility for labor or freight costs incurred in connection with the installation, removal, or replacement of products determined to be defective or any other consequential or incidental damages arising from the use of the product. Kenall’s entire liability on any claim of loss or damage resulting from a defective product is limited to the replacement price of the product. www. kenall.com P: 800-4-Kenall F: 847-360-1781 1020 Lakeside Drive Gurnee, Illinois 60031 UC_F-5449_091914


