installation instructions
advertisement
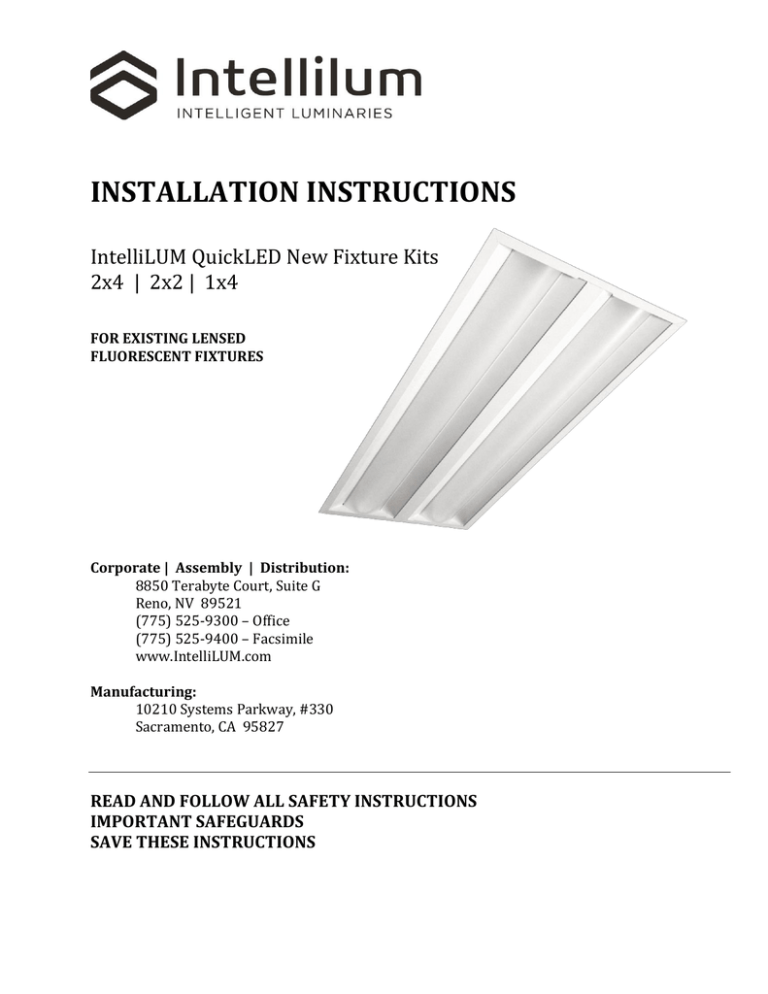
INSTALLATION INSTRUCTIONS IntelliLUM QuickLED New Fixture Kits 2x4 | 2x2 | 1x4 FOR EXISTING LENSED FLUORESCENT FIXTURES Corporate | Assembly | Distribution: 8850 Terabyte Court, Suite G Reno, NV 89521 (775) 525-9300 – Office (775) 525-9400 – Facsimile www.IntelliLUM.com Manufacturing: 10210 Systems Parkway, #330 Sacramento, CA 95827 READ AND FOLLOW ALL SAFETY INSTRUCTIONS IMPORTANT SAFEGUARDS SAVE THESE INSTRUCTIONS WARNINGS ! WARNING ! FAILURE TO FOLLOW THESE INSTRUCTION AND WARNING MAY RESULT IN SERIOUS INJURY OR SIGNIFICANT PROPERTY DAMAGE For your protection, carefully read and understand all of these instructions and warnings before attempting to install or maintain this equipment. These instructions are limited and cannot cover all installation and maintenance situations, therefore trained professionals should be the only parties installing or maintain the equipment. If you do not understand these instructions or if additional information is required you can find supplementary information on video instructions at www.IntelliLUM.com or you may contact your local IntelliLUM representatives. Retain these instructions for maintenance reference. ! WARNING ! RISK OF FIRE OR ELECTRICAL SHOCK IntelliLUM QuickLED new fixture kit installation requires knowledge of luminaires electrical systems. QuickLED shall be installed in accordance with applicable federal, state and local laws regulations, codes, and installation instructions provided by the manufacturer. The professional electricians installing this product must be familiar with the construction and operation of this product and any hazards involved in its’ installation removal and/or maintenance. If not qualified, do not attempt installation. Contact a qualified electrician to install the product. ! WARNING ! RISK OF FIRE, ELECTRICAL SHOCK AND/OR PERSONAL INJURY Do not install a damaged fixture. Turn OFF power before installation procedures begin. ! WARNING ! RISK OF PERSONAL INJURY Existing light fixtures, troffers and kit may have sharp edges. Wear gloves to prevent cuts or abrasions when removing fixture from carton, handling, removing, installing or maintaining the existing fixtures, troffers and/or kit assembly. ! WARNING ! RISK OF FIRE OR ELECTRICAL SHOCK To prevent wire damage or abrasion, do not expose wiring to edges of sheet metal or other sharp objects. Installation Instructions Copyright © 2014 Updated: January 14, 2014 1 ! WARNING ! RISK OF FIRE OR ELECTRICAL SHOCK Prior to mounting luminaire check above ceiling for any obstructions to avoid any damage to wiring. ! WARNING ! RISK OF FIRE, ELECTRICAL SHOCK AND/OR PERSONAL INJURY Confirm that the electrical wiring, safety cables and other obstructions are clear prior to snapping the QuickLED new fixture into the troffer. CAUTIONS ! CAUTION ! IntelliLUM QuickLED new fixture kits are designed for permanent installation in normal (Non-Hazardous) locations in accordance with all applicable National and Local codes. Do not use in limited ventilation or high ambient temperature enclosures. ! CAUTION ! Do not make or alter any open holes in an enclosure of wiring or electrical components during kit installation. ! CAUTION ! Handle fixture and components with care. Do not drop, slide, or scratch any of the fixture or components to prevent physical and visual damage to the products, loss of functionality and/or other difficulties during installation or maintenance. Installation Instructions Copyright © 2014 Updated: January 14, 2014 2 GENERAL NOTES 1. Read and follow all safety and installation instructions. 2. IntelliLUM, Type IC, are inherently protected. 3. Fixtures are intended for INDOOR USE ONLY and for horizontal applications as a non-air handling unit. Typically air handling and basket type fixtures require QuickLED NEW fixtures in lieu of QuickLED new fixture fixtures. 4. Intended to be installed in most existing lensed or parabolic recessed fixtures. 5. Suitable for Damp Locations. 6. For use in non-insulated suspended ceiling applications and surface mount applications. 7. Before servicing or installing fixture, TURN OFF power at the electric service panel or fuse box. 8. Power at existing fixture must comply with voltage and frequency specified on the LED driver 9. Designed for use with luminaries using 120- 277 VAC, 50/60 MHz, on protected circuits. Confirm that the product label matches the power supply main voltage. 10. For installation use supply conductors rated 75°C. 11. Installation of IntelliLUM QuickLED new fixture kits is only for installed fluorescent light fixtures with a minimum depth of 3-inches. 12. Install IntelliLUM QuickLED only in combination with 15/16” NEMA G or NEMA NFG – suspended ceiling systems. 13. Due to the broad range of existing fluorescent troffers, suspended ceilings, and other site variable conditions, IntelliLUM recommends that the installer complete a test install on the target fluorescent fixtures to confirm fit, aesthetics and lighting functions to be satisfactory prior to starting any new fixture Project. 14. Vapor barrier, if applicable, must be suitable for 90 °C. 15. Do not touch LED chips as this may cause damage and/or failure of units. 16. Do not mount near gas or electric heaters. 17. Equipment should be mounted in locations and at heights where it will not readily be subjected to tampering by unauthorized personnel. 18. The use of accessory equipment not recommended by the manufacturer may cause an unsafe condition. 19. Do not use this equipment for other than intended use. CANADA THE NEW FIXTURE ASSEMBLY IS ACCEPTED AS A COMPONENT OF A LUMINAIRE WHERE THE SUITABILITY OF THE COMBINATION SHALL BE DETERMINED BY UL OR AUTHORITIES HAVING JURISDICTION. Installation Instructions Copyright © 2014 Updated: January 14, 2014 3 INSTALLATION OF: INTELLILUM QuickLED New Fixture Kit 2x4, 2x2 & 1x4 CONTENTS OF CARTON: (1) - Two-Piece QuickLED New Fixture Kit Includes installed components: o LED PCB Strips o Pre-Wired with Quick Connects for: Power (Black & White) Dimming (Purple & Gray) o LED Driver / Dimmer 0-10V (Power Supply) o (2) – Two Diffusers / Lenses o (2) – Two safety cables with T-Bar ends to secure one-piece new fixture to troffer. o (2) – Two access cover plates with ground screw. (1) – Troffer Housing (2) – Two Self-Tapping Sheet Metal Screws - (2) Screws - (1) screw each as mounting Installation / Safety Cables to troffer housing. (1) - One green self-tapping screw for ground wire to bare metal plate install TOOLS REQUIRED: Phillips Screw Driver Installation Instructions Cordless Drill / Driver Copyright © 2014 Wire Cutters / Strippers Gloves Updated: January 14, 2014 4 INSTALLING QUICKLED NEW FIXTURE KIT: 1. Remove all packaging from the QuickLED new fixture kit and ensure all accessory parts are available for proper installation. 2. Position troffer housing into ceiling grid, make sure housing is seated in the grid, install two self-tapping screws from the inside of the housing, and into the “T” bar, attach the light fixture hanger wires diagonally in two opposing corners. 3. QuickLED safety cable install: safety cables have “T” bar plates on cable. Push one bar near the end of the cable rotate bar so that it is parallel with cable and feed through a hole in one of the corner plates of the troffer housing until bar completely penetrates the hole, then pull down on the cable causing the bar to open perpendicular to cable and secure itself across opening of the hole. Repeat process on opposing corner. Ensure both cables are securely attached to troffer housing. 4. Support QuickLED fixture on ladder and Diagram 2 – feed cable and “T” bar through outer hold on QuickLED fixture. Diagram 3 – feed cable and “T” bar through inside hole. Diagram 4 – pull support cable toward inside of QuickLED fixture, pull until support cable is tight and locking bar resting parallel to fixture. Repeat process on opposing corner. DIAGRAM 1 DIAGRAM 2 DIAGRAM 3 DIAGRAM 4 5. Line voltage – Allow a minimum length of 24” inches for the steel flex. 6. Line voltage – strip power leads 3/8 of an inch, remove second half of orange power plug which is attached to the QuickLED fixture. Insert each power lead into the connector according to the indicated color, make sure leads are securely attached. 7. Low voltage – use 18/2 wire 24” inch minimum length, attach corresponding wires to the purple and grey wires. 8. Locate green ground wires and attach to access cover plate, using green ground screw. 9. Insert access cover plates into back panel and secure using screw (provided). Rotate QuickLED fixture so it is parallel with ceiling plane with the diffusers facing the occupied space. Position the end of the QuickLED fixture which has the fixed tabs approximately 2” inches from the end of the troffer housing. Rest the QuickLED fixture against the “T” bar at a slight angle, slide the QuickLED fixture towards the end of the troffer housing until the fixed tabs are fully engaged with the mounting shelf. While maintaining engagement on the fixed tabs, check and confirm that all wiring and safety cables are clear of conflicts. Adjust wires and/or cables as Installation Instructions Copyright © 2014 Updated: January 14, 2014 5 needed, check alignment of QuickLED fixture with troffer housing above and firmly push QuickLED fixture into troffer housing. BEFORE RELEASING FIXTURE - Ensure fixed angles and spring clips are engaged on mounting shelves of the troffer housing. Slowly release QuickLED fixture to ensure it is securely attached to the troffer housing. Reinstate power to the light fixture(s). THE INSTALLATION IS COMPLETE Installation Instructions Copyright © 2014 Updated: January 14, 2014 6 OPTIONAL CONTROLS CONTROLS (0-10V) Routing of low voltage control wires to IntelliLUM fixtures shall be thought separate electrical access panel or knockout in troffer that is separate from line circuits. Optional: For connection of IntelliLUM QuickLED driver to dimming controls. 1. Locate purple and gray 18 AWG Solid Copper Wire with Quick Connects pre-wired from LED driver on back of QuickLED new fixture kit. 2. Use 18 AWG Solid Copper Wire Rated >=300V and strip wire 3/8”. Insert stripped wire into quick connectors PURPLE (+) and GRAY (-) for 0-10V controls. EMERGENCY LIGHTING LUMINAIRE Emergency lighting luminaires are provide with a factory installed UL Recognized Philips Bodine BSL310 Emergency LED Driver. Philips Bodine (OEM manufacturer’s) instructions are included with the Emergency Fixture. These instructions can also be found at: http://www.bodine.com/downloads/install/BSL310.inst.(std).70100078.pdff. This product is suitable for use in damp locations where the ambient temperature is 0º C minimum, +55º C maximum. ELECTRICAL RATING: The total input current rating for all equipment is the sum of the current ratings of its integral parts (LED Driver and I/C packs). There are NO provisions for remote loads. Recharge Time: 24 hours This equipment is suitable for use in a Damp location with ambient temperatures of 20°- 30° C. LABELS FOR FIXTURE INCLUDE: THIS LUMINAIRE IS PROVIDED WITH A FACTORY-INSTALLED EMERGENCY LIGHTING BATTERY PACK. Output: Operates the installed lamps for 90 minutes. CAUTION: Sealed unit. Philips Bodine BSL310 Emergency Driver is not partially replaceable. Replace entire unit when necessary. Maximum Mounting Height: 12’-6” or equivalent. SUITABLE FOR DAMP LOCATIONS Installation Instructions Copyright © 2014 Updated: January 14, 2014 7 INSTRUCTIONS: Connecting Power: BSL310 offers switched and un-switched power options. The following wires / connection points can be found on the Emergency LED Driver: (1) (1) (1) Black Wire White / Red Stripes White Wire Switched Power Connection: 1. 2. 3. Connect the line power (Black) wire to the BLACK wire on the Emergency LED Driver. Connect the common (White) wire to the WHITE wire at the Emergency LED Driver. Go To “Enable Battery” instructions below. Un-Switched Power Connection: 1. 2. 3. Connect the line power (Black) to the White with Red Stripes wire at the Emergency LED Driver. Connect the common (White) wire to the WHITE wire at the Emergency LED Driver. Go To “Enable Battery” instructions below. Enable Battery Instructions: 1. To enable the battery the two (2) RED wires at the Emergency LED Driver must be connected. Use the short RED jumper wire (included with Kit) and install each end of the jumper wire into the quick / push connectors provided on each of the red wires at the Emergency LED Driver. NOTE: Power has been disconnected to the fixture for installation or service, so by enabling the battery with the red jumper wire as described above, will cause the fixture to illuminate from the battery power. The fixture will illuminate on battery power until line power is restored and the wall switch or other controls are used to turn off the fixture. EMERGENCY BATTERY WIRING DIAGRAM Installation Instructions Copyright © 2014 Updated: January 14, 2014 8 SAMPLE CONTROLS WIRING DIAGRAM Wiring Diagram 1 - Single Control Application Electronic Low-Voltage Dimmer Cap Off Black Wire With Wire Connector Purple Black Gray Hot (Black) Black Black Line 120/277VAC, 60Hz Green Ground Quick Connect White 0-10 VDC Driver To LED Neutral (White) Wiring Diagram 2 - Two Location Control Application Common Terminal (Black Screw) 3-Way Switch 3-Way Electronic Low-Voltage Dimmer Hot (Black) Purple Black Gray Red Black Line 120/277VAC, 60Hz Black Green Ground White Quick Connect 0-10 VDC Driver To LED Neutral (White) Wiring Diagram 3 - Three Location Control Application Common Terminal (Black Screw) 3-Way Switch 4-Way Switch Hot (Black) 2 Black 2 Black Purple Gray 1 Line 120/277VAC, 60Hz Electronic Low-Voltage Dimmer To Additional Driver Red Black Green Ground 1 Green Ground Green Ground White Quick Connect 0-10 VDC Driver To LED To Additional Driver Neutral (White) 1 Travelers Betweeen Switches “IN” 2 Travelers Betweeen Switches “OUT” Note: Confirm specific manufacturer’s requirements and local codes for all wiring installations. Installation Instructions Copyright © 2 014 Updated : January 1 4, 2014 9 Wiring Diagram 4 - Single Control Application | Motion Detector Occupancy Switch Switch Purple Gray Red Hot (Black) Black Black Green Ground Line 120/277VAC, 60Hz Quick Connect White 0-10 VDC Driver To LED Neutral (White) Wiring Diagram 5 - Single Control with ODP Power Pack Application Electronic Low-Voltage Dimmer ODP 120V/227V ODP 120V/227V Hot (Black) To Circuit #2 Cap Off Black Wire With Wire Connector Cap Off Black Wire With Wire Connector Red Black Hot (Black) Black Black Line 120/277VAC, 60Hz Gray Gray Red Red Red To Additional Driver Red Black Blue Blue Red Black White White Green Ground To Additional Drivers Black Red Red Cap Off Black Wire With Wire Connector Purple Purple Quick Connect 0-10 VDC Driver To LED Black White White Quick Connect 0-10 VDC Driver To LED To Additional Drivers Neutral (White) Wiring Diagram 6 - Two Location Control with ODP Power Pack 3-Way Switch Common Terminal (Black Screw) Hot (Black) Electronic Low-Voltage Dimmer ODP 120V/227V Cap Off Black Wire With Wire Connector Purple To Additional Driver Gray Black Red Black Black Black Blue Black Black Red Red Line 120/277VAC, 60Hz Red Green Ground Black White Green Ground White Quick Connect 0-10 VDC Driver Red To Additional Driver White Neutral (White) To LED Note: Confirm specific manufacturer’s requirements and local codes for all wiring installations. Installation Instructions Copyright © 2 014 Updated : January 1 4, 2014 10

