Resistance Measurement for Thermometry
advertisement
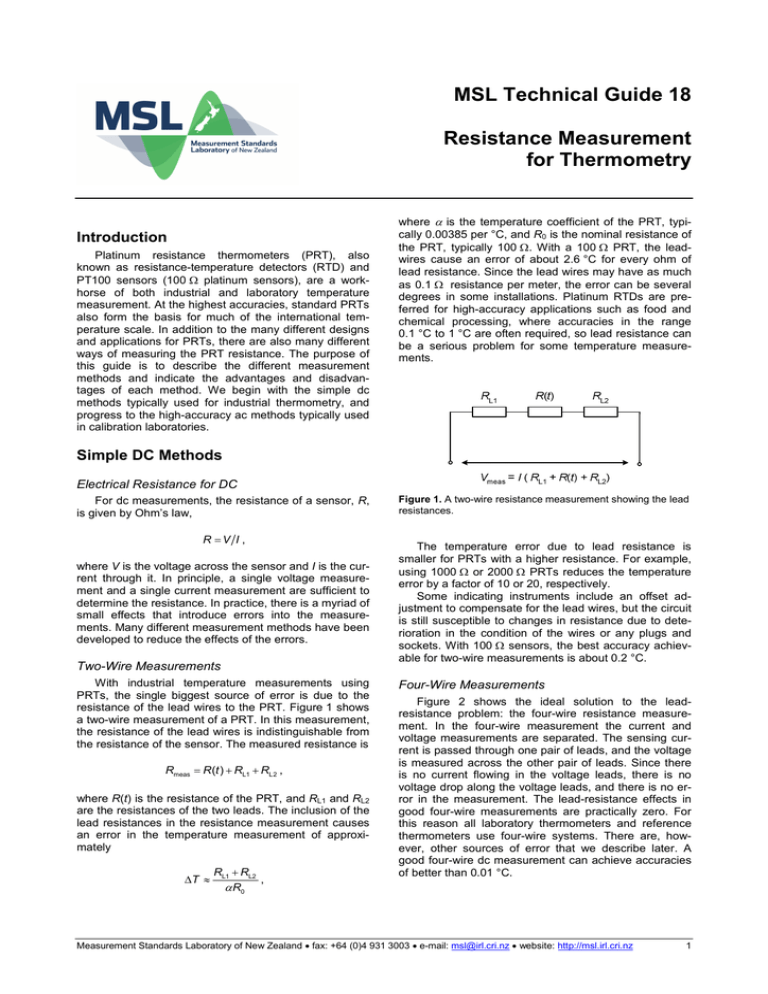
MSL Technical Guide 18 Resistance Measurement for Thermometry Introduction Platinum resistance thermometers (PRT), also known as resistance-temperature detectors (RTD) and PT100 sensors (100 Ω platinum sensors), are a workhorse of both industrial and laboratory temperature measurement. At the highest accuracies, standard PRTs also form the basis for much of the international temperature scale. In addition to the many different designs and applications for PRTs, there are also many different ways of measuring the PRT resistance. The purpose of this guide is to describe the different measurement methods and indicate the advantages and disadvantages of each method. We begin with the simple dc methods typically used for industrial thermometry, and progress to the high-accuracy ac methods typically used in calibration laboratories. where α is the temperature coefficient of the PRT, typically 0.00385 per °C, and R0 is the nominal resistance of the PRT, typically 100 Ω. With a 100 Ω PRT, the leadwires cause an error of about 2.6 °C for every ohm of lead resistance. Since the lead wires may have as much as 0.1 Ω resistance per meter, the error can be several degrees in some installations. Platinum RTDs are preferred for high-accuracy applications such as food and chemical processing, where accuracies in the range 0.1 °C to 1 °C are often required, so lead resistance can be a serious problem for some temperature measurements. Simple DC Methods Electrical Resistance for DC For dc measurements, the resistance of a sensor, R, is given by Ohm’s law, R =V I , where V is the voltage across the sensor and I is the current through it. In principle, a single voltage measurement and a single current measurement are sufficient to determine the resistance. In practice, there is a myriad of small effects that introduce errors into the measurements. Many different measurement methods have been developed to reduce the effects of the errors. Two-Wire Measurements With industrial temperature measurements using PRTs, the single biggest source of error is due to the resistance of the lead wires to the PRT. Figure 1 shows a two-wire measurement of a PRT. In this measurement, the resistance of the lead wires is indistinguishable from the resistance of the sensor. The measured resistance is Rmeas = R (t ) + RL1 + RL2 , where R(t) is the resistance of the PRT, and RL1 and RL2 are the resistances of the two leads. The inclusion of the lead resistances in the resistance measurement causes an error in the temperature measurement of approximately ∆T ≈ RL1 + RL2 , α R0 Figure 1. A two-wire resistance measurement showing the lead resistances. The temperature error due to lead resistance is smaller for PRTs with a higher resistance. For example, using 1000 Ω or 2000 Ω PRTs reduces the temperature error by a factor of 10 or 20, respectively. Some indicating instruments include an offset adjustment to compensate for the lead wires, but the circuit is still susceptible to changes in resistance due to deterioration in the condition of the wires or any plugs and sockets. With 100 Ω sensors, the best accuracy achievable for two-wire measurements is about 0.2 °C. Four-Wire Measurements Figure 2 shows the ideal solution to the leadresistance problem: the four-wire resistance measurement. In the four-wire measurement the current and voltage measurements are separated. The sensing current is passed through one pair of leads, and the voltage is measured across the other pair of leads. Since there is no current flowing in the voltage leads, there is no voltage drop along the voltage leads, and there is no error in the measurement. The lead-resistance effects in good four-wire measurements are practically zero. For this reason all laboratory thermometers and reference thermometers use four-wire systems. There are, however, other sources of error that we describe later. A good four-wire dc measurement can achieve accuracies of better than 0.01 °C. Measurement Standards Laboratory of New Zealand • fax: +64 (0)4 931 3003 • e-mail: msl@irl.cri.nz • website: http://msl.irl.cri.nz 1 wires and any connections. It has a potential accuracy similar to the adjusted two-wire systems, i.e., about 0.2 °C. Guarded DC Measurements Figure 2. In a four-wire resistance measurement the current is passed down one pair of leads and the voltage is measured across the other pair of leads. With industrial resistance measurements involving very long sets of lead wires, or when measuring high resistances, or in high-accuracy laboratory measurements, there can be problems with the leakage through the insulation materials of the leads (see Figure 4). That is, the insulation leaks a small fraction of the sensing current. The measured resistance is Rmeas = Three-Wire Measurement With modern electronic systems, the four-wire method is very easy to implement. However, historically this was not the case. Most indicators and controllers were based on Wheatstone bridges and the four-wire method was difficult to engineer. Figure 3 shows a threewire measurement method, a common compromise solution that also offers a saving in cable costs for large installations. R(t )Rins , R(t ) + Rins where Rins = Rins,1 + Rins,2. The temperature error due to the insulation leakage is approximately ∆T ≈ − R(t )2 . α R0 Rins For example, an insulation resistance of greater than about 1 MΩ is required to keep the temperature error for a 100 Ω sensor below 0.1 °C at 200 °C. R(t) Rins,1 Rins,2 Figure 3. In a three wire system, the resistance of one lead is measured and subtracted from the reading for the sensor. Figure 4. With long lead wires, it is possible for the electrical insulation around the leads to leak some of the sensing current. In the three-wire systems, the resistance of one of the lead wires is measured independently of the sensor. This value is used to estimate the resistance of the other lead, and correct the reading for the sensor. The measured resistance for the three wire method is The leakage problem can be overcome by using a screen or guard around each of the leads. First, we illustrate the technique with a two-wire measurement, and then show the guarded four-wire measurement. Figure 5 shows a simplified circuit diagram for a guarded two-wire measurement. The guard is indicated by the heavier line along the bottom of the diagram. The guard or screen is typically a braid or solid metal tube placed around the insulation of each conductor. The effects of the two insulation resistances are eliminated by carefully arranging the circuits that supply and measure the various currents and voltages. Rmeas = R(t ) + RL1 − RL2 , and the error in the temperature measurement is ∆T ≈ R L 1 − RL 2 . α R0 Therefore, if the two lead resistances RL1 and RL2 are the same, there is no error in the measurement. To ensure this is the case, the three lead wires to the PRT should always be made from the same type of cable, and with the same sized conductor. Although Wheatstone bridges are no longer used in industrial temperature measurements, the three-wire method is still commonly used. It has the advantage of eliminating most of the lead-resistance error without having to adjust or offset the indicator, but it is still susceptible to differences or changes in the lead resistances. These may be due to deterioration or damage to the Figure 5. A guarded two-wire resistance measurement. Measurement Standards Laboratory of New Zealand • fax: +64 (0)4 931 3003 • e-mail: msl@irl.cri.nz • website: http://msl.irl.cri.nz 2 At one end of the PRT, the voltage is kept at zero volts with respect to the guard or screen (the right-hand end of the PRT in Figure 5). This means that there is no voltage across the right-hand insulation resistance Rins,2, and hence no current flowing through this resistance. Now all of the current flowing through the PRT also flows through the right-hand conductor connected to the PRT. Note that the left-hand conductor connected to the PRT carries the current that goes through the PRT as well as the leakage current flowing through the insulation resistance Rins,1. The voltage across the PRT is determined by the current Imeas through the PRT. Hence, the resistance of the PRT is given by R = Vmeas/Imeas, and the insulation resistances have no effect on the measurement. However, as with the simple two-wire measurement, the guarded two-wire measurement is sensitive to series resistance in the leads. Figure 6 shows one version of the guarded four-wire measurement. Now, the measurement is immune to both the series lead resistances and the parallel insulation resistances. Note that two of the leads have conditions imposed on them: both voltage measurement leads have zero current flowing through the main conductor, while the voltage lead on the right hand-side is also has zero volts between the conductor and screen. These requirements are called defining conditions. AC Measurement Methods One of the most significant sources of error remaining in dc measurements is due to thermoelectric effects and dc-offset errors in the amplifiers of the resistancemeasuring instrument. The thermoelectric errors are caused by a combination of temperature gradients along the conductors in the circuit and the use of different metals for conductors, e.g., platinum and copper. Temperature gradients cause conductors to generate small voltages, and these voltages are different in different metals. When two different metals are used together, a voltage difference arises (in the same manner as for thermocouples). Thermal emfs tend to change very slowly and their effect can be eliminated by alternately reversing the sensing current and averaging the pairs of measurements. There are two forms of ac resistance measurement used for thermometry: switched-dc and sinusoidalac measurements. Manufacturers of the two types of ac instruments often argue that there are significant differences between the two. In fact the differences are small. The switcheddc systems tend to be slower than the sinusoidal-ac systems; that is, they take longer to make a high resolution measurement. The sinusoidal-ac systems with long leads may be sensitive to stray inductances and capacitances. However, in most situations these effects are very small and usually negligible. Both systems achieve accuracies well beyond that of the thermometer itself. ‘Switched-DC’ Measurements The circuit of Figure 6 can be simplified in some measurement systems because the current and voltage leads at each end of the resistor are very nearly at the same voltage. This means that the pair of conductors with a single screen can be used to replace the pair of individually screened conductors. This is shown in Figure 7. R(t) Vmeas Figure 7. A simplified guarded four-wire measurement using shielded duplex cable. Relative noise amplitude Figure 6. A simple circuit for a guarded four-wire resistance measurement. The guard is indicated by the bold line. The highest-accuracy dc-measurement systems use guarded four-wire methods and alternately switch the dc sensing current as suggested above. They readily achieve accuracies in the resistance measurement equivalent to better than 0.0001 °C. Switched-dc systems are, in effect, ac systems operating at a frequency corresponding to the current-reversal frequency, which is typically in the range 0.01 Hz to 1 Hz. One of the limitations of the switched-dc systems is that they are affected by noise generated by many of the electronic components used in their manufacture. One contribution to the noise, called 1/f noise, increases with decreasing frequency (see Figure 8) and causes the resistance reading to become more erratic as the currentreversal time increases. Unfortunately, as the currentreversal frequency increases, the normally square-wave current becomes increasingly distorted due to stray inductances and capacitances. To overcome this distortion and improve the measurement times, it is necessary to use true sinusoidal ac sensing currents. 100 1/f noise region sinusoidal ac measurements 10 1 0.1 0.01 Switched dc measurements 0.1 1 10 Frequency / Hz 100 1000 Figure 8. Typical frequency dependence of electronic noise in measuring instruments. Measurement Standards Laboratory of New Zealand • fax: +64 (0)4 931 3003 • e-mail: msl@irl.cri.nz • website: http://msl.irl.cri.nz 3 Sinusoidal-AC Measurements High-accuracy thermometry instruments using a sinusoidal sensing current tend to operate at frequencies in the range 10 Hz to 100 Hz or more. This is a much lower frequency than typically used in electrical standards laboratories, and is chosen because it gives the least sensitivity to stray inductance and capacitance. The main advantage of ac systems is that they operate at frequencies above the 1/f noise corner (Figure 8) so achieve a high resolution in a short measurement time. Figure 9. The series and parallel representation of a complex impedance (a) or admittance (b). Electrical Resistance for AC AC measurement systems are more complicated than dc systems because any device through which a current is passed affects both the amplitude and the phase of the measured voltage. Conventionally the phase and amplitude information are described using complex numbers. The impedance, Z, is measured as the ratio of voltage to current, Z = V I = R + jX , where V and I may both be complex numbers, and j = −1 is used to represent a 90º phase shift. (For example, four successive 90º phase shifts gives a total phase shift of j 4 = 1 , so the overall phase is unchanged.) In the equation above, the measured impedance has two parts, one equal to the real part of Z, R = Re(Z), which generates a voltage that is in phase with the current, and a second ‘imaginary’ part, Im(Z) = X that generates a voltage 90º out of phase with the current. The measured voltage is the vector sum of these two voltages. It is also possible to measure the behaviour of a device as an admittance, Y, which is the reciprocal of the impedance (just as resistance and conductance are reciprocals): Y = I V = G + jB . One small problem with ac systems is that the meaning of resistance is slightly ambiguous. In any acresistance measurement, there are stray inductances and capacitances associated with the lead wires and the device. Unfortunately, there are an infinite number of equivalent circuits with different inductors, capacitors, and resistors that will give the same measurement result at any one frequency. To overcome this ambiguity, most ac measuring instruments measure resistance or conductance, respectively, using the definitions implied in the equations for impedance and admittance given above. The two definitions correspond to two different, but equivalent representations of the device, as shown in Figure 9. Note that, in general, for ac systems: the resistance R is not equal to the reciprocal of the conductance, 1/G; neither R nor 1/G are equal to the dc resistance; and both R and G are often frequency dependent. Most ac bridges used for resistance thermometry measure resistance according to the model (a) of Figure 9, and hence the resistance is given by To demonstrate the magnitude of the differences between the ac and dc definitions of resistance, consider a small capacitance, C, in parallel with a sensor of resistance Rdc. The measured ac resistance is given by Rac = Rdc , 1 + (2π fRdcC )2 where f is the frequency of the ac current. This equation enables us to determine the effects of stray capacitances on the measured resistance. For f = 90 Hz, R = 100 Ω, and C = 2000 pF (this is approximately equivalent to a pair of coaxial cables about 10 m long), the difference between the ac and dc resistance is about 8 1 part in 10 (equivalent to about 2.6 µK). Hence, for typical thermometry measurements the differences are very small. The effects can become significant for higher resistances, higher frequencies, and for systems with longer cables. Coaxial AC Measurements A second problem with ac measurements is that ac currents and voltages induce alternating magnetic and electric fields around the conductors. If another device couples into these fields and dissipates energy, then the measured resistance of the device changes. For the highest accuracies, it is therefore necessary to control the distribution of the electric and magnetic fields. It turns out that both fields can be controlled using coaxial cables and by screening all components in a manner similar to the guarded-dc system of Figure 6. Figure 10 shows a short section of coaxial cable. In use, the outer conductor (the screen) of the cable should be at, or very near to zero volts. This ensures that any electric fields associated with the cable are contained entirely within the space between the inner and outer conductors. Secondly, the current in the inner conductor is balanced by an equal and opposite current flowing in the outer conductor (the screen). This means that the magnetic field is also contained entirely within the space between the conductors; i.e., to any observer outside the cable there is zero net current flow. Usually the measuring instrument will ensure that these defining conditions are satisfied. For example, the internal and external currents can be encouraged to be the same by wrapping a few turns of the coaxial cable around a high-permeability magnetic core to form a coaxial choke (see Figure 11). R = Re (V I ) . Measurement Standards Laboratory of New Zealand • fax: +64 (0)4 931 3003 • e-mail: msl@irl.cri.nz • website: http://msl.irl.cri.nz 4 Figure 10. A section of coaxial cable with the current in the inner conductor equal and opposite to the current on the outer conductor. The four-pair measurement is the standard configuration for high-accuracy impedance measurements and is useful up to frequencies in excess of 1 MHz. However, the defining conditions have some subtleties, and its complexity is often unnecessary when used for relatively low-value resistance measurements. For thermometry, there is a simpler alternative. A simpler coaxial system suited to measurement of low resistances is shown in Figure 13. It is known as the four-terminal coaxial measurement. It retains most of the nice properties of the four-pair measurement but is susceptible to the cable capacitance and, in poor cables, the leakage currents through the dielectric. The effects of cable capacitance are actually very small, as we showed with the calculation we carried out under Figure 9. However, good quality cables should be used to minimise the leakage resistance in parallel with the sensor. The length of cables should also be kept as small as practicable. Figure 11. A coaxial choke or current equaliser formed by winding a few turns of the coaxial cable through a high-permeability magnetic core. Figure 12 shows the four-pair coaxial version of the four-wire resistance measurement. This system has all of the desirable properties of the previous systems with immunity to lead resistances, immunity to thermal emfs, and high immunity to shunt impedances (but with some subtle problems we do not consider here). Since true coaxial systems do not generate fields outside the cables, they also have a high immunity to electromagnetic interference. Figure 13. The coaxial four-terminal measurement used for ac resistance thermometry. Further Reading B P Kibble and G H Rayner, Coaxial AC Bridges, Adam Hilger, 1984. Prepared by D R White, December 2007. Figure 12. A coaxial four-pair measurement. The voltages are measured between the inner and outer conductors of the coaxial cable. MSL is New Zealand’s national metrology institute, operating within Industrial Research Limited under the authority of the New Zealand Measurement Standards Act 1992. Measurement Standards Laboratory of New Zealand • fax: +64 (0)4 931 3003 • e-mail: msl@irl.cri.nz • website: http://msl.irl.cri.nz 5

