File
advertisement

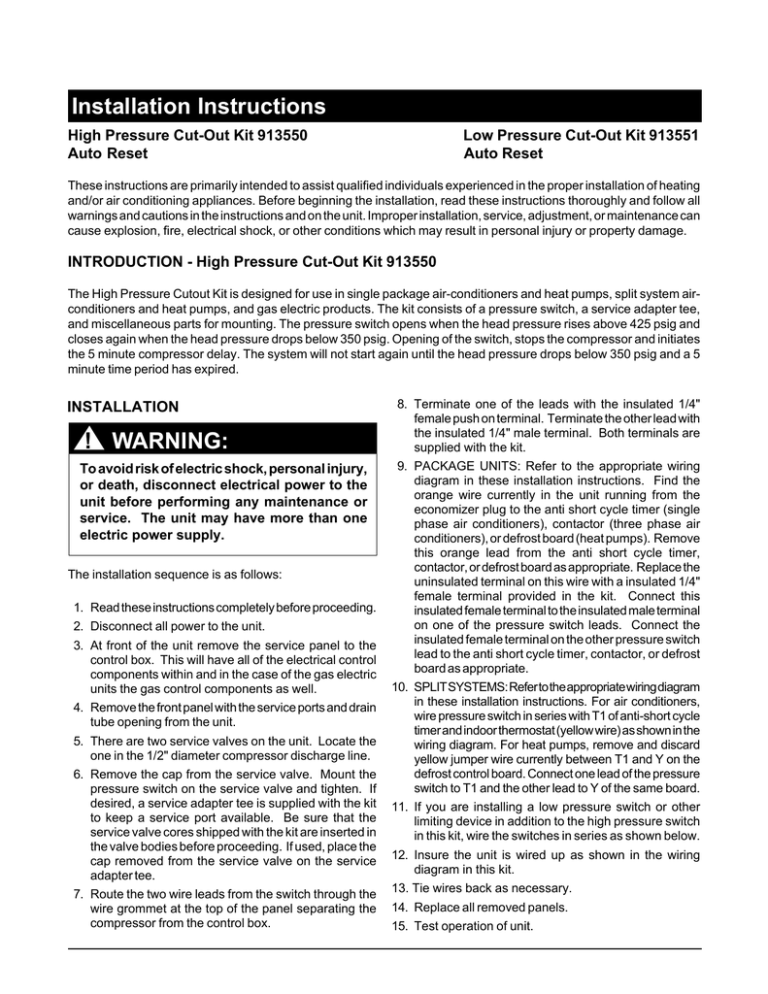
Installation Instructions High Pressure Cut-Out Kit 913550 Auto Reset Low Pressure Cut-Out Kit 913551 Auto Reset These instructions are primarily intended to assist qualified individuals experienced in the proper installation of heating and/or air conditioning appliances. Before beginning the installation, read these instructions thoroughly and follow all warnings and cautions in the instructions and on the unit. Improper installation, service, adjustment, or maintenance can cause explosion, fire, electrical shock, or other conditions which may result in personal injury or property damage. INTRODUCTION - High Pressure Cut-Out Kit 913550 The High Pressure Cutout Kit is designed for use in single package air-conditioners and heat pumps, split system airconditioners and heat pumps, and gas electric products. The kit consists of a pressure switch, a service adapter tee, and miscellaneous parts for mounting. The pressure switch opens when the head pressure rises above 425 psig and closes again when the head pressure drops below 350 psig. Opening of the switch, stops the compressor and initiates the 5 minute compressor delay. The system will not start again until the head pressure drops below 350 psig and a 5 minute time period has expired. INSTALLATION ! WARNING: To avoid risk of electric shock, personal injury, or death, disconnect electrical power to the unit before performing any maintenance or service. The unit may have more than one electric power supply. The installation sequence is as follows: 1. Read these instructions completely before proceeding. 2. Disconnect all power to the unit. 3. At front of the unit remove the service panel to the control box. This will have all of the electrical control components within and in the case of the gas electric units the gas control components as well. 4. Remove the front panel with the service ports and drain tube opening from the unit. 5. There are two service valves on the unit. Locate the one in the 1/2" diameter compressor discharge line. 6. Remove the cap from the service valve. Mount the pressure switch on the service valve and tighten. If desired, a service adapter tee is supplied with the kit to keep a service port available. Be sure that the service valve cores shipped with the kit are inserted in the valve bodies before proceeding. If used, place the cap removed from the service valve on the service adapter tee. 7. Route the two wire leads from the switch through the wire grommet at the top of the panel separating the compressor from the control box. 8. Terminate one of the leads with the insulated 1/4" female push on terminal. Terminate the other lead with the insulated 1/4" male terminal. Both terminals are supplied with the kit. 9. PACKAGE UNITS: Refer to the appropriate wiring diagram in these installation instructions. Find the orange wire currently in the unit running from the economizer plug to the anti short cycle timer (single phase air conditioners), contactor (three phase air conditioners), or defrost board (heat pumps). Remove this orange lead from the anti short cycle timer, contactor, or defrost board as appropriate. Replace the uninsulated terminal on this wire with a insulated 1/4" female terminal provided in the kit. Connect this insulated female terminal to the insulated male terminal on one of the pressure switch leads. Connect the insulated female terminal on the other pressure switch lead to the anti short cycle timer, contactor, or defrost board as appropriate. 10. SPLIT SYSTEMS: Refer to the appropriate wiring diagram in these installation instructions. For air conditioners, wire pressure switch in series with T1 of anti-short cycle timer and indoor thermostat (yellow wire) as shown in the wiring diagram. For heat pumps, remove and discard yellow jumper wire currently between T1 and Y on the defrost control board. Connect one lead of the pressure switch to T1 and the other lead to Y of the same board. 11. If you are installing a low pressure switch or other limiting device in addition to the high pressure switch in this kit, wire the switches in series as shown below. 12. Insure the unit is wired up as shown in the wiring diagram in this kit. 13. Tie wires back as necessary. 14. Replace all removed panels. 15. Test operation of unit. INTRODUCTION - Low Pressure Cut-Out Kit 913551 The Low Pressure Cutout Kit is designed for use in single package air-conditioners and heat pumps, split system airconditioners and heat pumps, and gas electric products. The kit consists of a pressure switch, a service adapter tee and miscellaneous parts for mounting. The pressure switch opens when the suction pressure drops below 25 psig and closes again when the suction pressure rises above 50 psig. Opening of the switch stops the compressor and initiates the 5 minute compressor delay. The system will not start again until the suction pressure rises above 50 psig and a 5 minute time period has expired. INSTALLATION SEQUENCE ! WARNING: To avoid risk of electric shock, personal injury, or death, disconnect electrical power to the unit before performing any maintenance or service. The unit may have more than one electric power supply. The installation sequence is as follows: 1. Read these installation instructions completely before proceeding. 2. Disconnect all power to the unit. 3. At the front of the unit remove the service panel to the control box. This will have all of the electrical control components within and in the case of the R4 units the gas control components as well. 4. Remove the front panel with the service ports and drain tube opening from the unit. 5. There are two service valves on the unit. Locate the one in the 3/4" or 7/8" diameter compressor suction line. 6. Remove the cap from the service valve. Mount the pressure switch on the service valve and tighten. If desired, a service adapter tee is supplied with the kit to keep a service port available. Be sure that the service valve cores shipped with the kit are inserted in the valve bodies before proceeding. If used, place the cap removed from the service valve on the service adapter tee. 7. Route the two wire leads from the switch through the wire grommet at the top of the panel separating the compressor from the control box. 8. Terminate one of the leads with the insulated 1/4" female push on terminal. Terminate the other lead with the insulated 1/4" male terminal. Both terminals are supplied with the kit. 2 9. Find the orange wire currently in the unit running from the economizer plug to the anti short cycle timer (single phase air conditioners), contactor (three phase air conditioners), or defrost board (heat pumps). Remove this orange lead from the anti short cycle timer, contactor or defrost board as appropriate. Replace the uninsulated terminal on this wire with a insulated 1/4" female terminal provided in the kit. Connect this insulated female terminal to the insulated male terminal on one of the pressure switch leads. Connect the insulated female terminal on the other pressure switch lead to the anti short cycle timer, contactor, or defrost board as appropriate. 10. SPLIT SYSTEMS: Refer to the appropriate wiring diagram in these installation instructions. For air conditioners, wire pressure switch in series with T1 of anti-short cycle timer and indoor thermostat (yellow wire) as shown in the wiring diagram. For heat pumps, remove and discard yellow jumper wire currently between T1 and Y on the defrost control board. Connect one lead of the pressure switch to T1 and the other lead to Y of the same board. 11. If you are installing a low pressure switch or other limiting device in addition to the high pressure switch in this kit, wire the switches as shown below. 12. Insure the unit is wired up as shown in the wiring diagram in this kit. 13. Tie wires back as necessary. 14. Replace all removed panels. 15. Test operation of unit. Defrost Board Contactor Anti Short Cycle Timer L3 L2 L1 T3 T2 T1 C T3 T1 T1 T2 High Temperature Switch (if equipped) High Temperature Switch (if equipped) High Temperature Switch (if equipped) Low Pressure Switch (if equipped) Low Pressure Switch (if equipped) Low Pressure Switch (if equipped) High Pressure Switch (if equipped) High Pressure Switch (if equipped) High Pressure Switch (if equipped) YELLOW Economizer Accessory Plug 9 8 7 6 5 4 3 2 1 9 8 7 6 5 4 3 2 1 Plug E Packaged Air Conditioner and Gas Electric Single Phase ORIGINAL ORANGE LEAD YELLOW Economizer Accessory Plug 9 8 7 6 5 4 3 2 1 9 8 7 6 5 4 3 2 1 Plug E Packaged Air Conditioner and Gas Electric Three Phase ORIGINAL ORANGE LEAD YELLOW Economizer Accessory Plug 9 8 7 6 5 4 3 2 1 9 8 7 6 5 4 3 2 1 ORIGINAL ORANGE LEAD Plug E Packaged Heat Pump 3 Defrost Board Contactor L3 L2 L1 T3 T2 T1 C Y T1 High Temperature Switch (if equipped) High Temperature Switch (if equipped) Low Pressure Switch (if equipped) Low Pressure Switch (if equipped) High Pressure Switch (if equipped) High Pressure Switch (if equipped) From Indoor Thermostat Y Split System Air Conditioner Split System Heat Pump INSTALLER: PLEASE LEAVE THESE INSTALLATION INSTRUCTIONS WITH THE HOMEOWNER. ¢708055+¤ St. Louis, MO 708055 7080550 (Replaces 707113A and 707205A) Specifications and illustrations subject to change without notice and without incurring obligations. Printed in U.S.A. (12/00)


