Version 4.0 Dreamweaver
advertisement

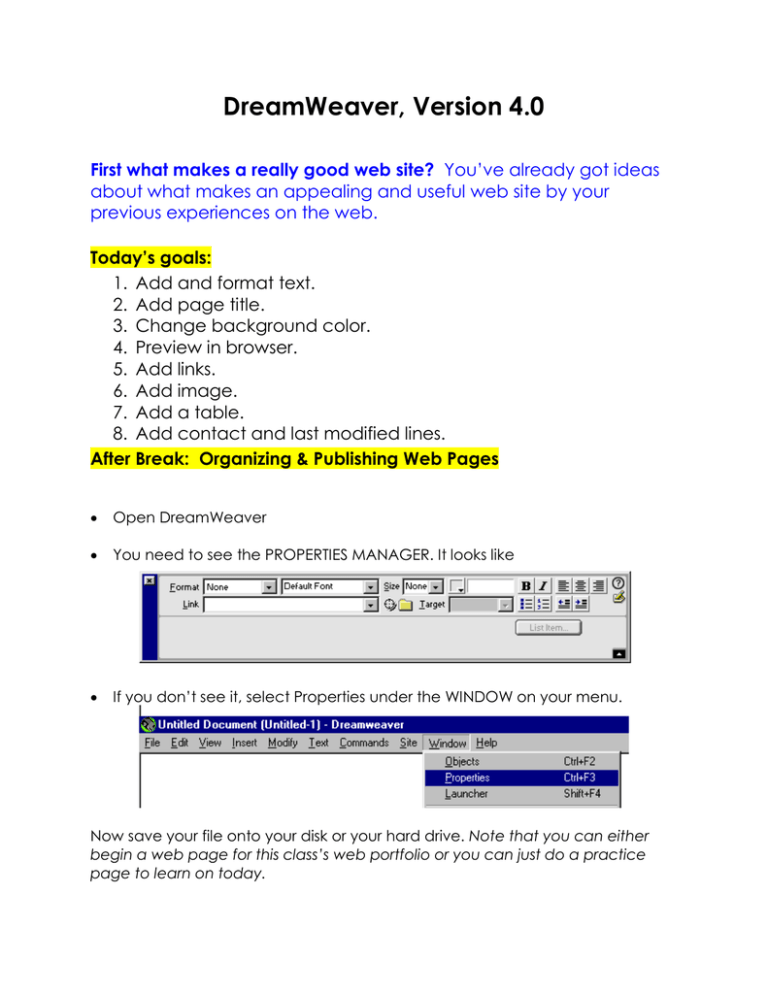
DreamWeaver, Version 4.0 First what makes a really good web site? You’ve already got ideas about what makes an appealing and useful web site by your previous experiences on the web. Today’s goals: 1. Add and format text. 2. Add page title. 3. Change background color. 4. Preview in browser. 5. Add links. 6. Add image. 7. Add a table. 8. Add contact and last modified lines. After Break: Organizing & Publishing Web Pages Open DreamWeaver You need to see the PROPERTIES MANAGER. It looks like If you don’t see it, select Properties under the WINDOW on your menu. Now save your file onto your disk or your hard drive. Note that you can either begin a web page for this class’s web portfolio or you can just do a practice page to learn on today. GOAL 1: ADD AND FORMAT TEXT. Parts of this will seem very much like other software you’ve used. Type something, such as “Welcome to my web site!” Highlight it and play with the PROPERTIES MANAGER. Make sure you find out how to Align (right, left or center) Change font, font size, and font color. Make a bulleted list or a numbered list. Tab your text in from the left. GOAL 2: ADD PAGE TITLE. Put a logical title for your page into the top blank in the window above your working space. It’s good design to title each of your pages. Shows up at the top of the browser when someone visits your page and is what shows up in the bookmark list when someone bookmarks your page. GOAL 3: CHANGE BACKGROUND COLOR. Under Modify, select Page Properties. 2 You will see Page Properties. Notice that the first line of the Page Properties screen has the Title that you entered in Goal #2. You can see where to change the background color of your page by clicking on the square to the right of the word Background. You can use the APPLY button to see how it’s going to look. You can also use an image as your background. When you want to try that, click on the BROWSE button here and find your image. Careful, getting something too busy will detract from your message. GOAL 4: PREVIEW IN BROWSWER. It’s time to see what you’ve done! 1. Save your work. 2. Under FILE select PREVIEW IN BROWSER. 3 GOAL 5 & 7: ADD TABLE & LINKS. Under INSERT, select TABLE. You will see the following window: For now, let’s make a table of some of your favorite links. Select 2 rows and 3 columns. In the first cell, write NCTM. Highlight it so that we can make it a link. With the NCTM highlighted, type http://www.nctm.org in the LINKS blank in the PROPERTIES MANAGER. Hit return when you’re done, save your page, and preview your page in the browser. Click the link. Did it work? If it did work, congratulations! If not, check your spelling and make sure you’ve saved your page. Now fill in the remaining five blanks with other favorite links. It’s easiest to browse to find the web site, then copy the URL and paste it into the PROPERTIES MANAGER window. 4 GOAL 6: ADD IMAGE. It’s time to add an image. You’ll want to go to http://www.iconbazaar.com/ or another favorite site for graphics. There are many. Be sure to read the conditions of use so as not to violate any copyright laws. For example, on one site, it says: Conditions of Use Permission is granted for limited personal use of up to twenty (20) images from ALL collections. ALL commercial or institutional use requires licensure. Redistribution of any image found at this web site in any format is strictly prohibited. When you find a suitable graphic, right click on the image to save it. Select SAVE PICTURE AS and save it with your other files. Now go back to your web page and select INSERT and IMAGE. Browse to find that image file. Save and preview in browser. Experiment with images, centering and placing images inside tables. Experiment with “invisible” tables (turning off the lines around the table). Tables are handy to control placement of objects and text. GOAL 6: ADD CONTACT AND LAST MODIFIED LINES. It’s always good netiquette to include a couple of sentences at the end of the page, one so that others can contact you and the other to let them know how current your page is. mailto:[put your address here] or to be a little fancier mailto:[put your address here]?SUBJECT=Your web site Type Last modified: then select DATE under the INSERT menu. You can check the box that will update it automatically upon saving. 5 We’ve achieved today’s goals! You might find this site applicable: http://www.gsu.edu/~mstlls/whumor.htm. Thanks to Dr. Lynn for her shoulders to stand upon. Also check out my site at www.ksuweb.kennesaw.edu/~meconomo. Some useful links (thanks to Jim Wright, KSU EdTech Center): Tutorials o http://www.bu.edu/webcentral/learning/dreamweaver1/outline.html o http://www.iboost.com/build/software/dw/tutorial/786.htm Graphics o http://www.iconbazaar.com/ o http://www.freebuttons.com/ 6

