Creating a Receipt in MagnusMart
advertisement
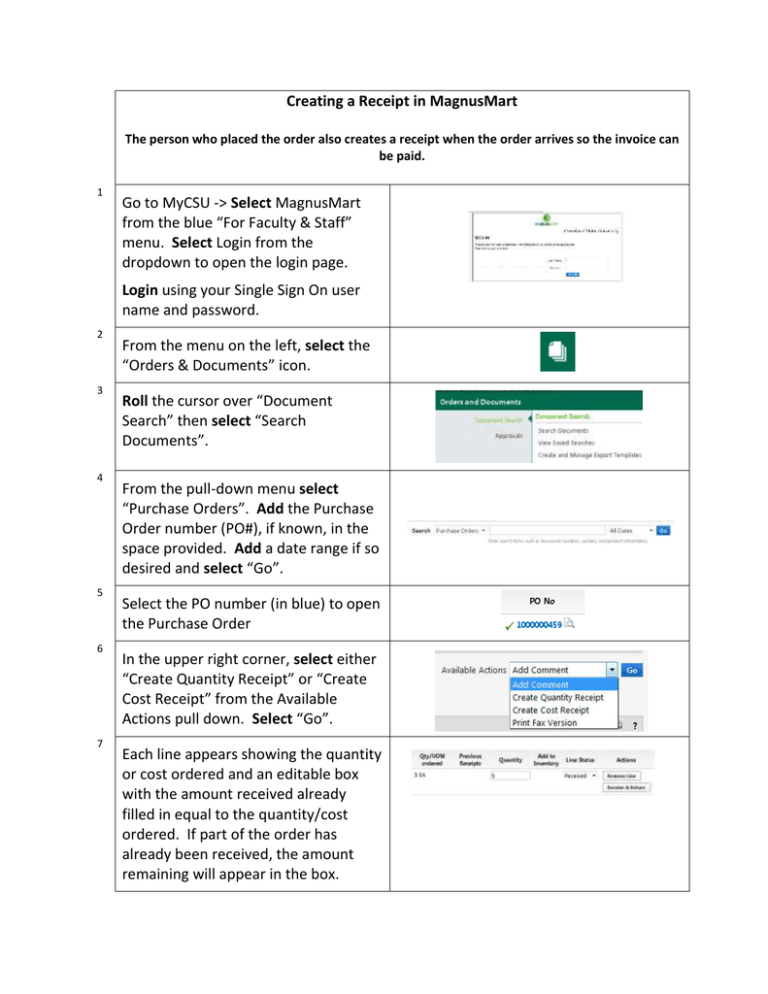
Creating a Receipt in MagnusMart The person who placed the order also creates a receipt when the order arrives so the invoice can be paid. 1 Go to MyCSU -> Select MagnusMart from the blue “For Faculty & Staff” menu. Select Login from the dropdown to open the login page. Login using your Single Sign On user name and password. 2 3 4 5 6 7 From the menu on the left, select the “Orders & Documents” icon. Roll the cursor over “Document Search” then select “Search Documents”. From the pull-down menu select “Purchase Orders”. Add the Purchase Order number (PO#), if known, in the space provided. Add a date range if so desired and select “Go”. Select the PO number (in blue) to open the Purchase Order In the upper right corner, select either “Create Quantity Receipt” or “Create Cost Receipt” from the Available Actions pull down. Select “Go”. Each line appears showing the quantity or cost ordered and an editable box with the amount received already filled in equal to the quantity/cost ordered. If part of the order has already been received, the amount remaining will appear in the box. 8 9 10 11 12 13 Verify the quantity or cost received from the vendor. If the quantity or cost received match what is already in the box, select “Complete” at the bottom of the Purchase Order. Partial Receipts: If the quantity on any line item is less than the quantity/cost ordered, enter this number in the Quantity/Cost box. Once all lines on the PO are accounted for, select the “Complete” button. Returning items to vendor on a Quantity receipt: If all or part of a line item is damaged or the vendor sent more than were ordered, receive it and return the damaged items or overage to the vendor. Select the “Receive & Return” button. The line will split into two lines for the item. In the top line enter the quantity received. In the next line, enter the quantity returned to the vendor. Ensure the pull down for this line states “Returned”. Change it if necessary. Continue with step 14. If the vendor sent the wrong item or a substitute, return it by changing the pull-down from “Received” to “Returned”. 14 Using the pull down by “Returned for”, select the reason for the return. Note: If the “Returned for” box is not available, select the “Save Updates” button and it will appear. 15 Contact the vendor for a Returned Material Authorization (RMA) number and enter it in the space provided. 16 A note may also be added for each item as needed. Select the “Complete” button when the receipt is ready for processing. 17 The receipt number will appear on the following page and will remain attached to the Purchase Order.
