Administrator Guide for Setting up Print Driver
advertisement

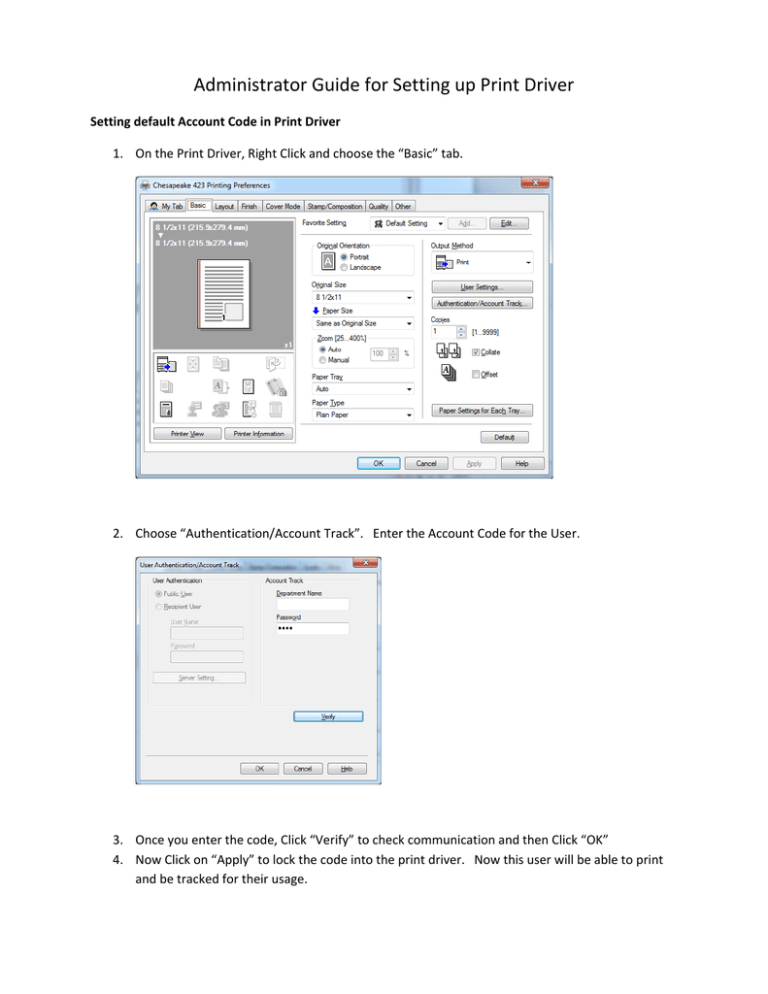
Administrator Guide for Setting up Print Driver Setting default Account Code in Print Driver 1. On the Print Driver, Right Click and choose the “Basic” tab. 2. Choose “Authentication/Account Track”. Enter the Account Code for the User. 3. Once you enter the code, Click “Verify” to check communication and then Click “OK” 4. Now Click on “Apply” to lock the code into the print driver. Now this user will be able to print and be tracked for their usage. 1. On the Print Driver, Right Click and choose the “Basic” tab. 2. Change “Output Method” to “Save in User Box”. Then in “User Settings” Page enter the Number of the User Box found on the User Box screen for the corresponding name. Then Click OK. When this Pop‐Up closes Click “Apply” to save this setting. 3. The driver is now ready to print into a User Box as the Default setting. How to set up the “Pop‐UP” Dialog as the Default setting on a driver that needs to use Multiple Account Codes 1. Choose the proper Print Driver from your “Printers and Faxes” (XP) or ” Devices and Printers”(Win7), Right‐Click and pick “Properties”(XP) or “Printer Properties”(Win7). 2. Go to the Settings tab (top right hand tab) 3. Click on the “Popup Authentication Dialog when Printing” and then Click “Apply”. 4. You are now going to get the Pop‐UP Authentication window each time you press “Print”. a. You will need to enter the correct Account Code to print to the correct account each time you use the driver.